For as long as I can remember, I’ve always been blessed to have a never-ending supply of salsas in my kitchen. Looking for something to top off that omelet? I got the perfect tomatillo-based salsa verde for you. Want to kick those homemade fajitas up a notch? Here’s a spicy red so hot you won’t be able to feel your tongue after. Feeling trashy? You know we got those Taco Bell packets on deck. My refrigerator door has always been a make-shift salsa bar, not because I’m Latino (we don’t all have salsa-making grandmas toiling away in our kitchens) but for the simple fact that I live in Southern California and eat a lot of Mexican food. I mean a lot. Whether it’s from a hole in the wall taqueria that no one knows about or a neighborhood staple sit-down restaurant, I’m grabbing some variety of Mexican food multiple times a week and collecting all of the subtly different salsas each restaurant offers.
Or at least, I was. Before COVID-19 put the lid on my whole salsa gathering operation.
While the rest of you were panic buying water at the start of the pandemic and freaking out about whether or not you could get a roll of toilet paper, I was forcing myself to ration salsa like water in the desert — getting by on drops instead of dollops. But while I’ve gradually learned to manage in these salsa scarce end times, I’ve found that I’ve come to miss a very specific kind of salsa — that type of homemade table salsa that can be found gratis with chips at family-owned Mexican restaurants all across California (and other states… plus most of Mexico).
I’m talking about Salsa Roja.
Salsa Roja — “Red Salsa” if you’re too scared to attempt a silent “j” — can be made all sorts of ways, but generally, it’s a semi-chunky tomato-based salsa with a lingering and fragrant kick of spice. It can be made with dried chilies like guajillo, arbol, or ancho peppers, but it’s typically made with more basic varieties like the jalapeño. Today, we’re going to make our Salsa Roja with jalapeños, which are easily found at any market, but we’re also going to add two other peppers — because the best Salsa Rojas bring the heat, and if you want to impress at your next gathering (whenever that is) or at the dinner table, you’re going to need to learn how to level-up what can be found in a jar at the supermarket.
STEP I: Gather Your Ingredients

- 4 Roma Tomatoes
- 1/8-1/4 Onion
- 1 Jalapeño Pepper
- 1 Serrano Pepper
- 1 Arbol Chile
- 2 Cloves of Garlic
- Salt
- Cilantro (optional)
To yield about 8 ounces of Salsa Roja, we’re going to use four medium-sized roma tomatoes and three chili peppers. If you’re looking for something less spicy, feel free to use just two peppers. The amount of onion and garlic you use can be “to taste.” If you don’t know much about chili peppers, japaleños pack a pretty tolerable level of heat and have a bright pronounced vegetable flavor (think a green bell pepper, but spicy instead of peppery) with serrano chilis having a very similar flavor, but with a stronger, smokier kick. Arbol chilis are a bit more of a rarity but you should be able to find them dried in the “ethnic” aisle throughout the country or the Mexican food aisle in California, Texas, Arizona, etc. Dried arbol chilis are usually red, and the fresh chilis are generally green. I tend to prefer fresh arbols, as their flavor is a little more subtle. The heat is really going to be driven by the Serrano and arbol here, while the jalapeño brings the flavor.
STEP II: Blister Everything

To bring our flavors to life, we need to blister our ingredients on the pan before we start chopping and mixing. There are several ways you can do this: over an open fire (messy), on an iron pan in the oven (the cleanest-but-longest process), or directly on the pan. I prefer to do it directly on the pan as it’s the fastest and most fragrant method. Lightly oil your pan and, once hot, blister the ingredients until they develop a nice char. You can eyeball this process but the tomatoes, which will take the longest, should only take about 10 minutes.
I like to core my tomatoes prior to the blistering process to remove the seeds.
STEP III: Chop It Up

Once all your ingredients are looking good and roasted, remove the stems on your chili peppers and get to chopping. Before you begin chopping your ingredients, feel free to split your chili peppers in half to easily de-seed them. I like to leave them in for a spicier result. Keep in mind that if you’re planning on using a molcajete or a mortar and pestle you’re going to want to cut up your ingredients finely to give yourself less work down the line.
STEP IV: Grind, Mash, Mix

When your ingredients are all chopped up, it’s time to marry them together into a salsa. Now don’t feel bad if you don’t have a molcajete, you can absolutely use a blender or food processor in for this step (I’m going to use one down the line anyway) but if you have the tools and the patience, go with the molcajete. A molcajete will allow you to release the oils from the seeds and skins of your chilis and… well, it just pulls the flavors together in this really beautiful way with a great consistency that simply can’t be replicated in a blender.
Blenders tend to make salsas overly frothy and infuse the end result with too much air, but admittedly using a molcajete is work. You will break into a sweat. Your hand might cramp.

Pro molcajete tip: Begin with your smallest ingredients first. Start with the garlic and onion, add each pepper one at a time, and add your tomatoes little by little as their high water content will make grinding a splashy, more frustrating experience.
STEP V: The Final Touch

Once you’ve worked (or blended) your salsa to your desired consistency, add a touch of water (about 6-8 tablespoons) some salt to taste, and a few sprigs of fresh chopped cilantro and give it a good mix. In this process, I generally like to use a blender for about 30 seconds if the consistency is not quite where I like it, but there is no real wrong way to do this — it merely depends on how chunky you like your salsa.
At this point, you might find that your salsa has the right balance of flavor and heat, but something tastes like it’s missing. That final ingredient is time — you’re going to want your salsa to sit for a few hours while the flavors marry together into something that exceeds the sum of its parts.
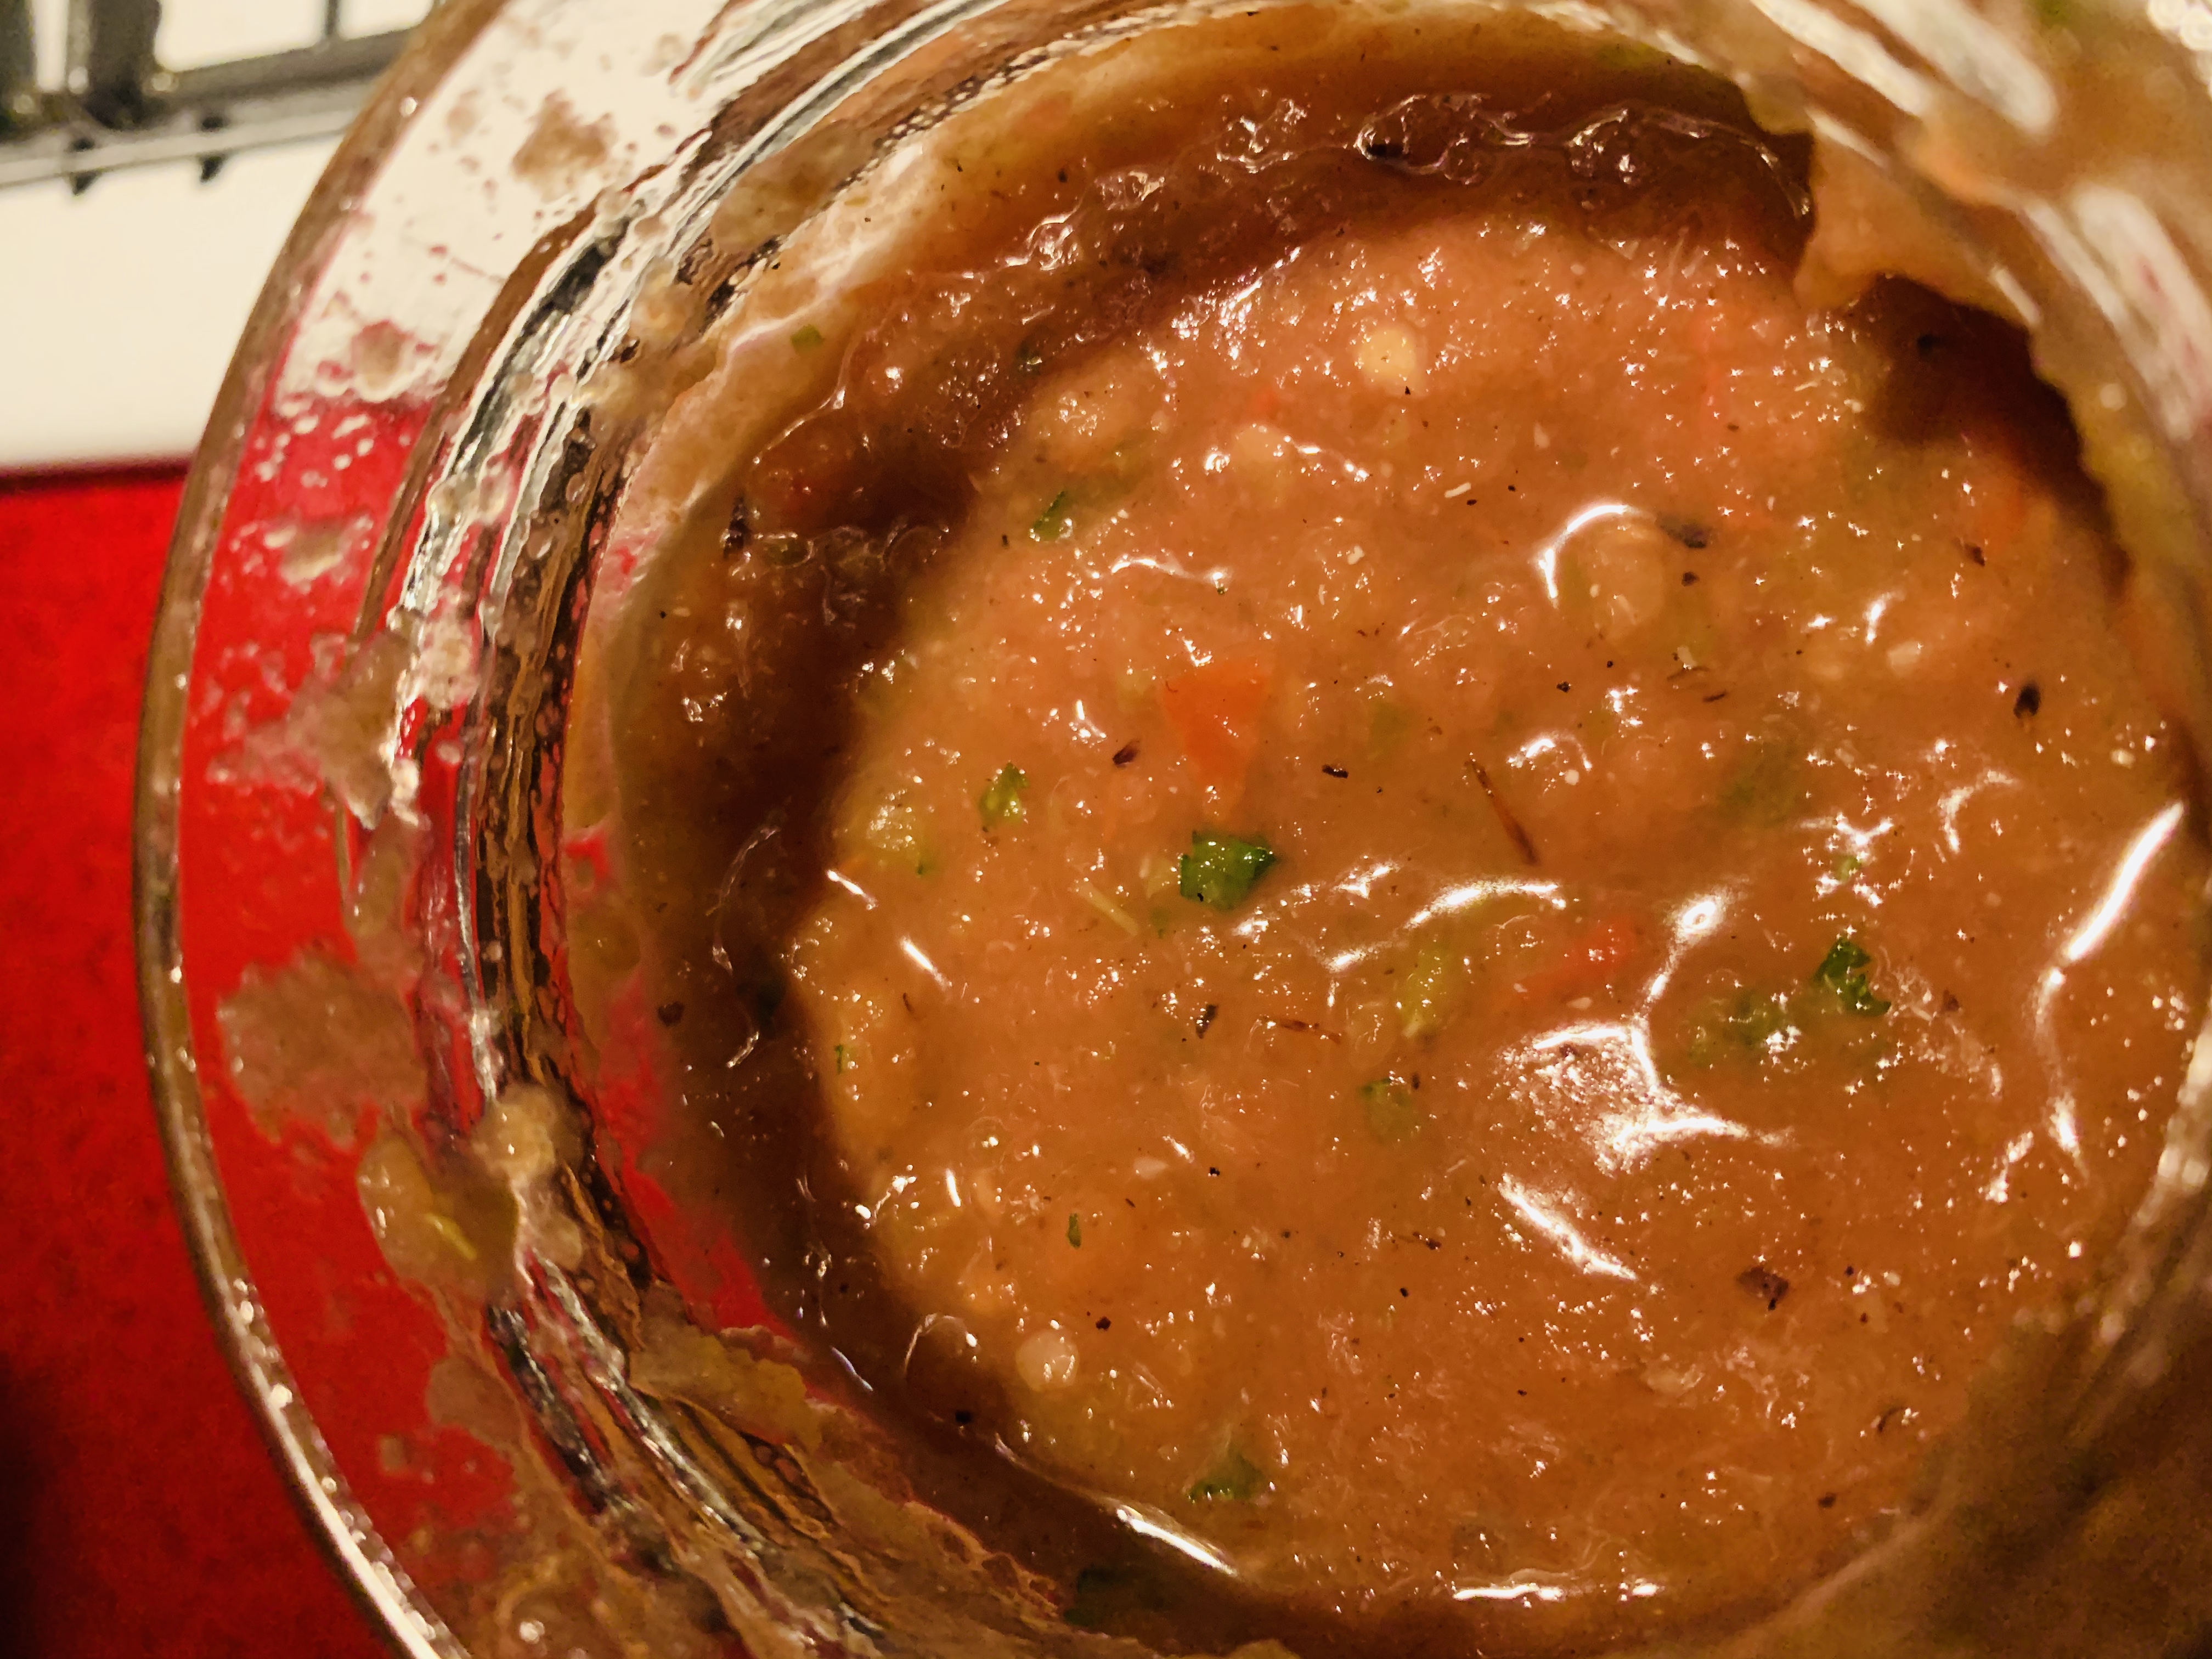
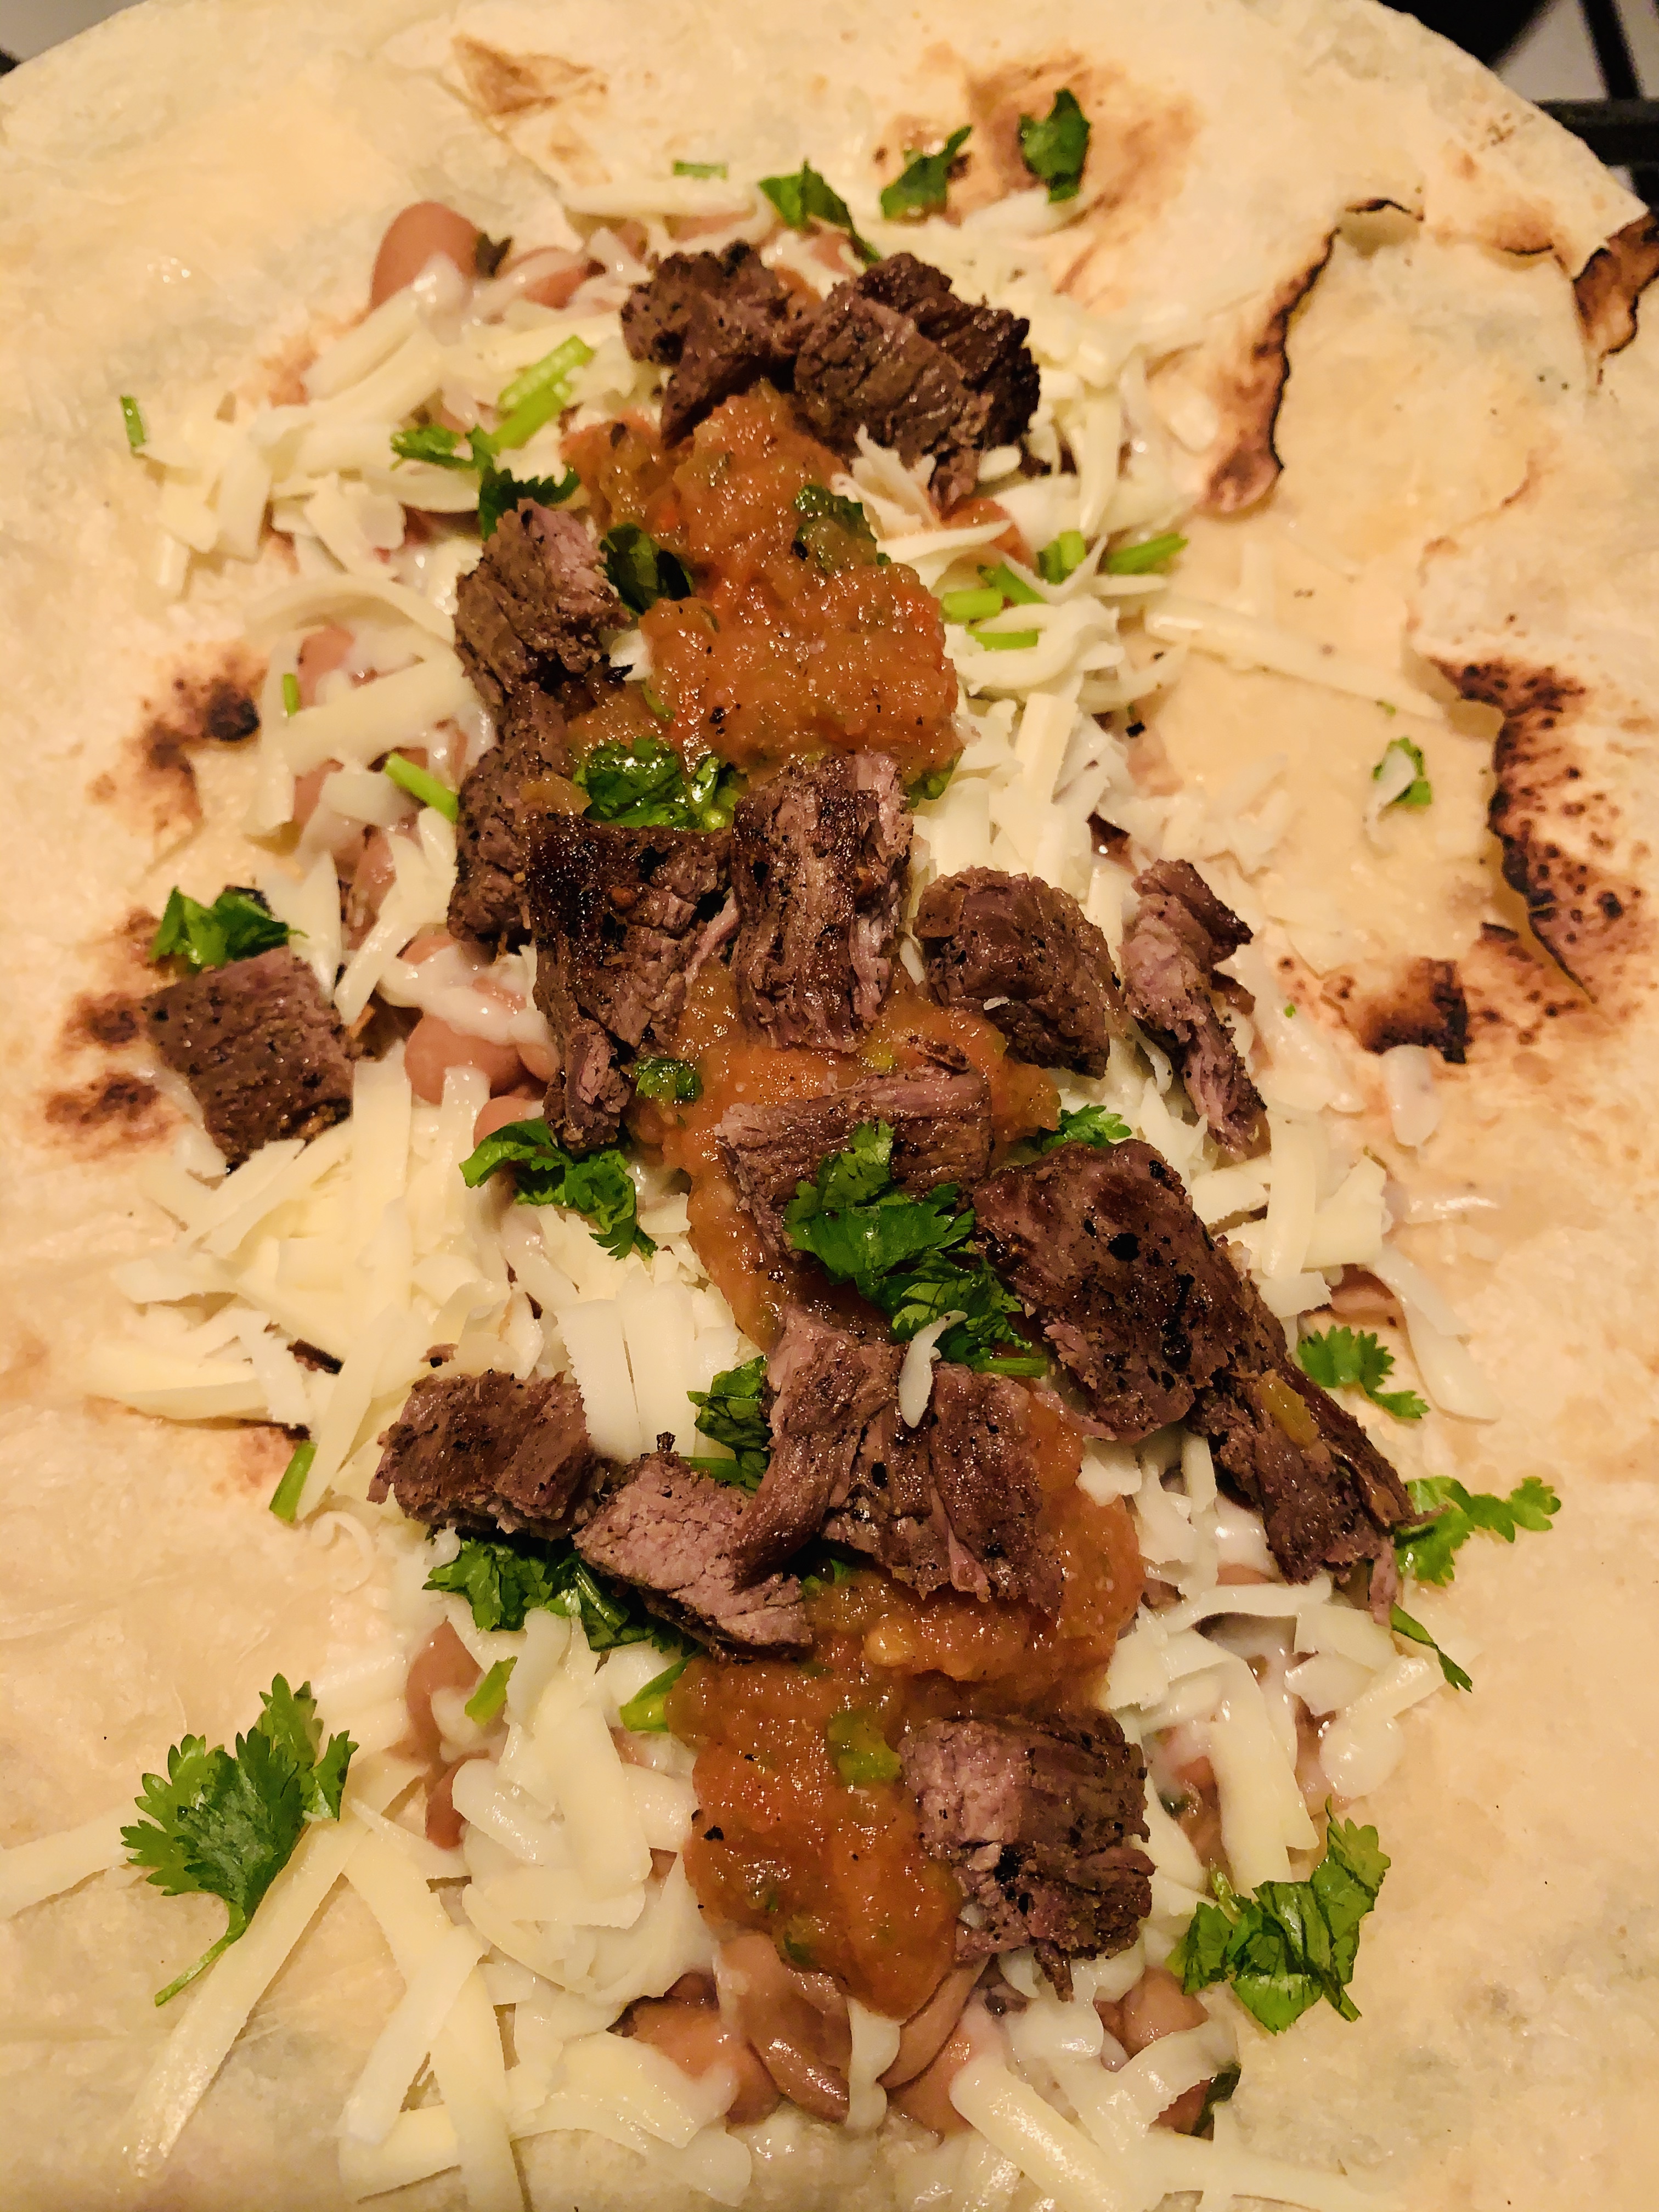
Put your salsa in a jar and prepare to use it on everything. The result should be a red-to-brown colored salsa with a fragrant bouquet of spicy roasted chilis that mingle with the umami qualities of tomato and roasted garlic. The spice level I’ve made here won’t cut through your food so much as it will bring the flavors of your food together — elevating even the most basic of microwaveable burritos and bagged chips into an authentic-feeling Mexican restaurant experience.

