
Making a solid burrito takes a little trial and error. There’s always that phase in everyone’s burrito-making journey where structural integrity is the greatest foe. We’ve all had homemade burritos fall apart in our hands, forcing us to resort to a fork and knife on a plate. And just like that, all the style of the world’s ultimate one-handed meal is lost.
Today, we’re going to help you skip all the messiness and get your burrito rolling game on point — with tips for making a well-built burrito that will stay together every time. Here are the basics you need to know:
- Use the right size tortilla.
- Don’t overstuff but don’t skimp on fillings either.
- Seal your burritos.
- Toast or heat your burritos before serving.
For a full, meal-sized burrito, go with 12-in./30cm flour tortillas that are at least room temperature. If the tortilla is cold, it’ll break or crack when you roll it. You can also warm up the tortilla in the microwave for ten seconds to help give it a little pliancy.
When it comes to fillings, keep it straight-forward: Rice, beans, protein, cheese, salsa, avocado, maybe some sauce. A good tactic for making a burrito at home is using leftovers. Do you have leftover chicken and rice? You’re already halfway to a rad burrito. For this little tutorial, we’re using leftover carnitas, lime rice, and black beans. We’re also adding a quick pico de gallo (de-seeded tomato, minced red onion, cilantro, chili, salt, and lime juice), cubed avocado, and grated jack and cheddar cheese.
The last two points up there go hand-in-hand. One, using a very simple flour paste to seal your burrito assures its structural integrity throughout the meal. Toasting or grilling the burrito binds that seal — while adding a nice textural element to the final product.
What you’ll need in the kitchen:
- Large heavy pan or skillet
- Second heavy pan or skillet
- Spatula
- Kitchen knife
- Food brush
- Small cup
- Spoon
- Cutting board
A Simple Burrito
Again, go with what you have in the fridge. I’m using carnitas here, simply because that’s what’s in the fridge. You don’t need to spend days making filling for your burrito. Buy one of those rotisserie chickens at the grocer, shred it, toss it in a pan with some garlic and taco seasoning, and boom — shredded chicken burrito.
I know rice in burritos is highly contested, so I’ll say this: If you don’t like rice in your burrito, don’t put it in. That simple.
Ingredients:
- Choice of protein
- Rice
- Beans
- Pico de Gallo
- Avocado
- Cheese
- Hot Sauce
- Butter
- Flour
- Water
Method:
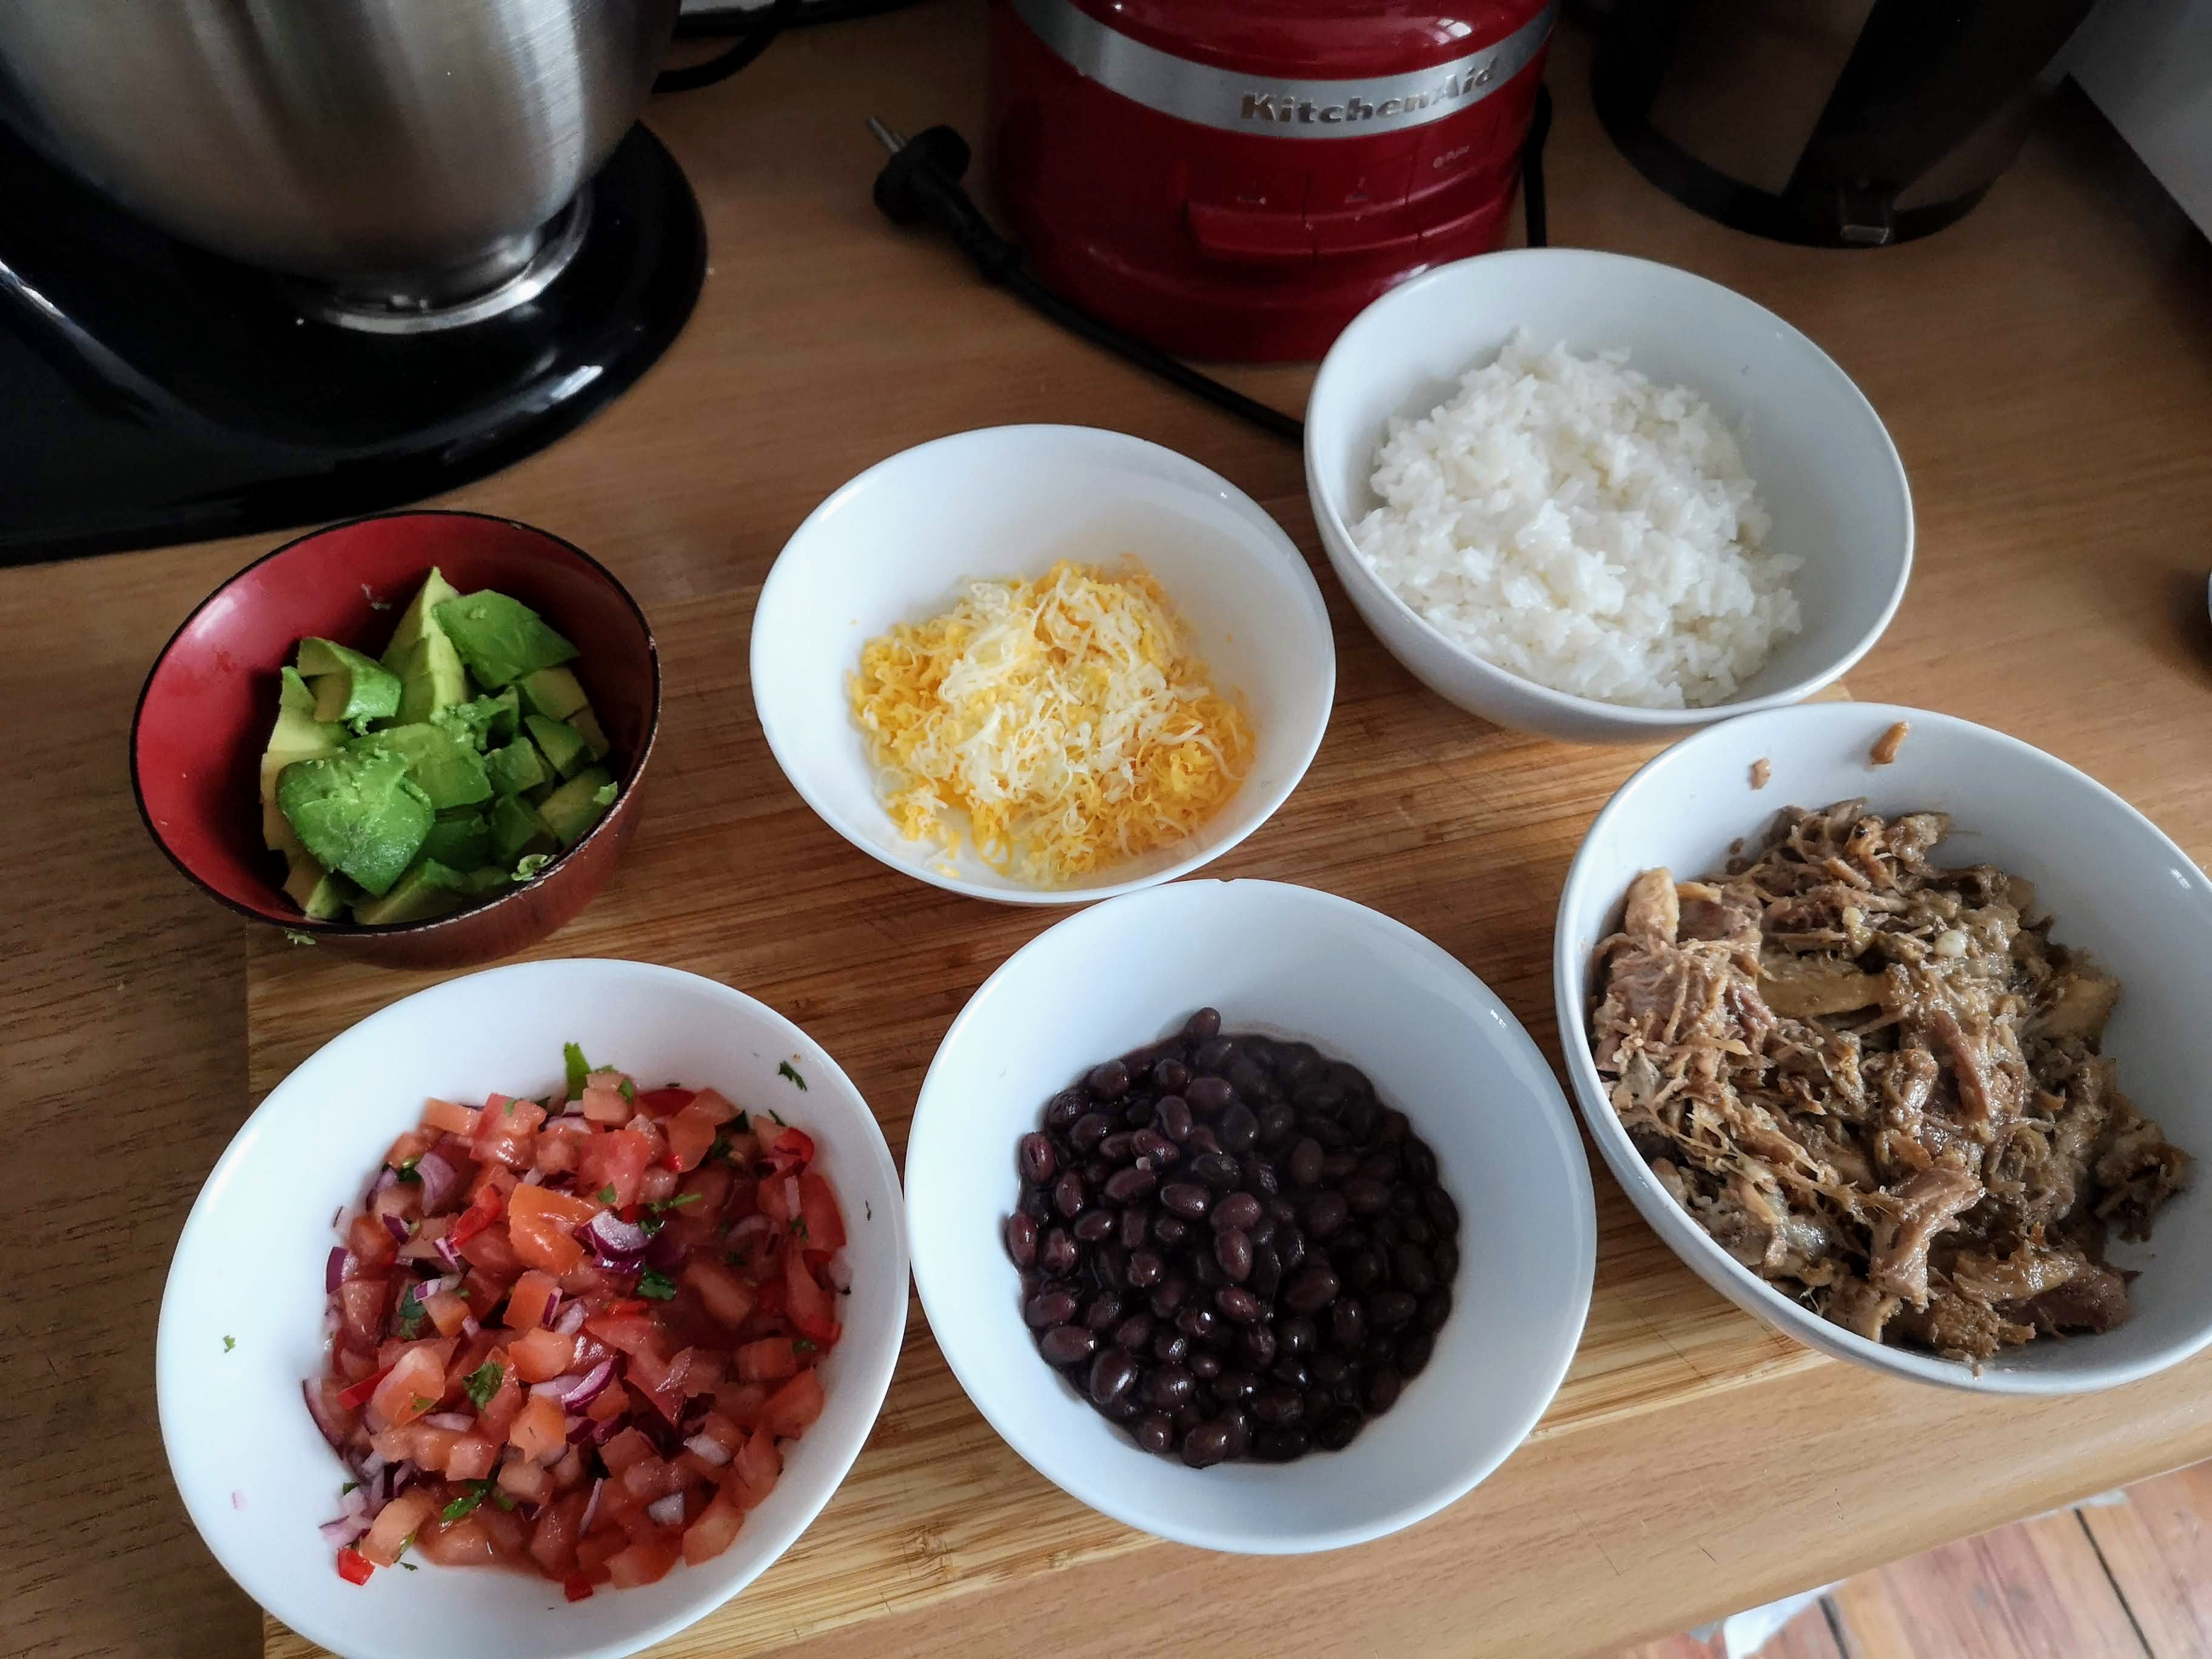
Since this is about burrito construction, we’re forgoing making beans from scratch or anything else. You can use canned beans. No one is stopping you. Grate some cheese, if that’s what you like on your burrito. If not, don’t.
Make a burrito you dig. That’s what I did with this.
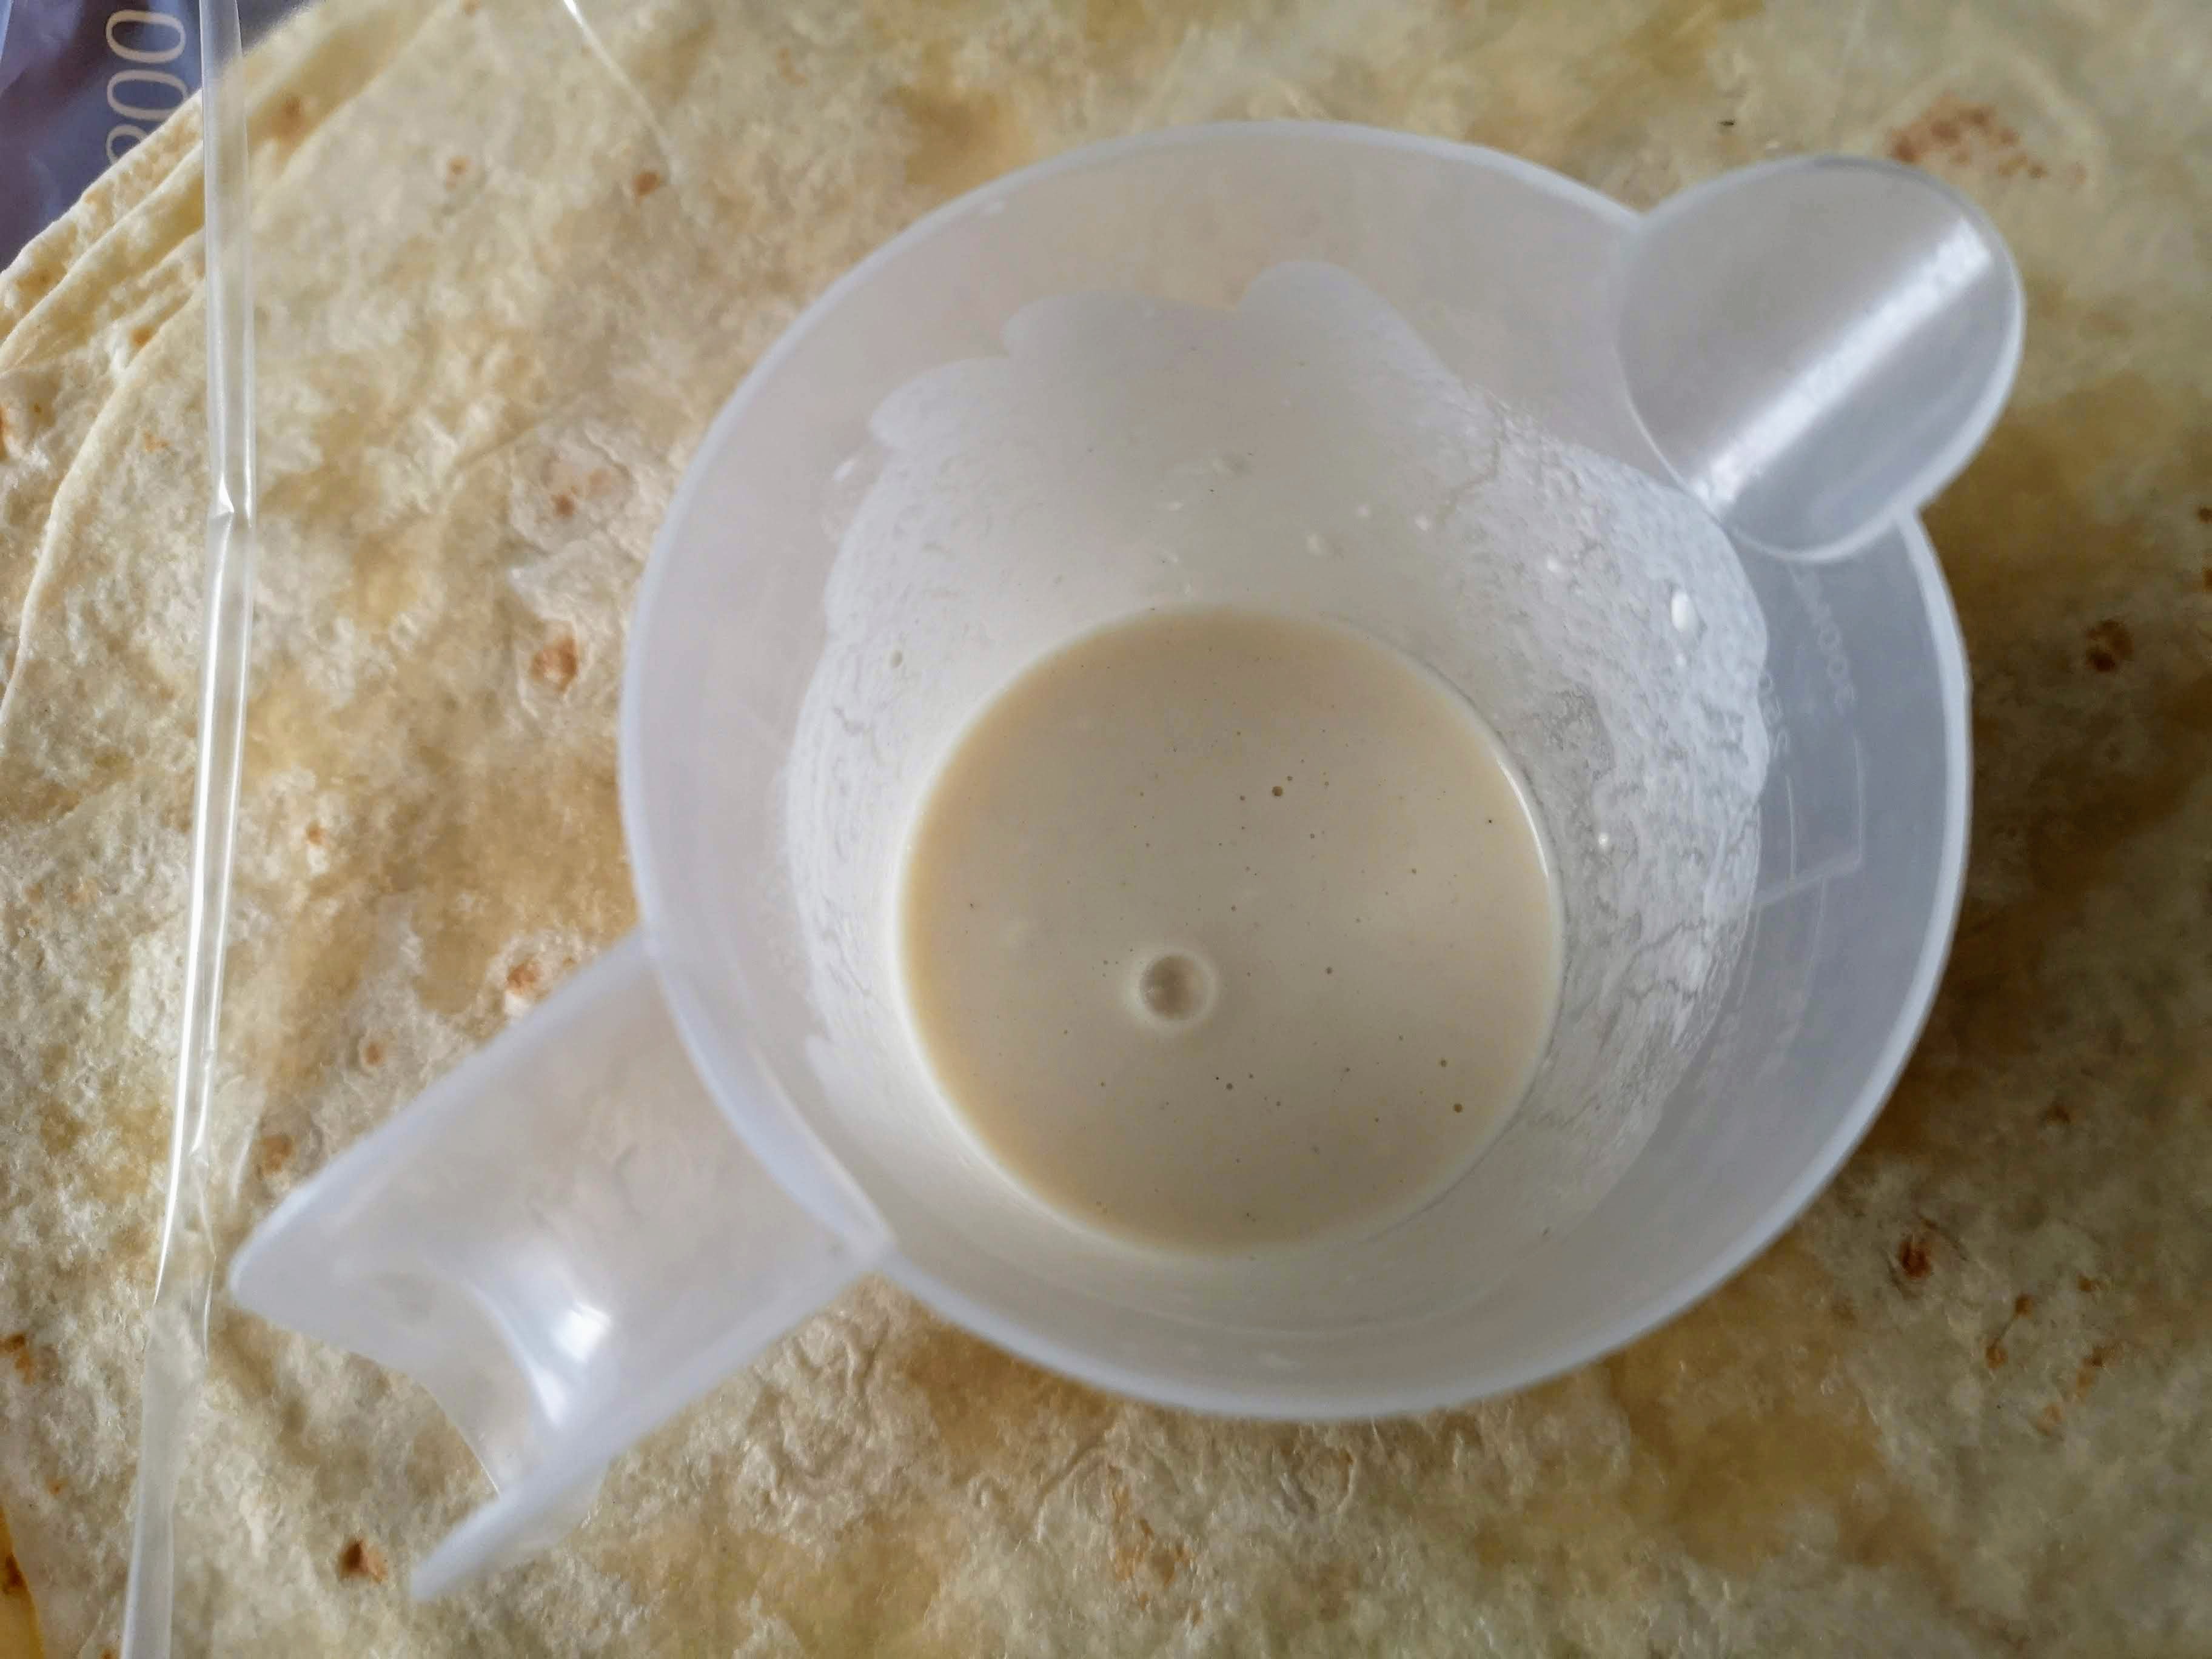
Before I start, I make a quick paste for sealing the burrito. This is the exact same one I used for the chimichanga recipe. It’s one part flour to one part tap water. I use one tablespoon to one tablespoon. I mix with a spoon until smooth. That’s it.
Construction:
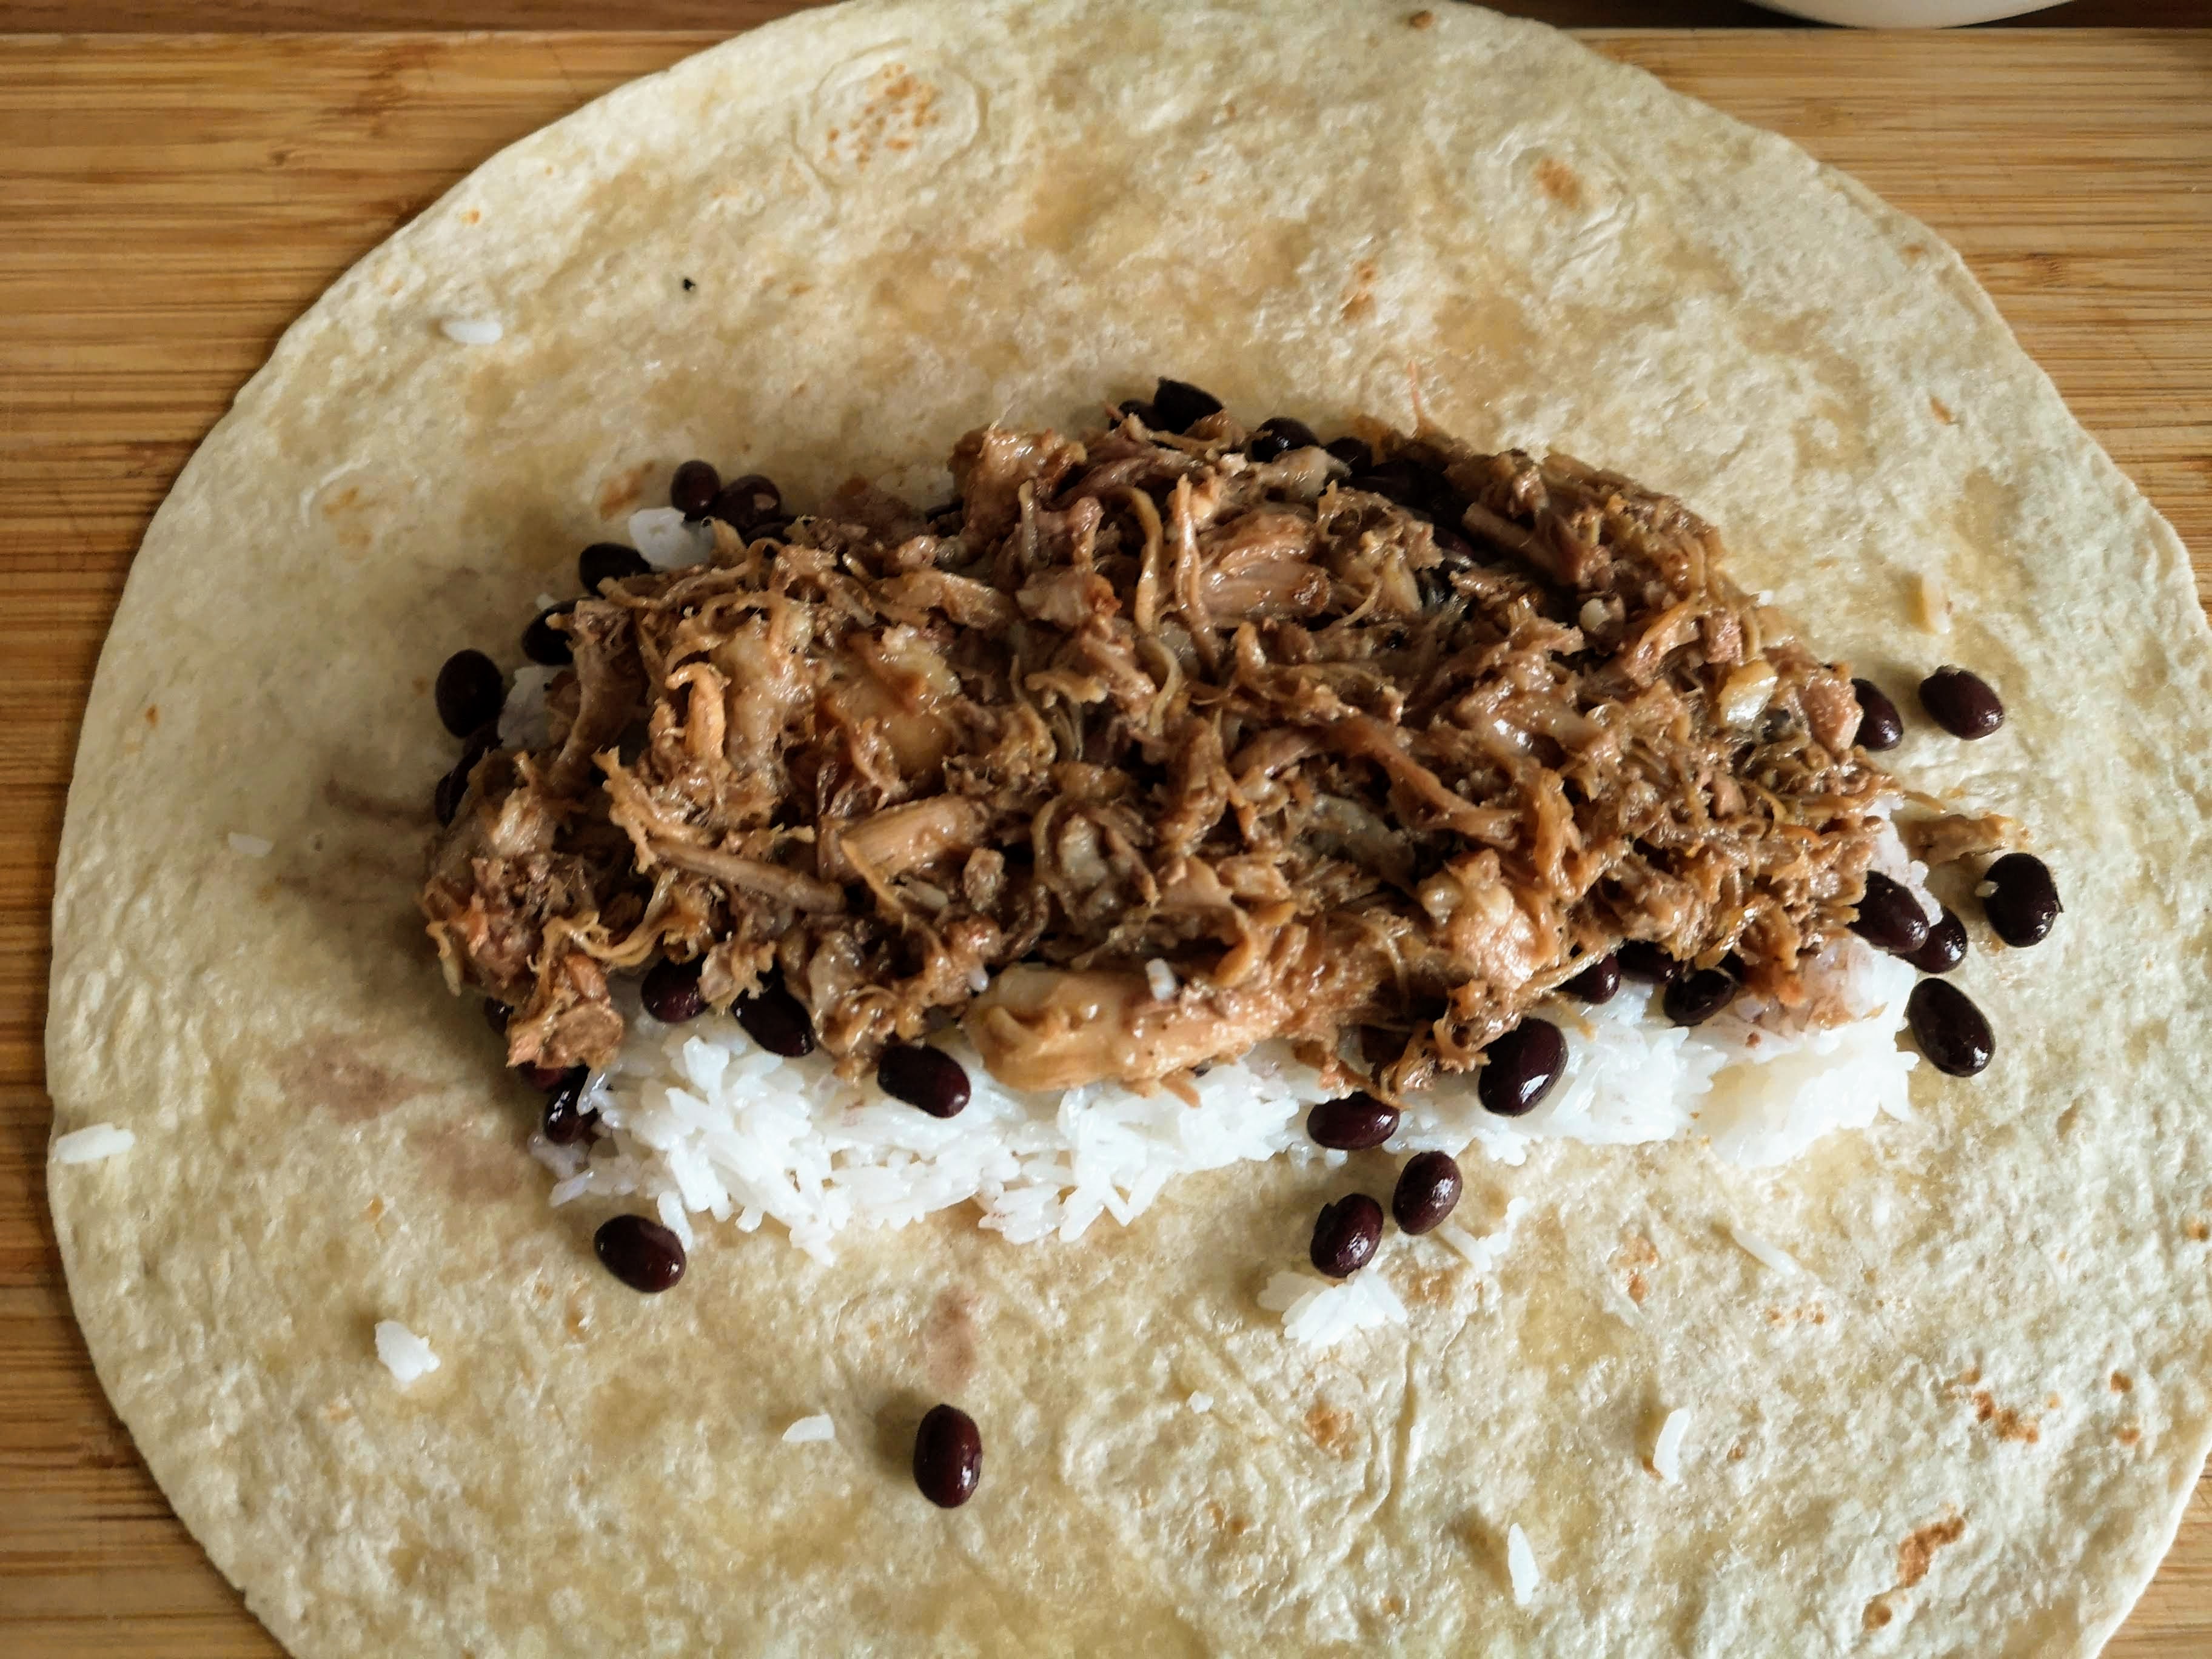
So, once I set up my mise en place (all my ingredients ready to use), I slightly warm a tortilla and place it on a large cutting board. A quick note, my rice, beans, and carnitas are all hot when I construct this burrito.
I add a small layer of rice, maybe 1/2-inch thick with a valley down the middle. I scoop about 1/4 cup black beans into that little rice trench. Lastly, I add the carnitas. It’s maybe a half-a-cup.
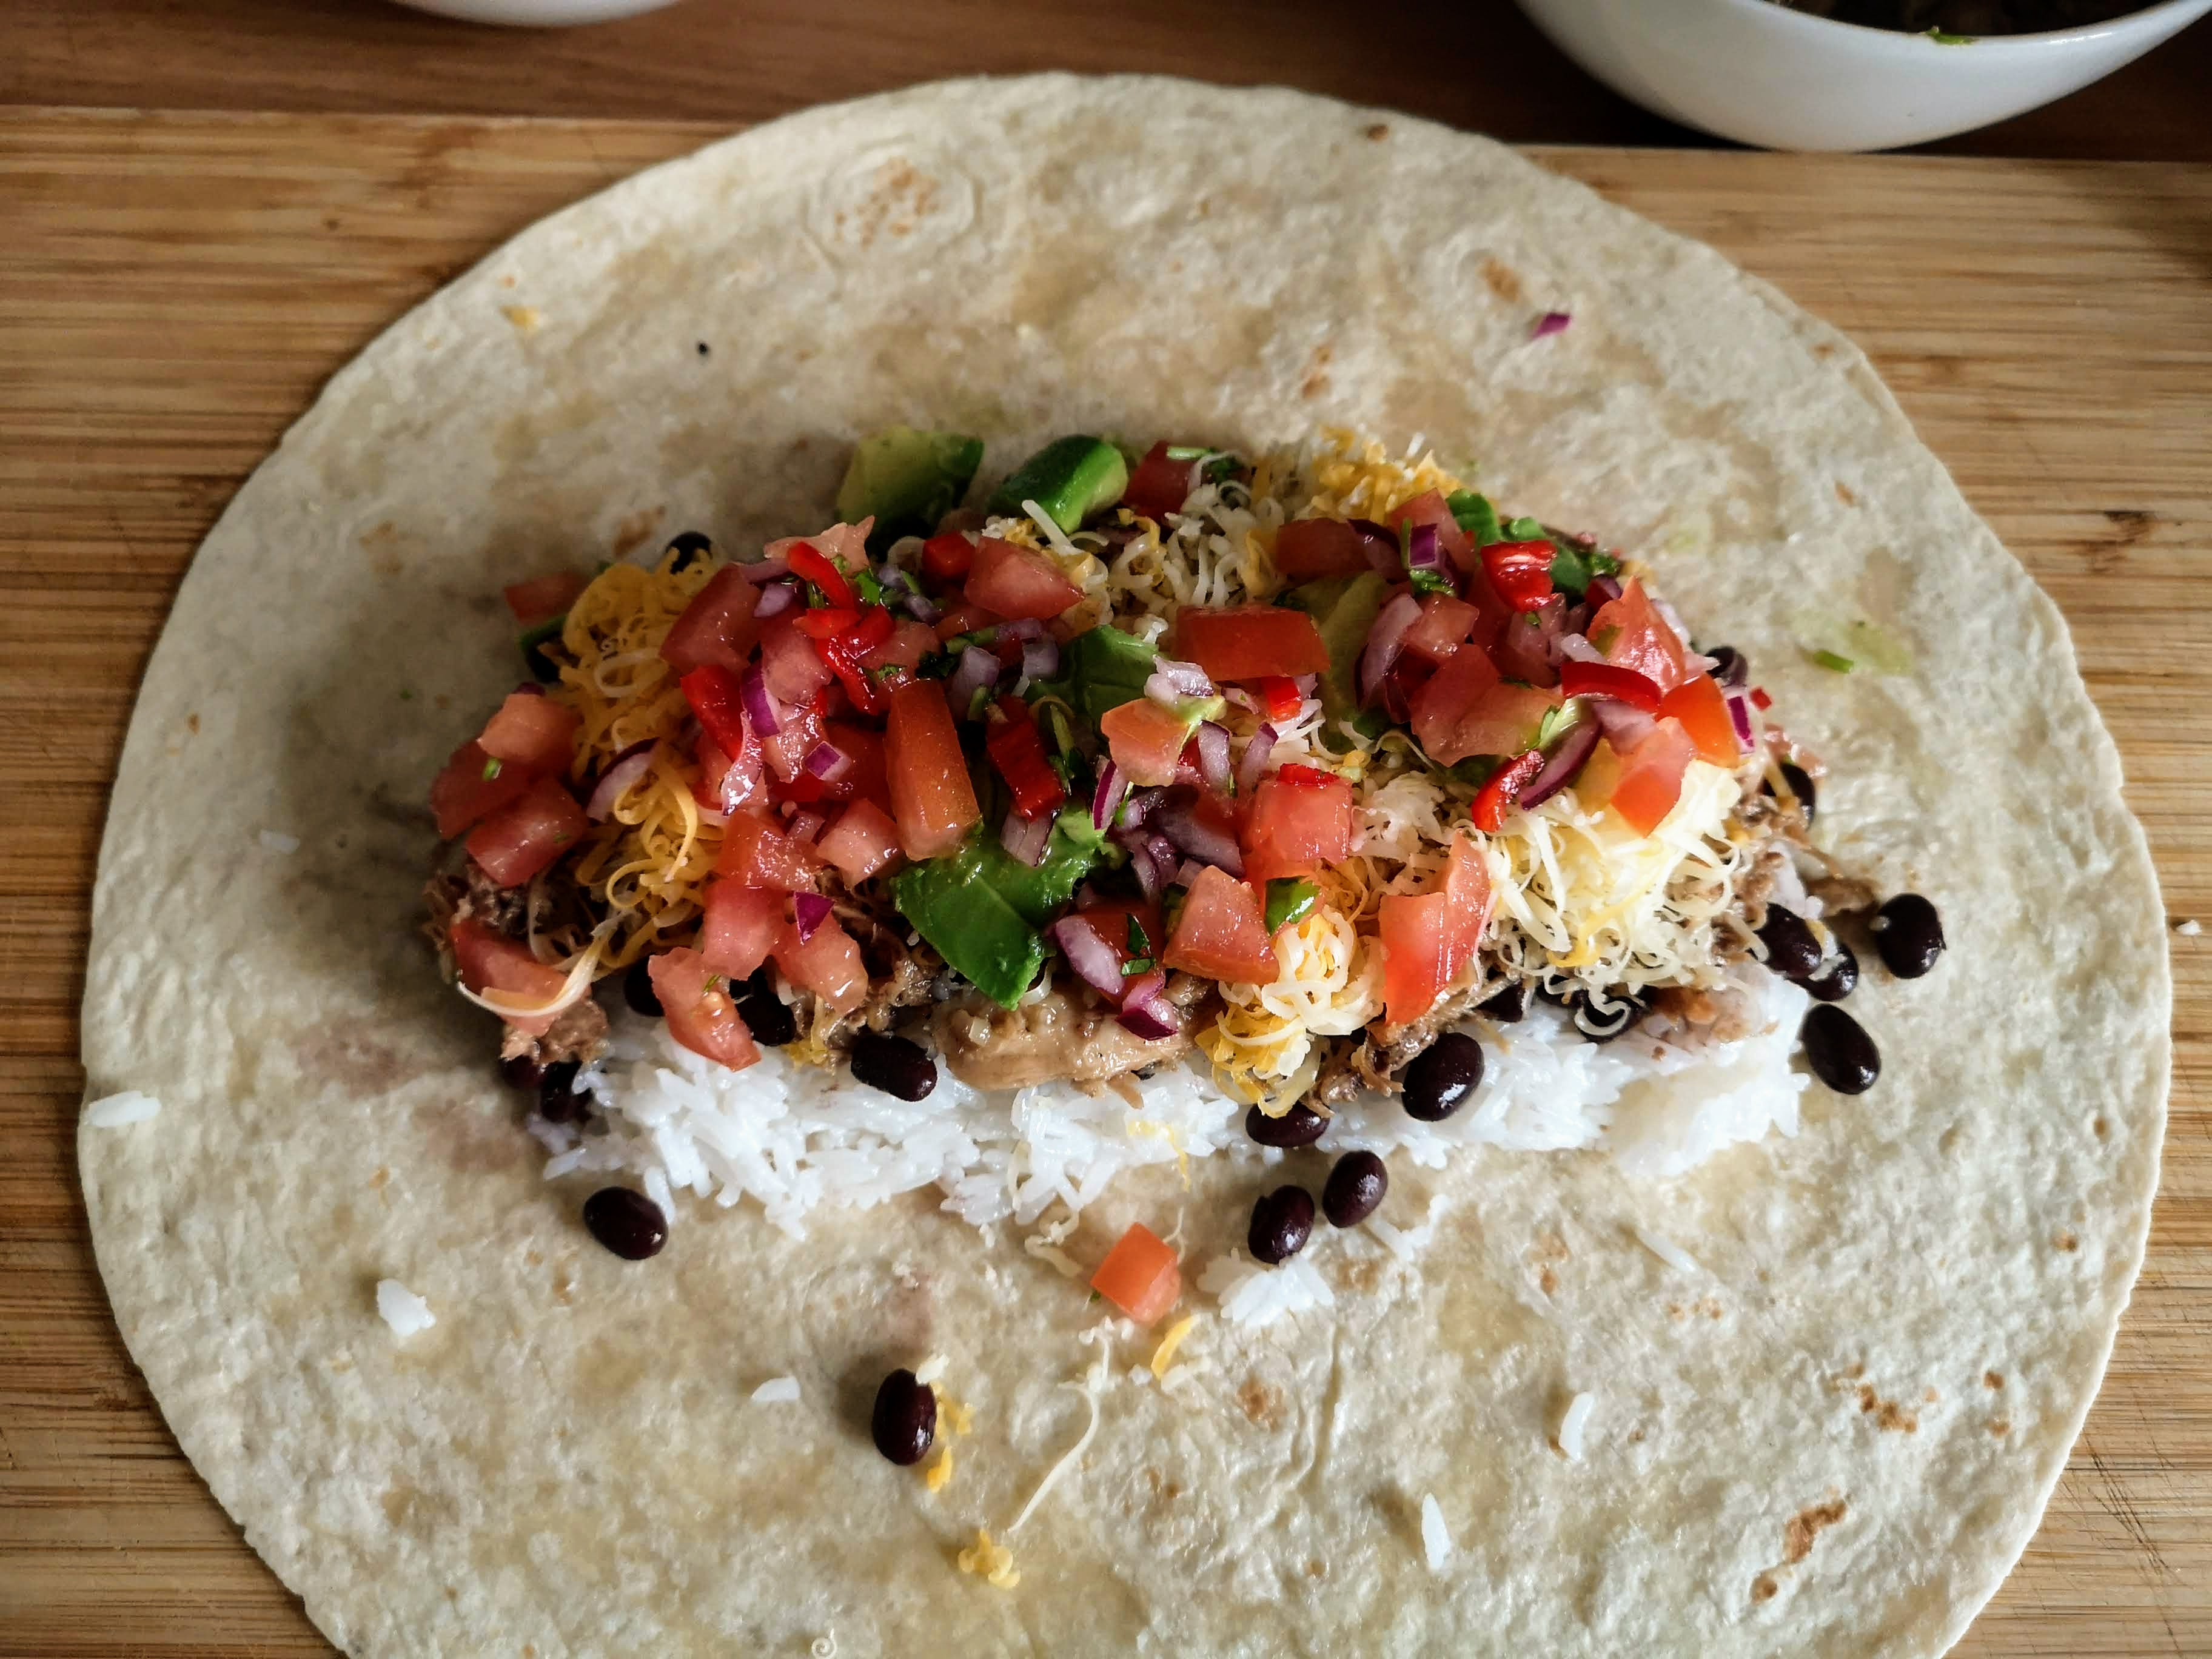
Next, I add the cheese, pico, and avocado in that order.
I test the size of the burrito at this point. You want the bottom half of the tortilla to reach all the way to the bottom of the filling on the opposite side easily. If it doesn’t, simply remove some filling.
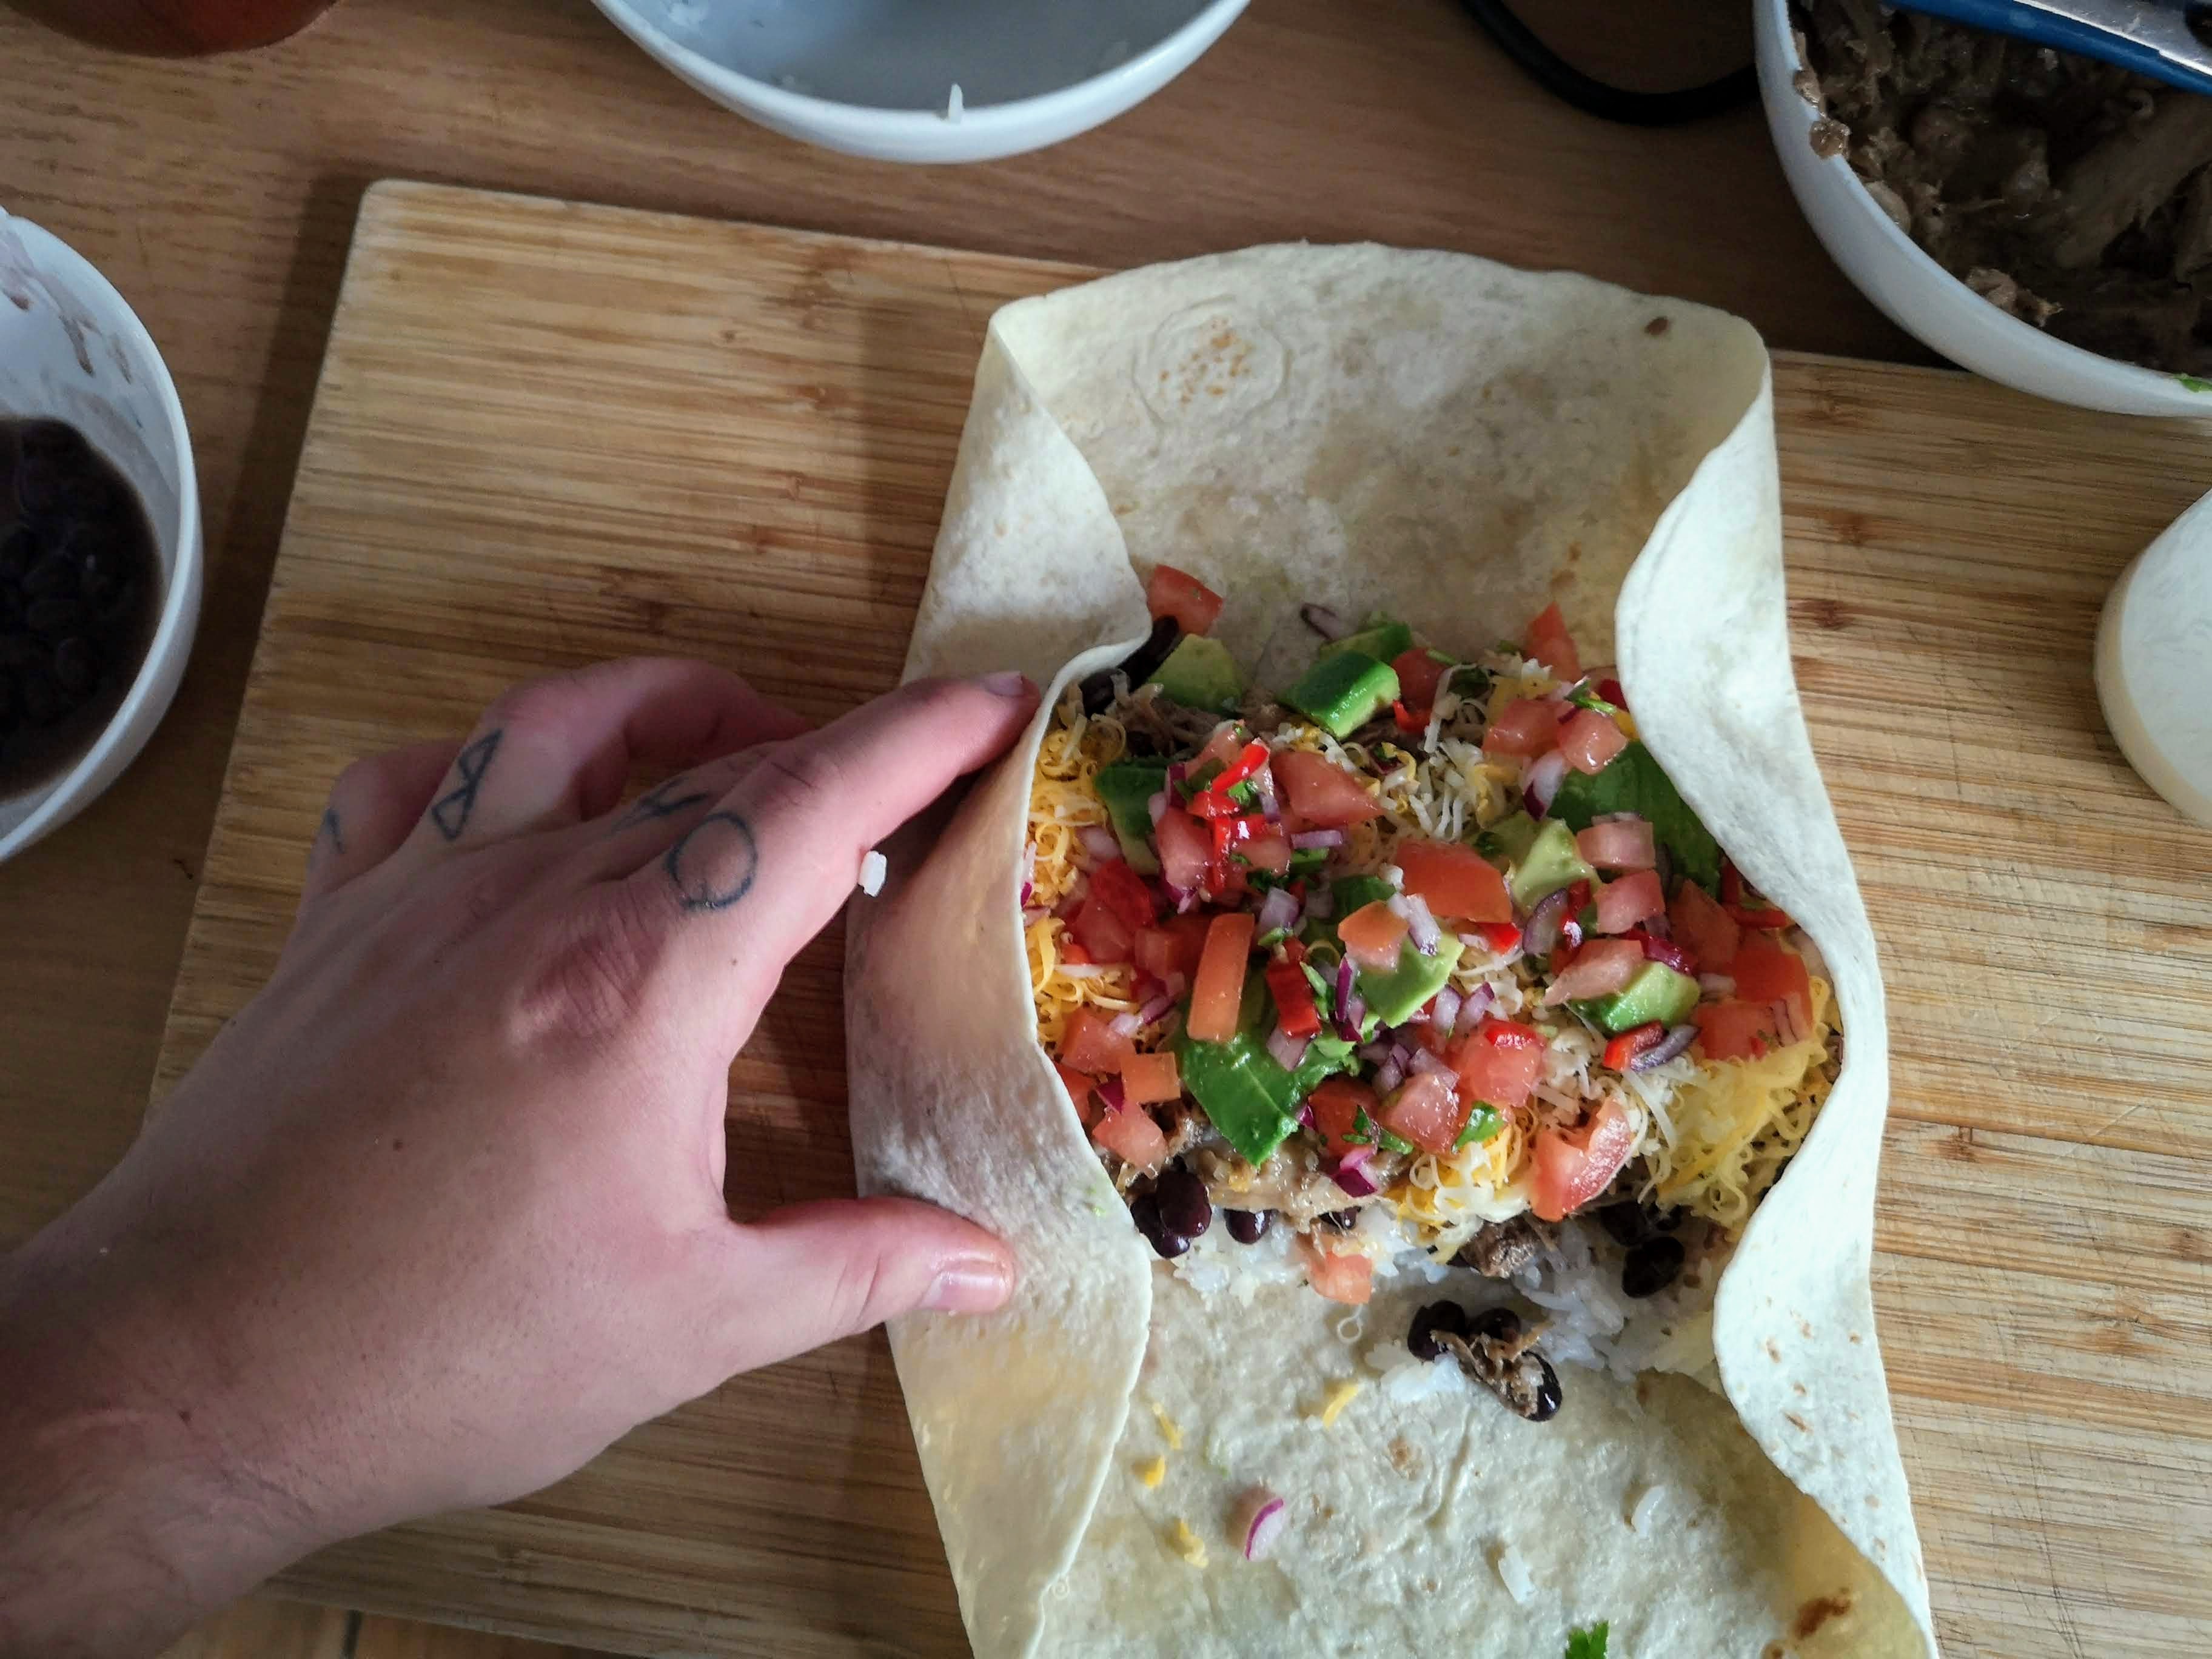
Now, it’s time to start rolling. I fold each side in and pinch around the outer edges of the filling. This points the top and bottom flap inward as seen in the image above.
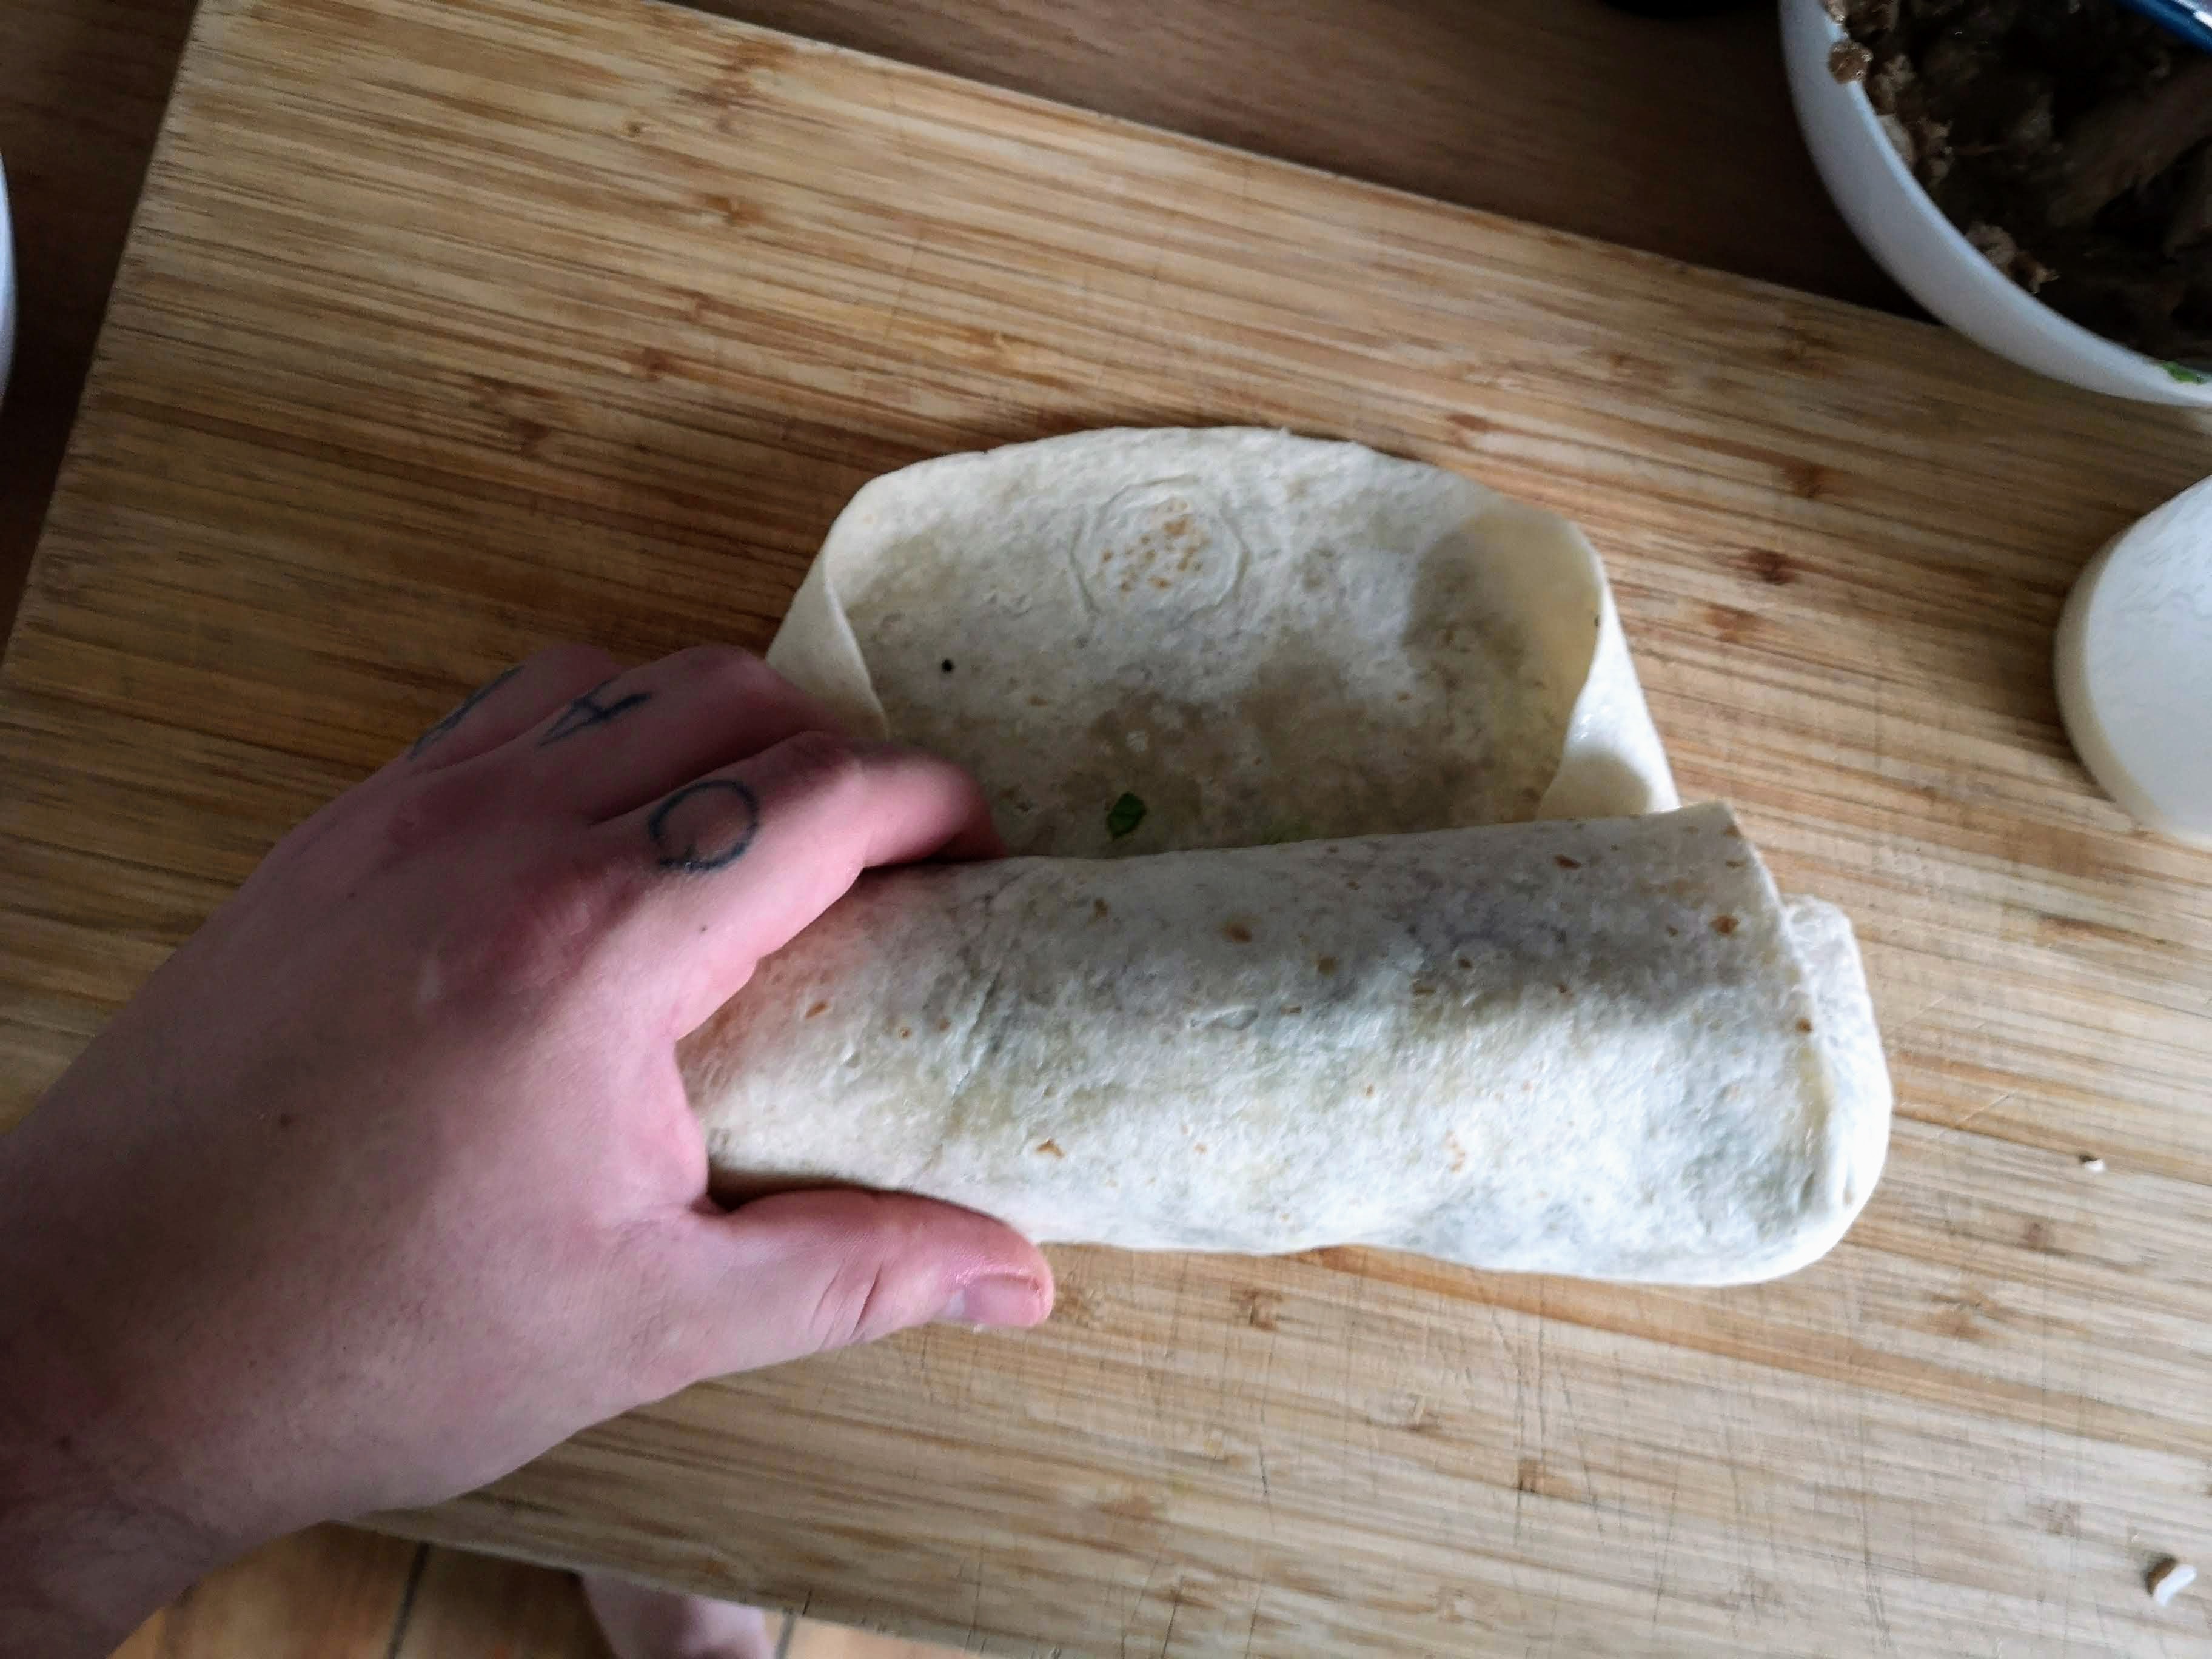
I then take the bottom flap and fold it over the filling. I use the tips of my fingers to just tuck the tip of the flap under the filling and tighten the whole thing as I roll it away from me, while making sure the ends stay tucked in too.
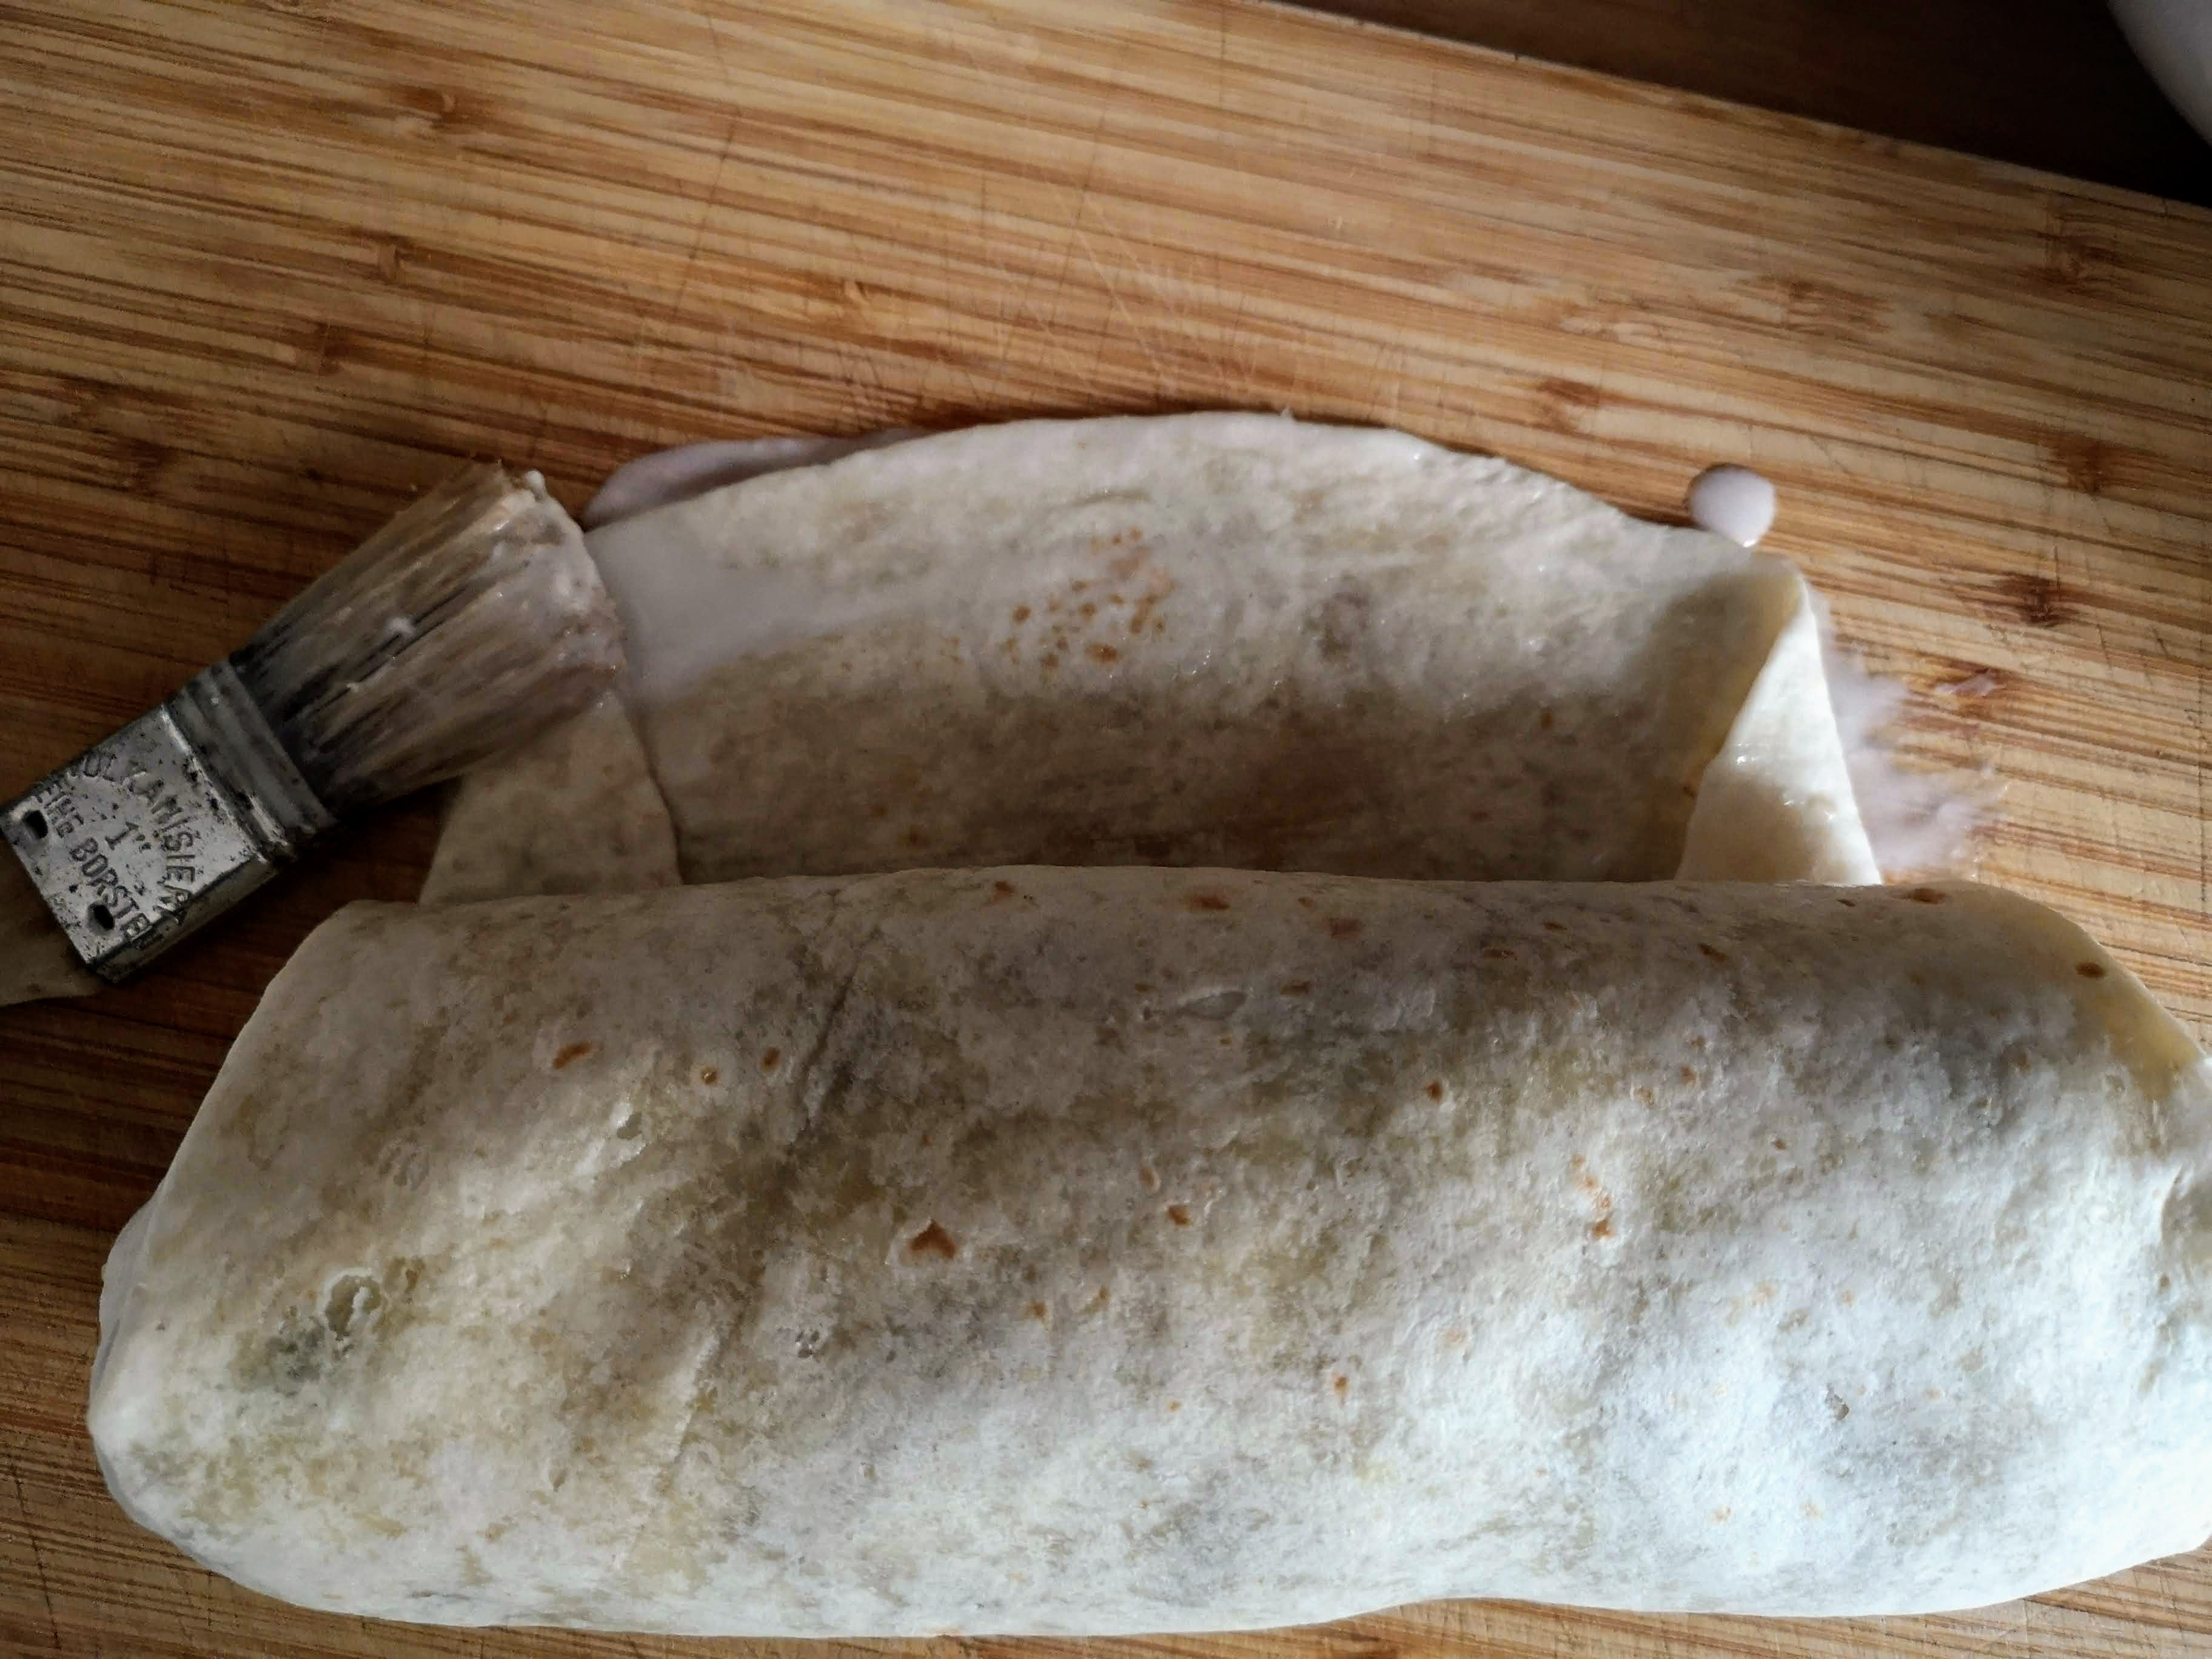
I roll until there’s about a one-inch flap left up top. I use a small brush to paint on a thin layer of the flour paste onto the flap. You don’t need much.
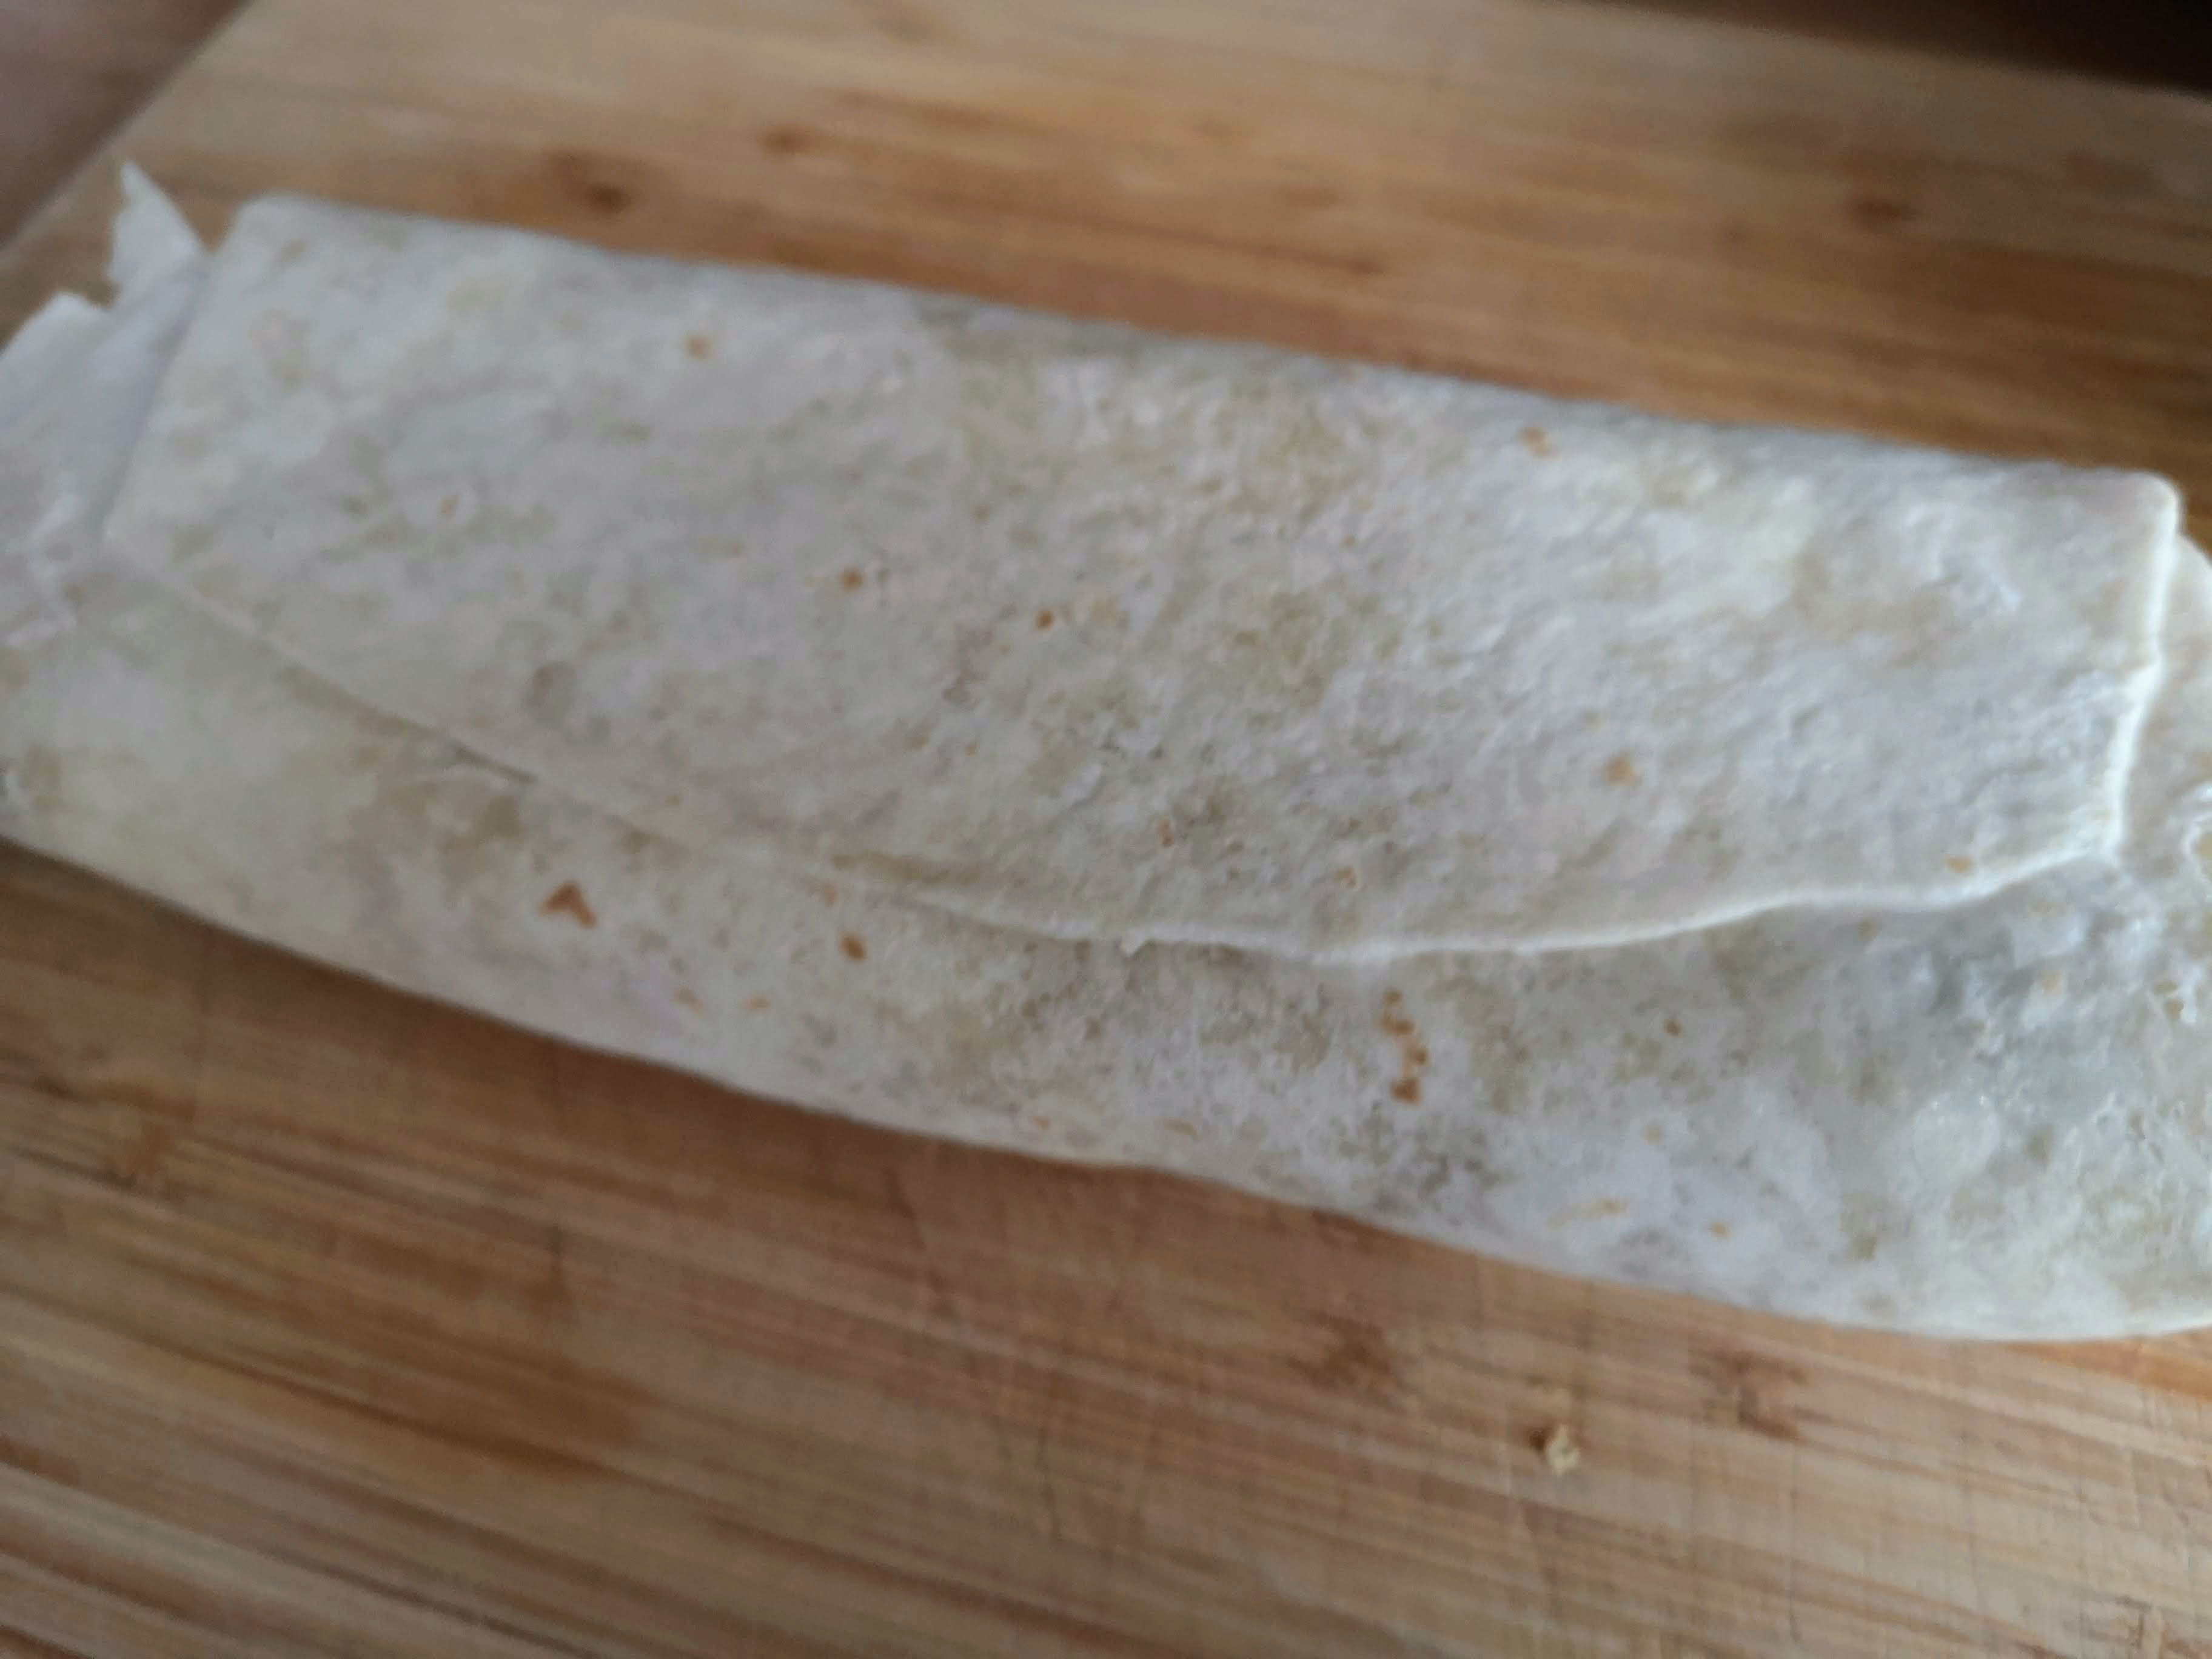
I then roll the burrito over with the seam side down. I seal the flap by gently applying pressure by pressing down. You don’t need to do more than gently pat it down, really.
At this point, you have a sealed burrito ready to eat (as long as all your base ingredients were piping hot when you assembled them). But, there’s one more step to add that extra x-factor to any good burrito.
Toast:
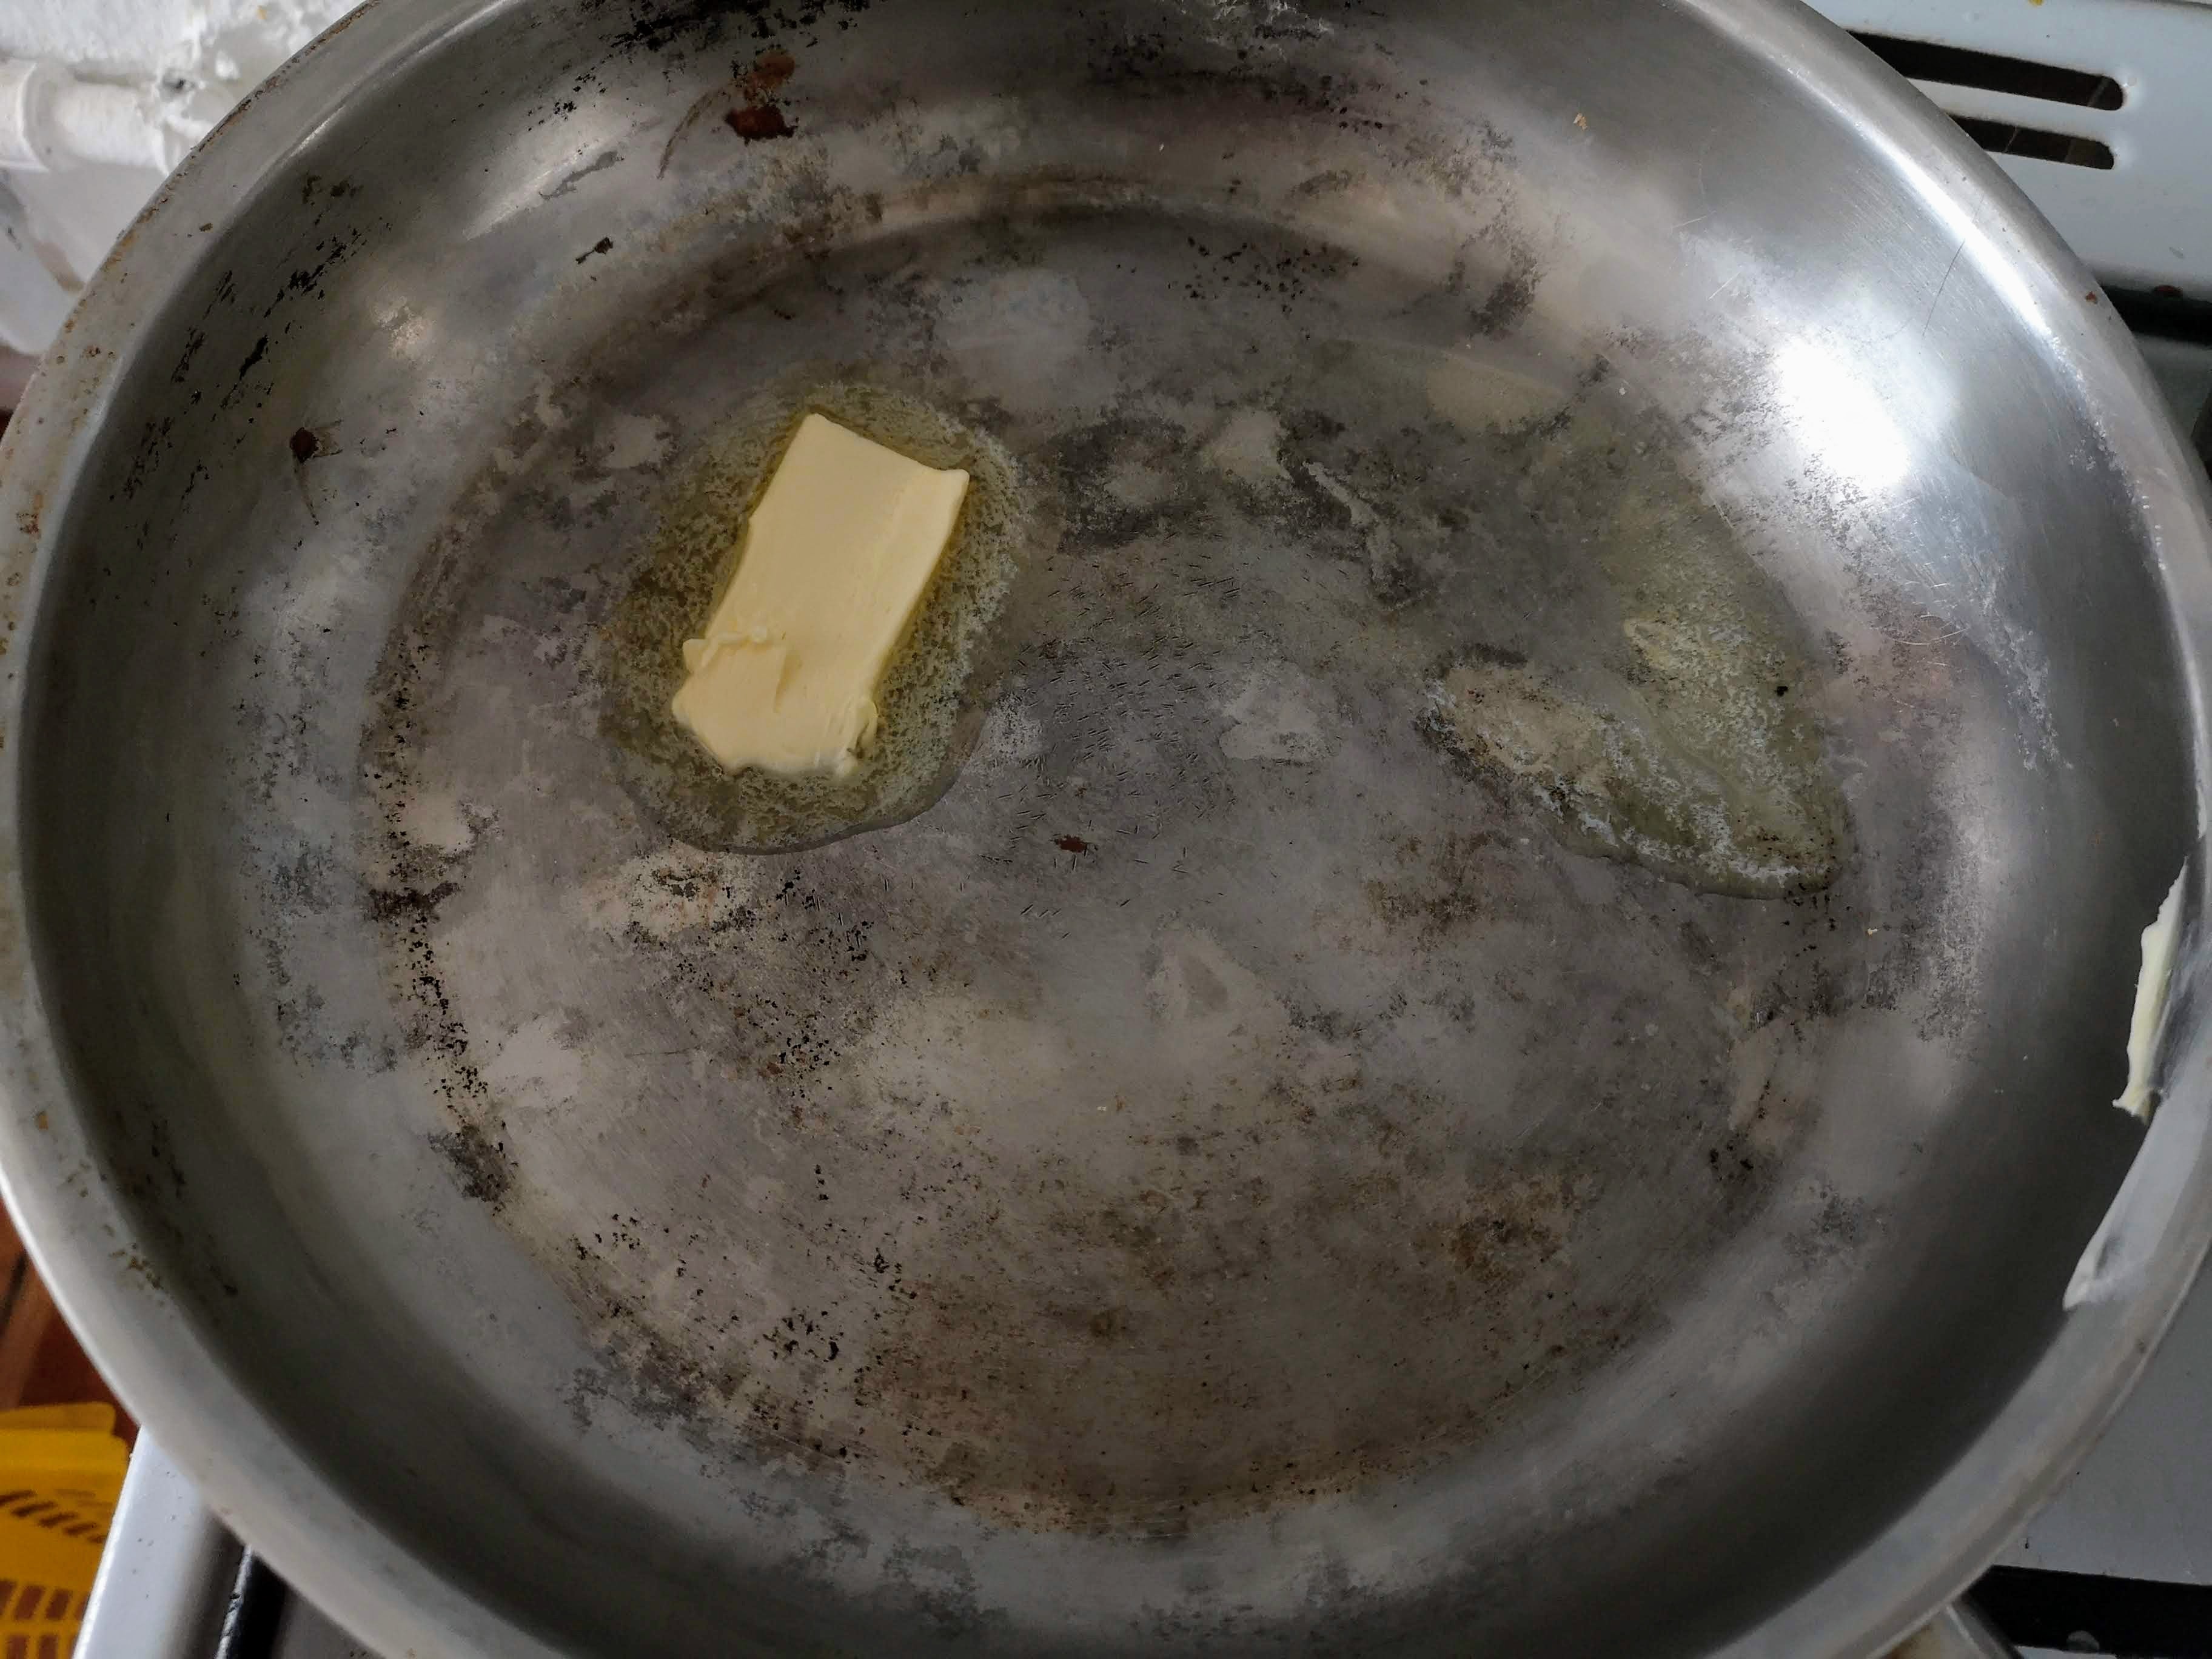
Let’s face it, the best burritos are the ones that are toasted off on a plancha or pressed in a sandwich press before they reach your hands.
I don’t have a plancha or a sandwich press, so I’m using a stainless steel pan that I use like a plancha. I add in about a tablespoon of butter over medium heat and let it just start to brown.

I then add the burrito, seam-side down, and place another heavy pan on top of the burrito. You don’t need to press down at all. The weight of the pan will do all the work.
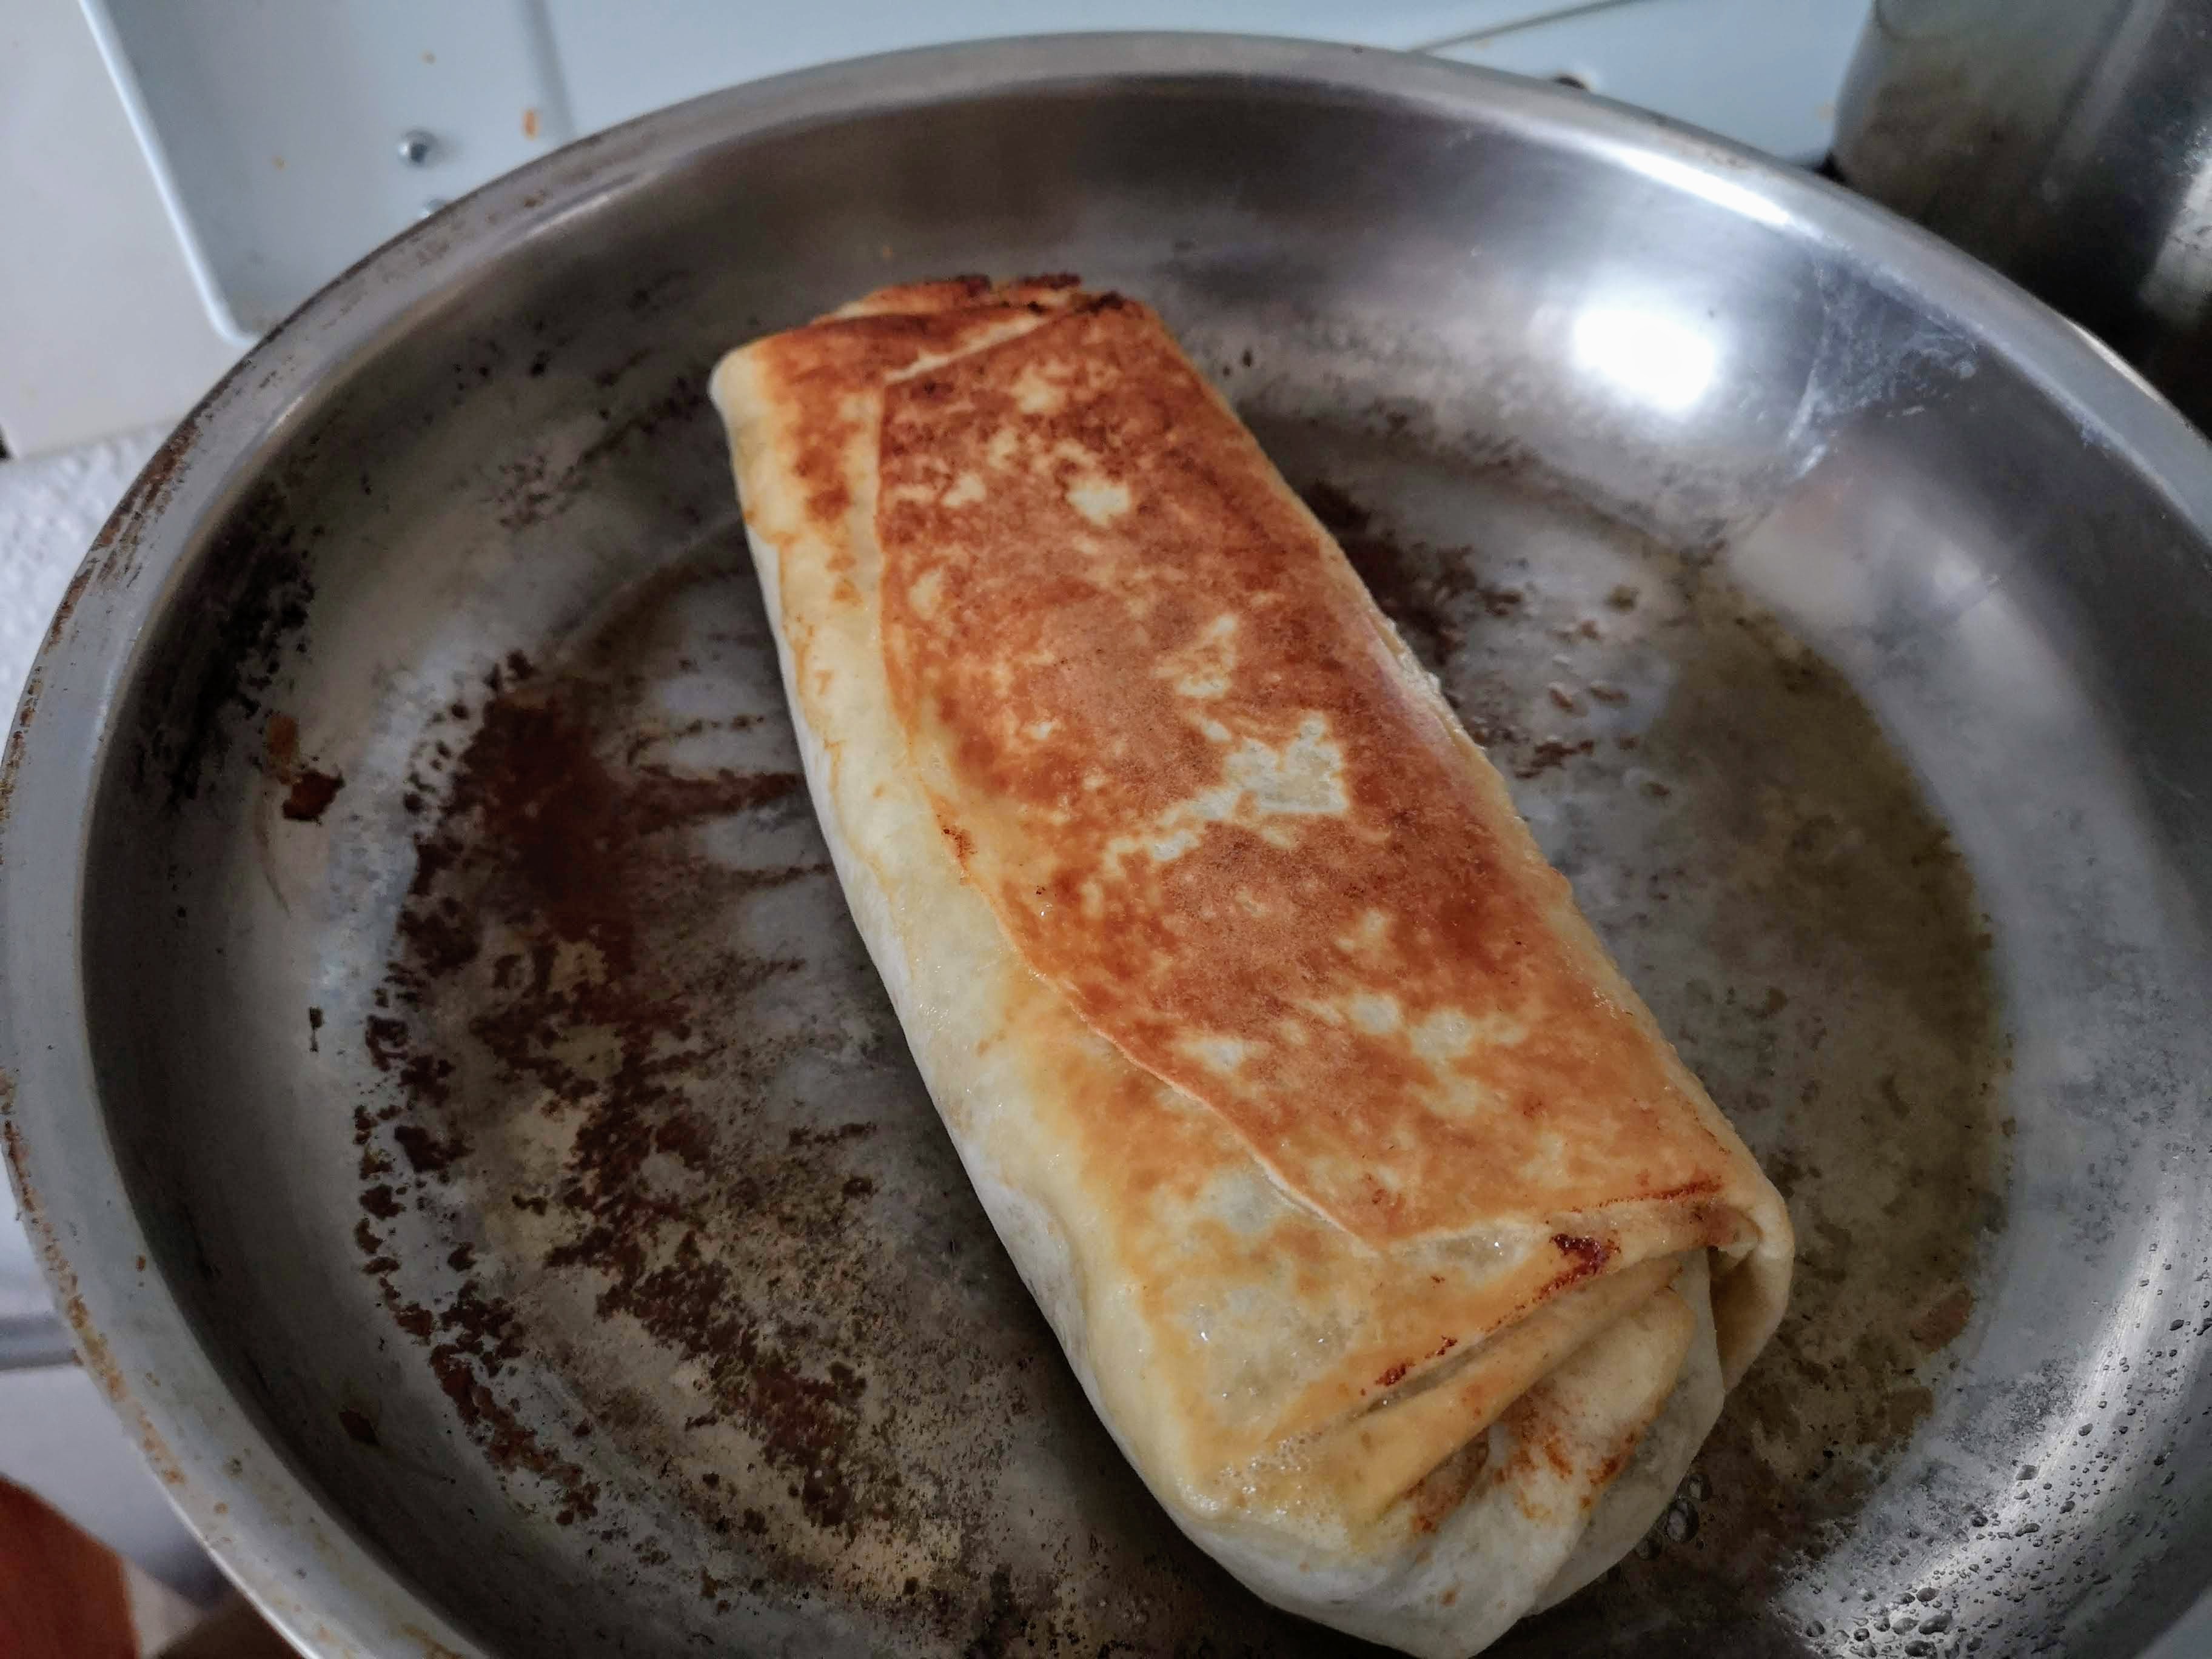
After one to two minutes, you’ll get a nice browning on the bottom. Remove the top pan and flip the burrito over to brown the top. Put the second pan back on top and let it sit for another minute or two until nicely toasted.
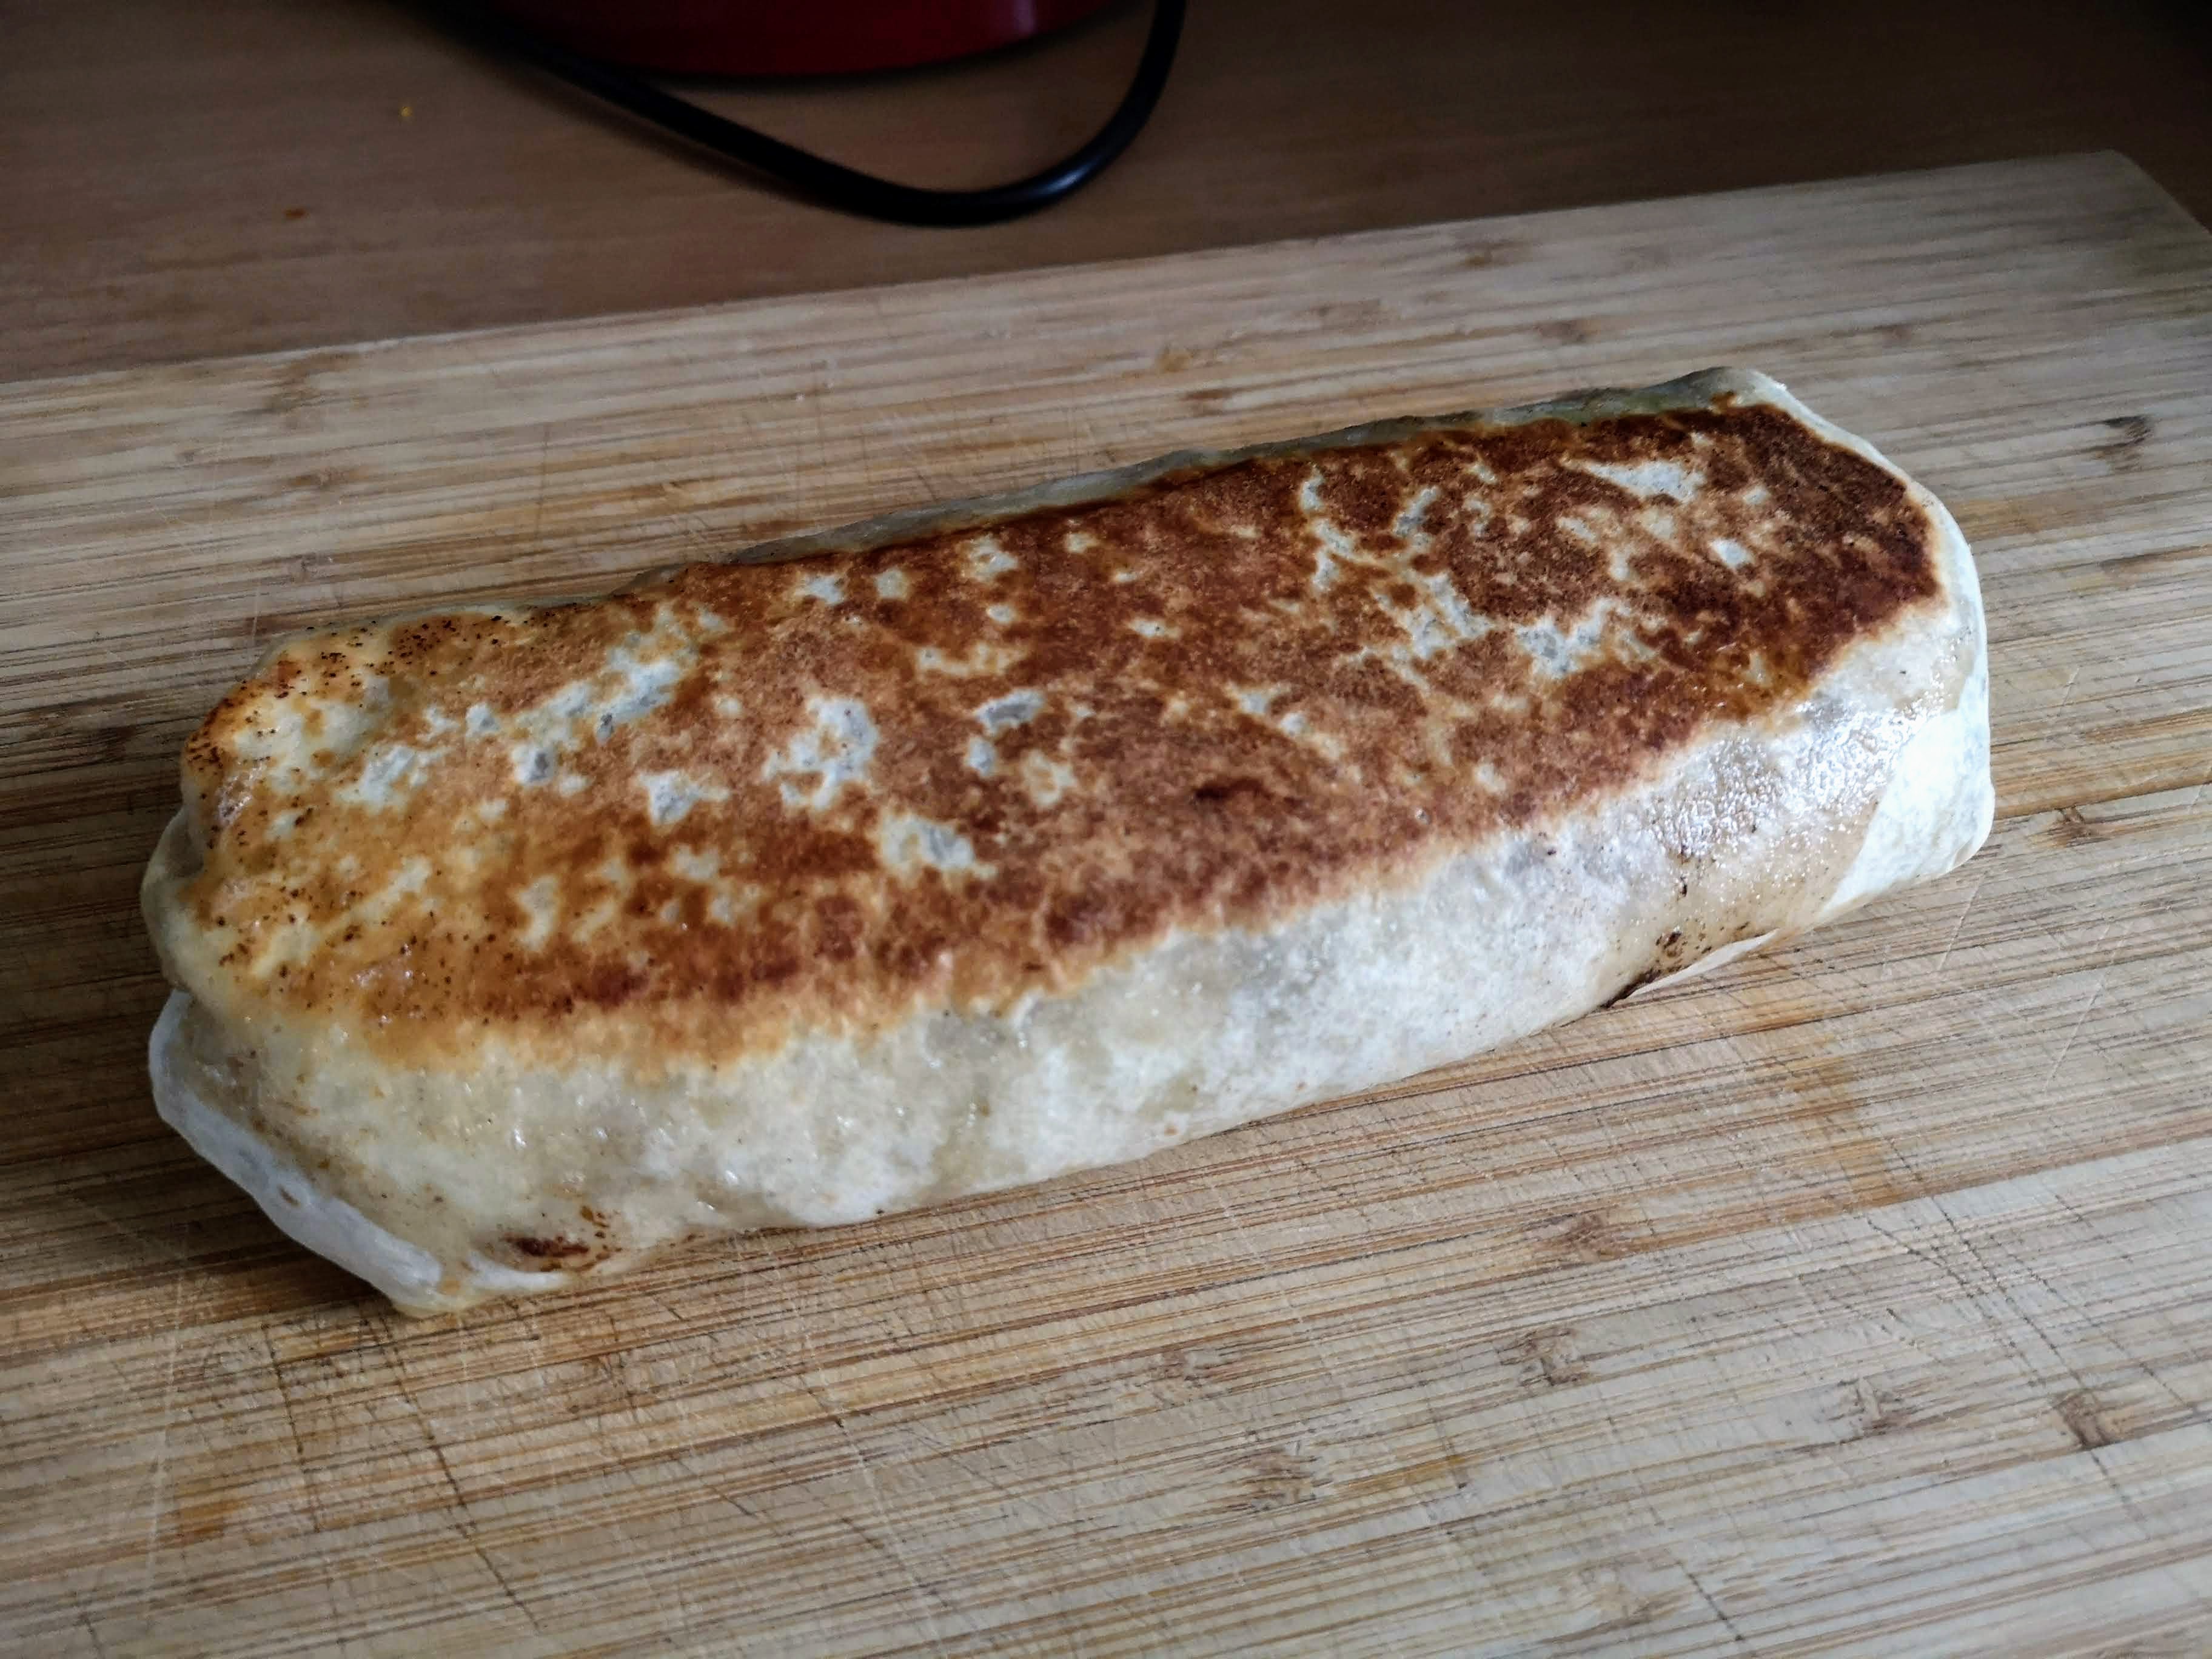
Once both sides have a nice crispy toasted crust, it’s ready.
Serve:
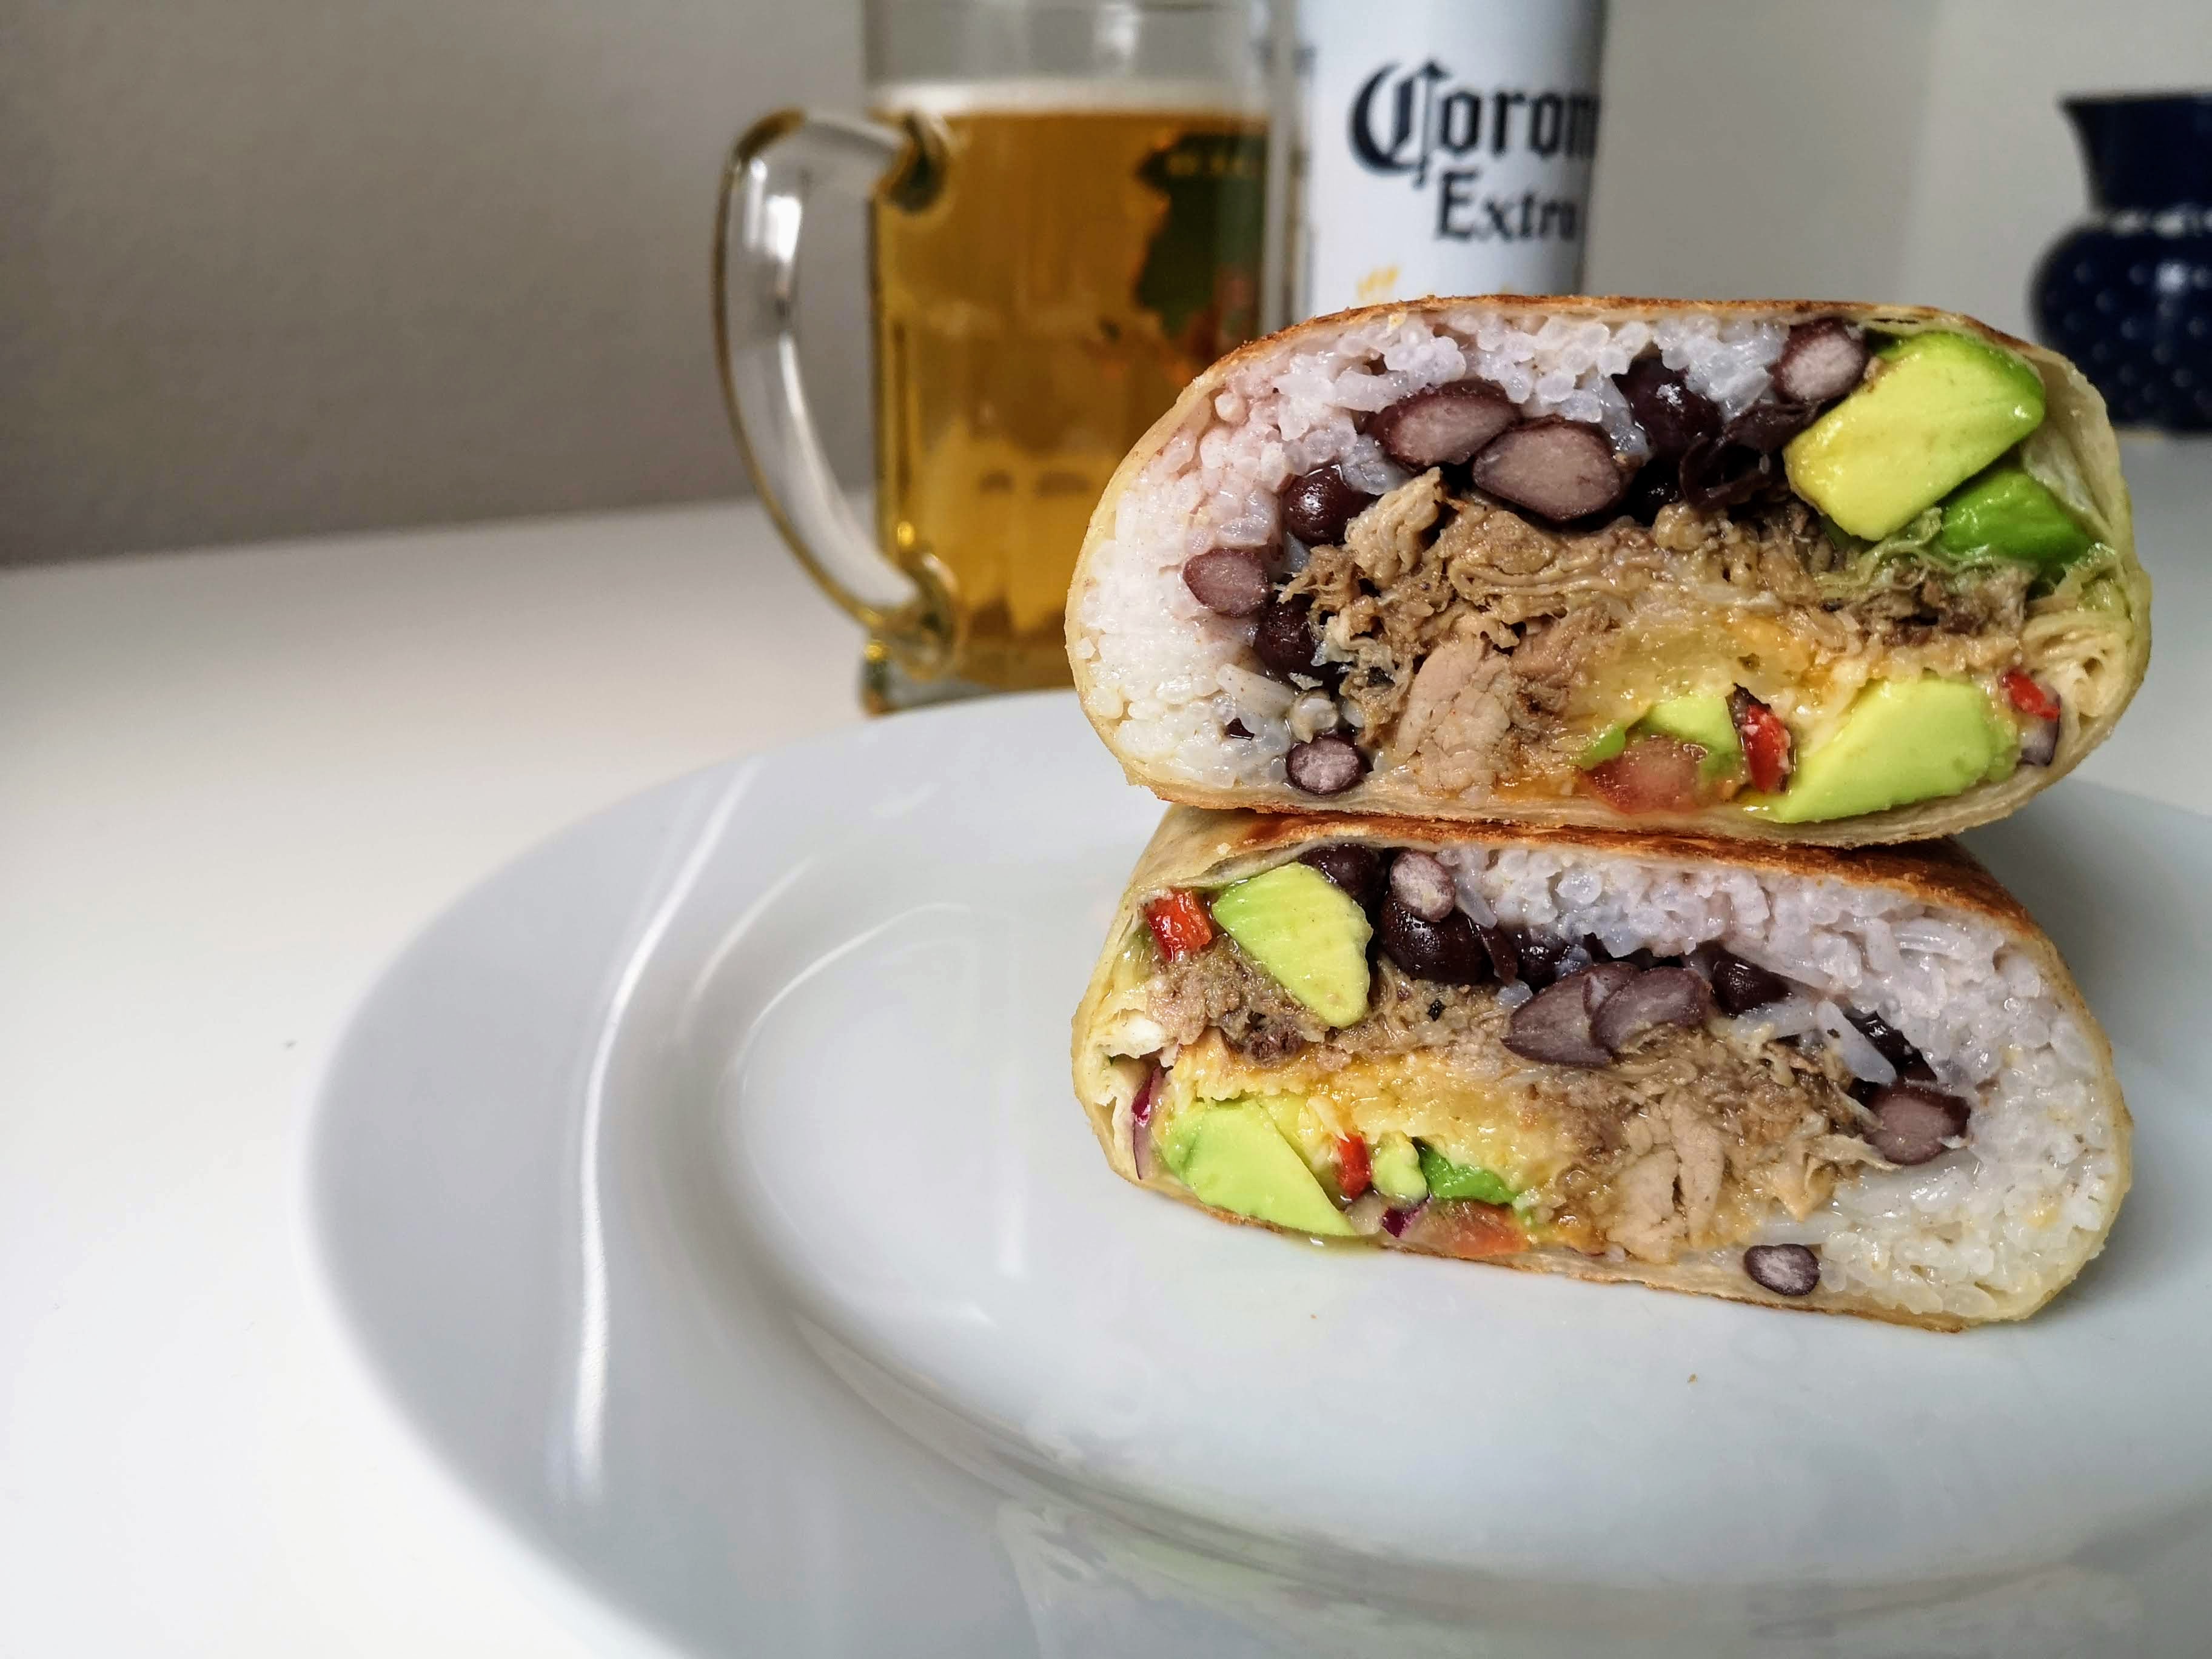
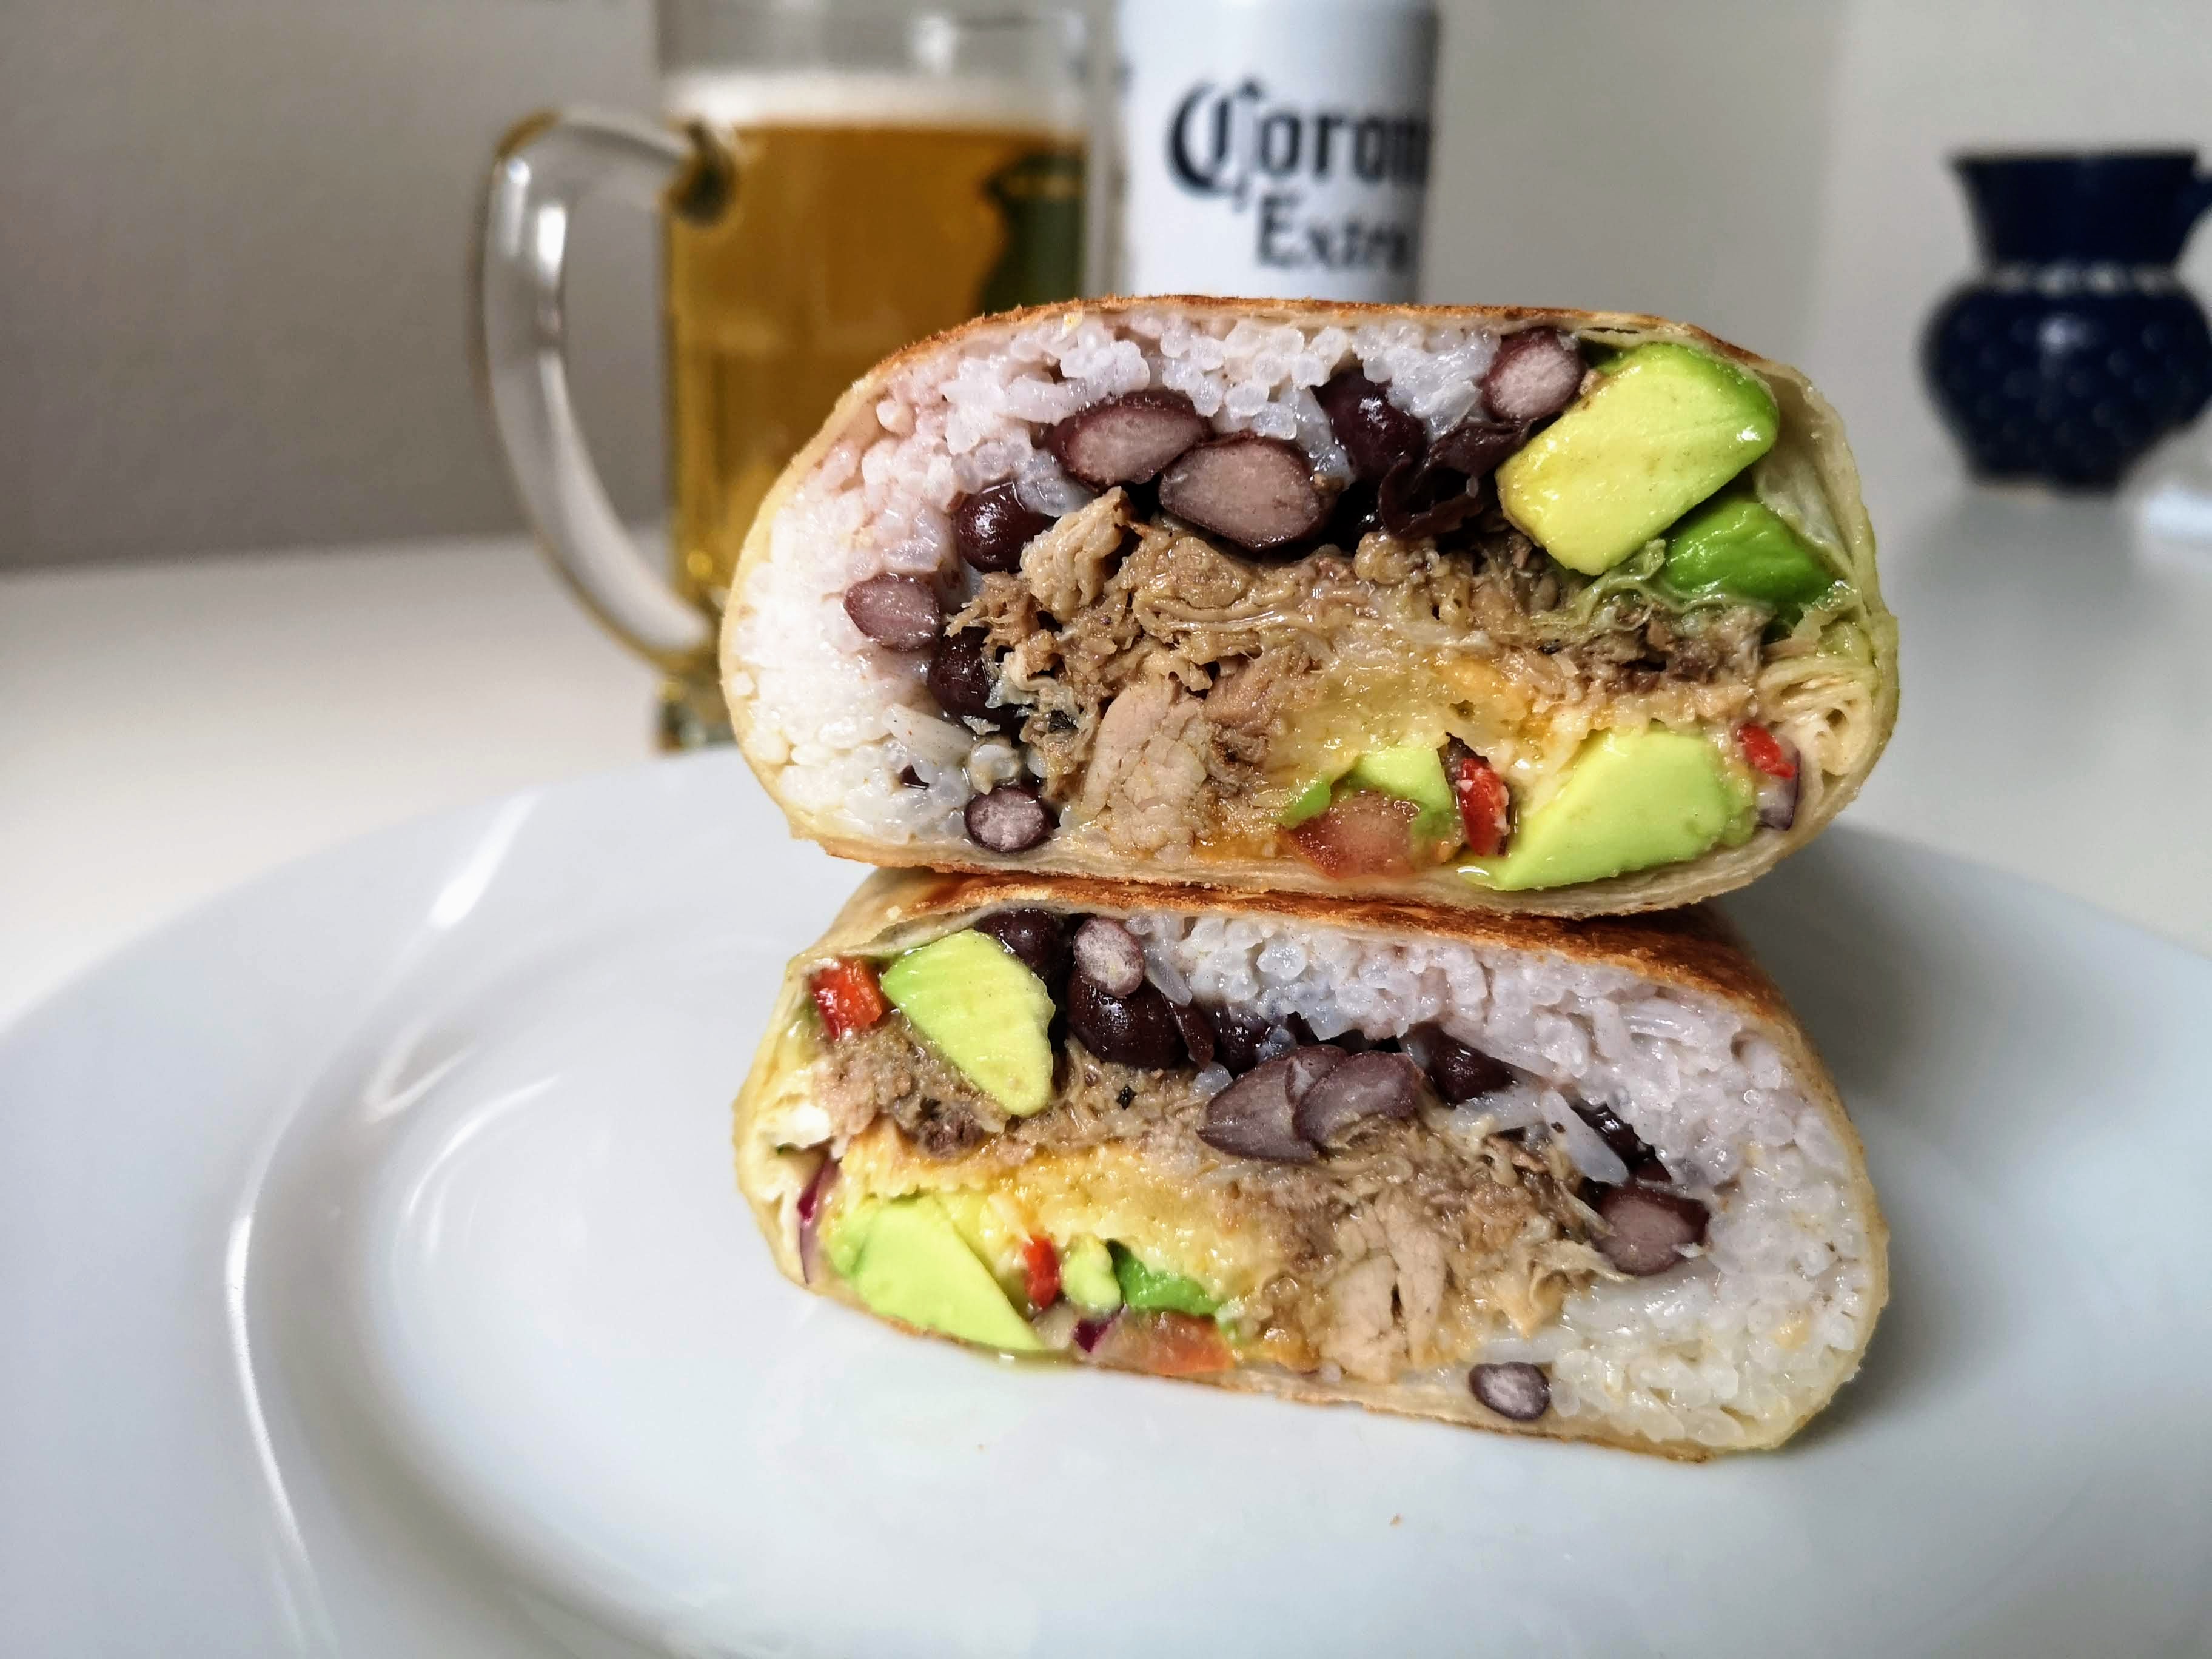
I cut the burrito in half to get a look at the cross-section and serve it with a beer.
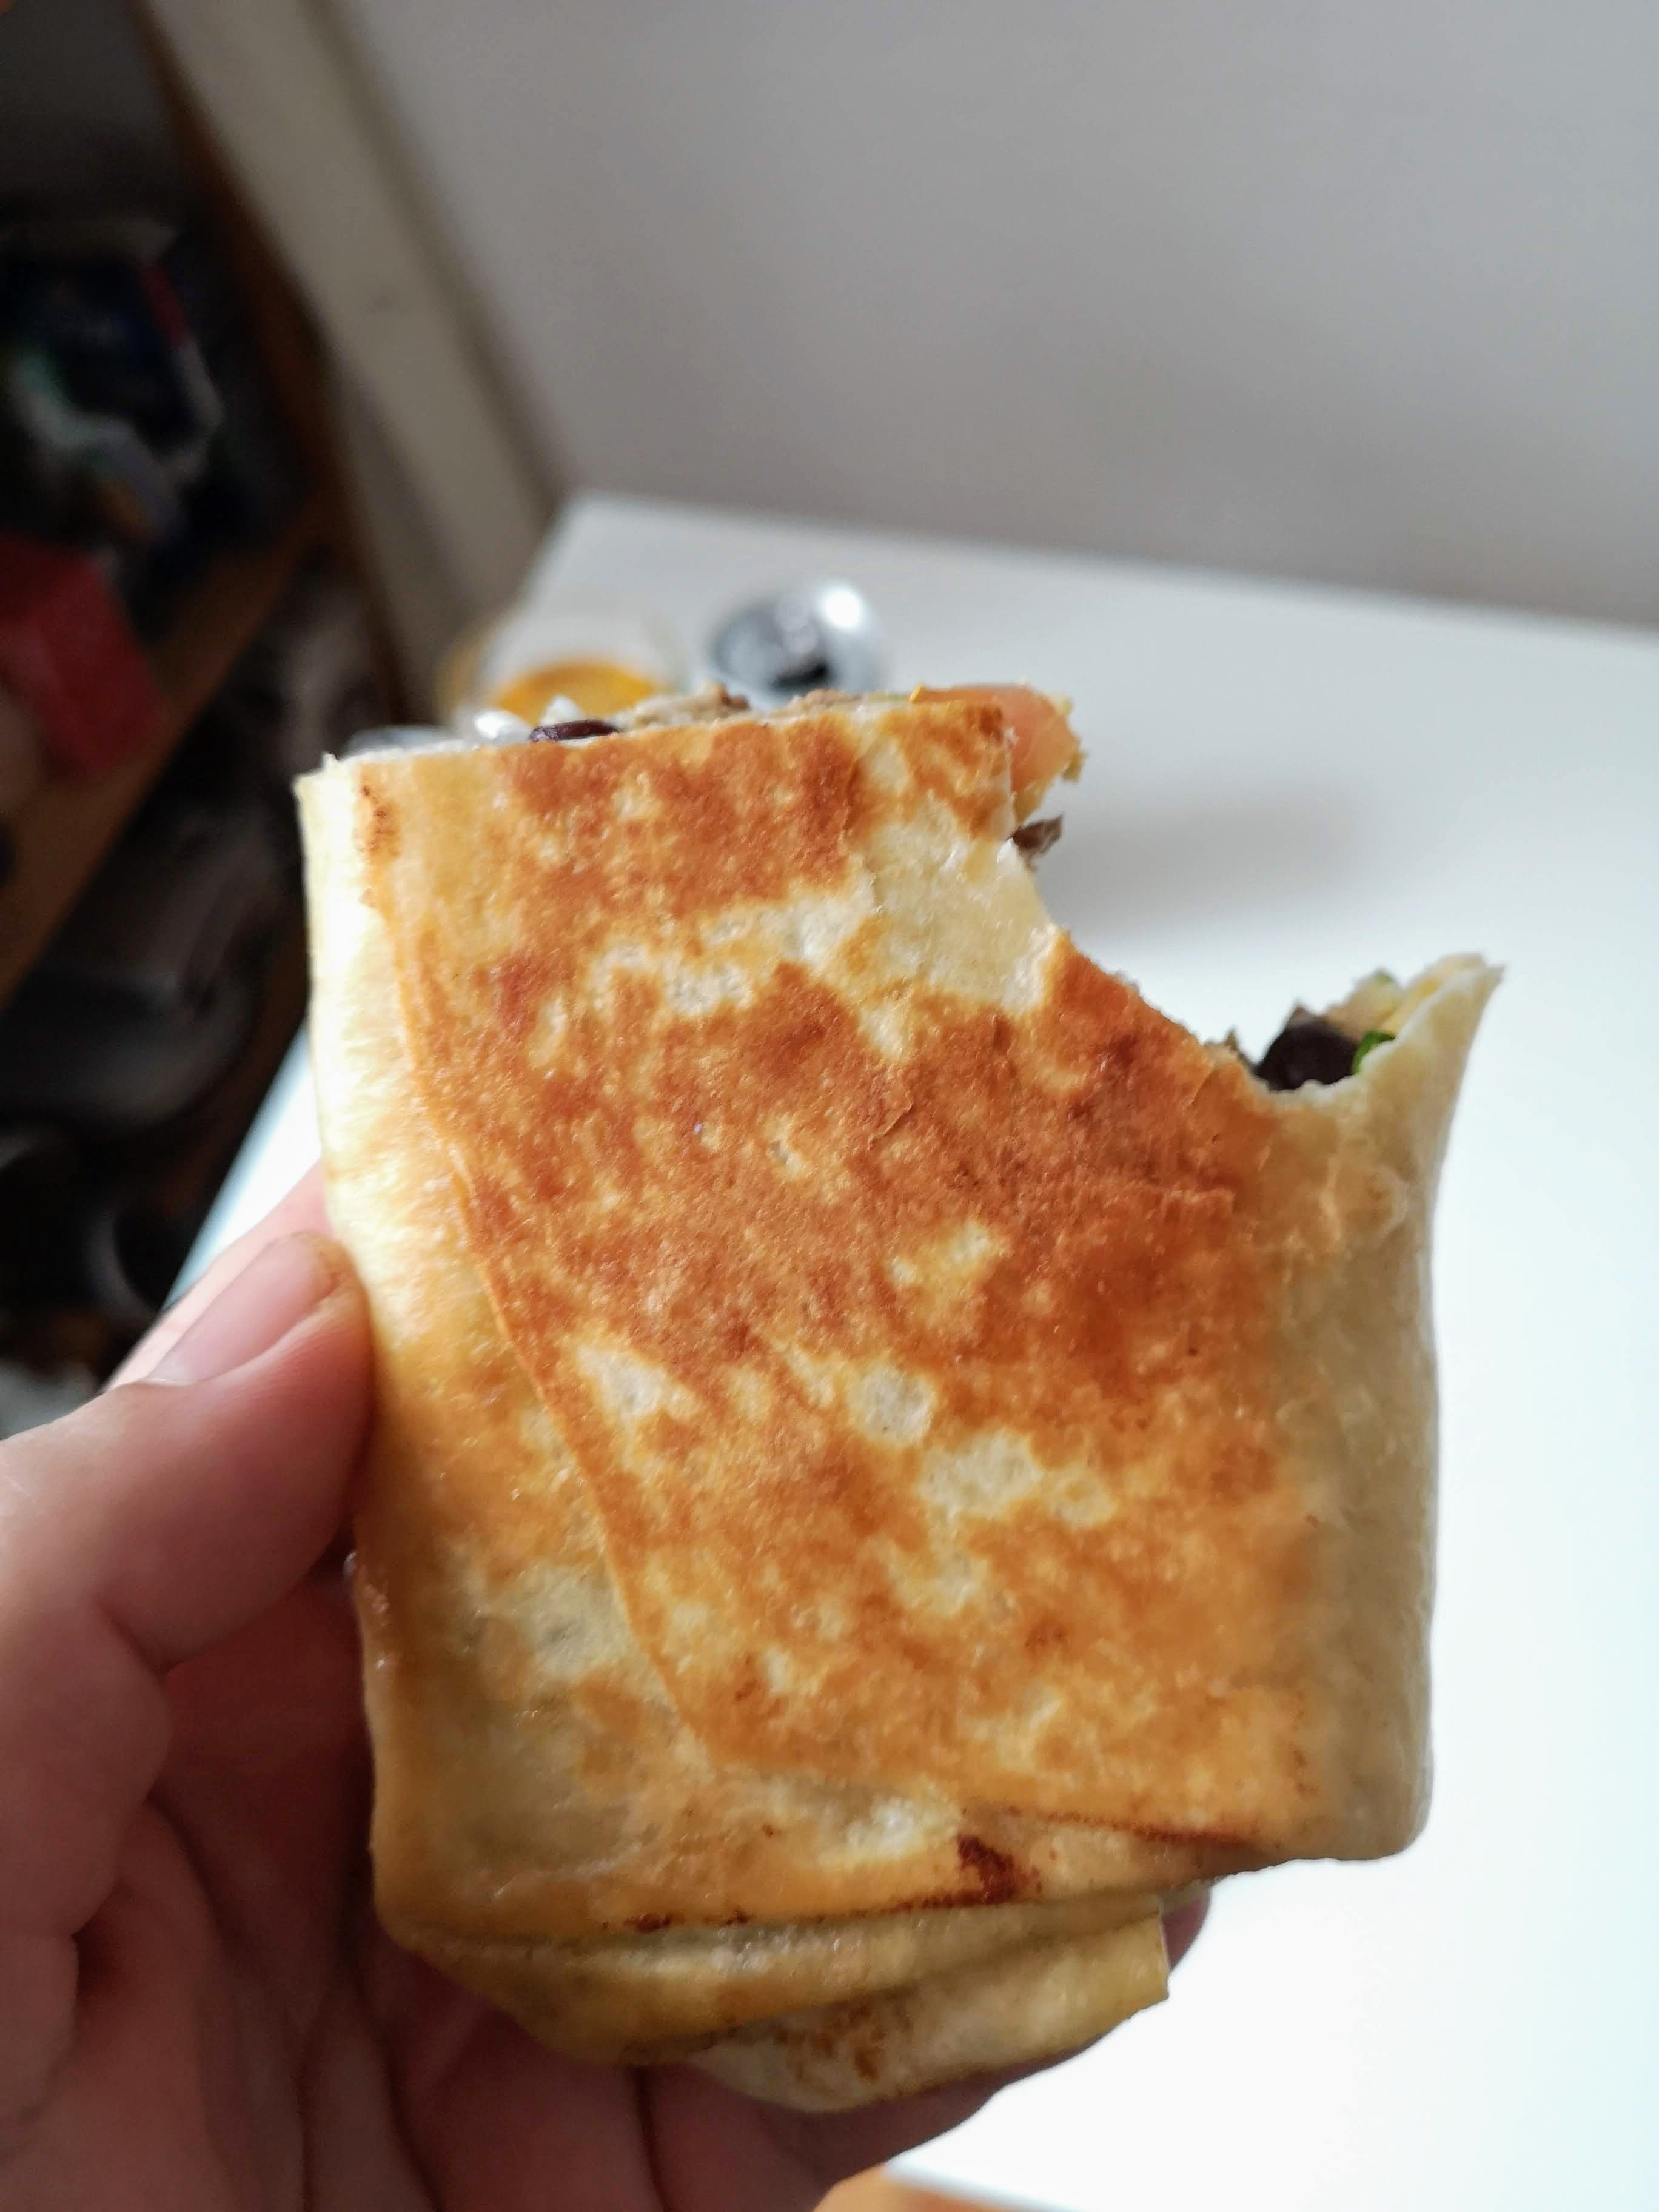
As you can see, the burrito is still properly sealed and remains so as I eat it. There’s no overflow, no falling apart, and no mess. Also, the light toasting in butter gives you an incredible crunch, with a brown butter depth to the otherwise very plain flour tortilla.
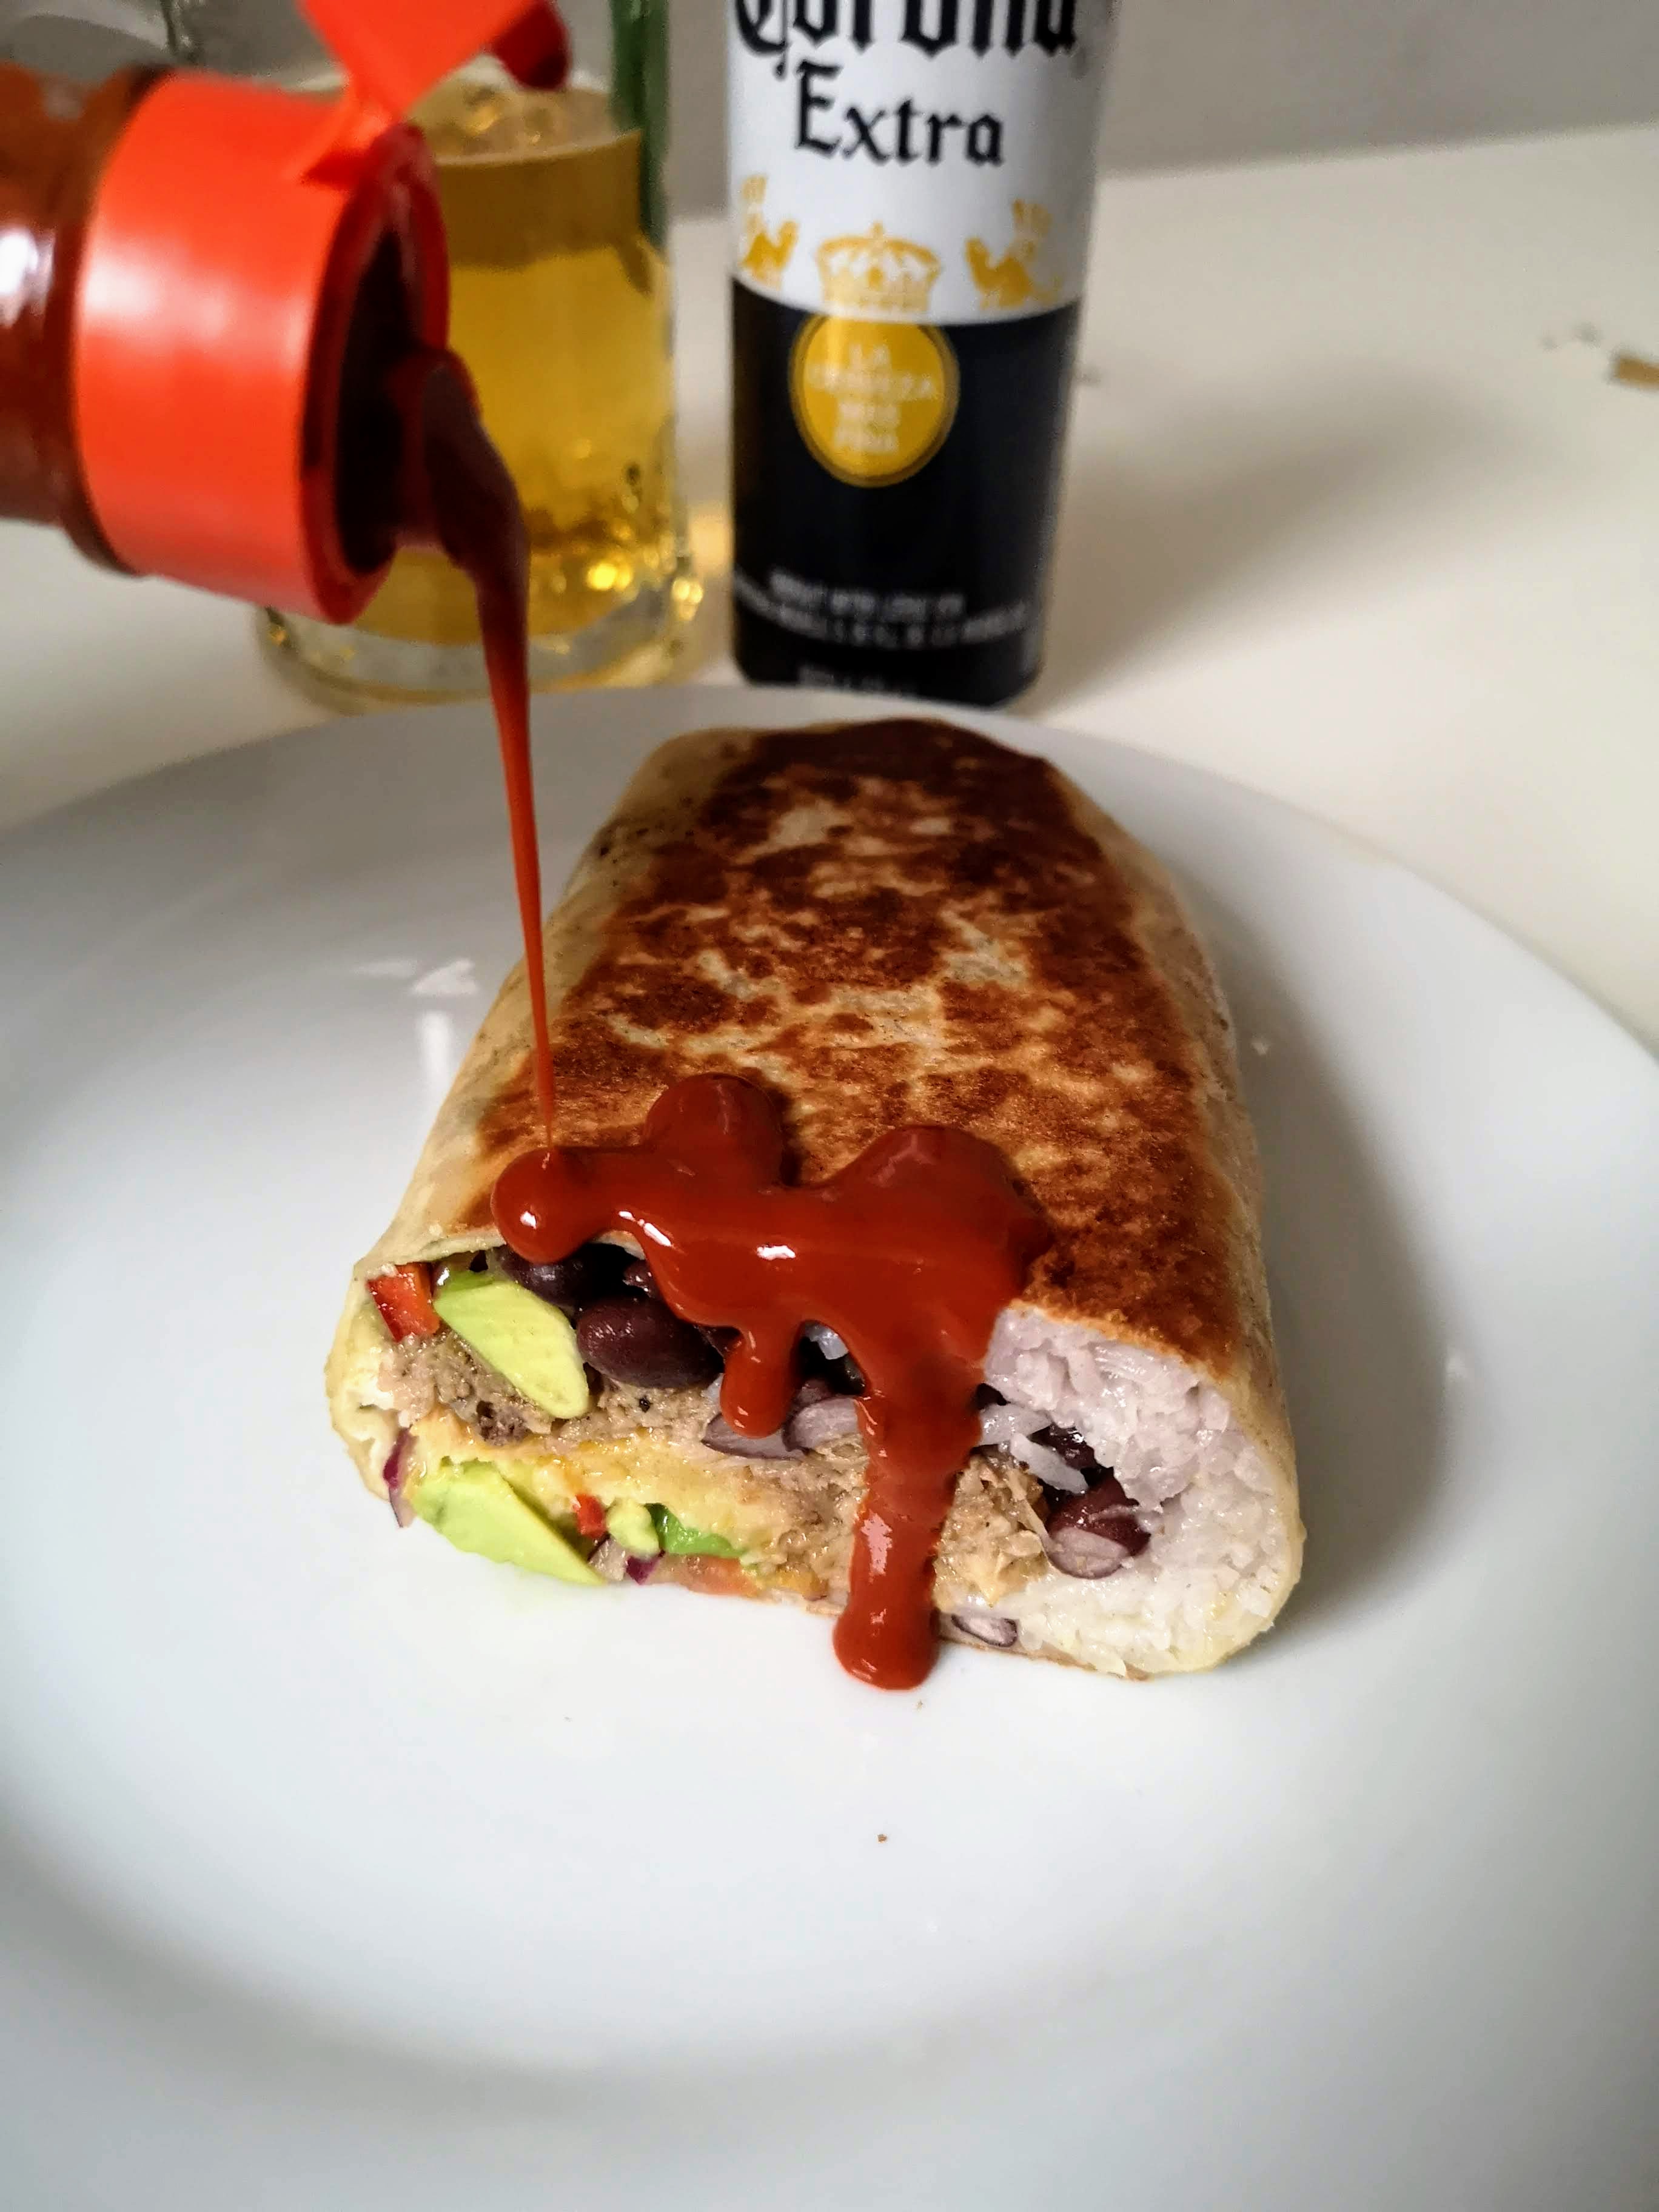
Oh yeah, I almost forgot the hot sauce. I pour on some Valentina’s and tuck in. This was super filling and very tasty. I was also huge. I may need a nap. I’m sure to sleep like a baby, dreaming of all the people out there whose burritos will hold together from the first bite to the last.
