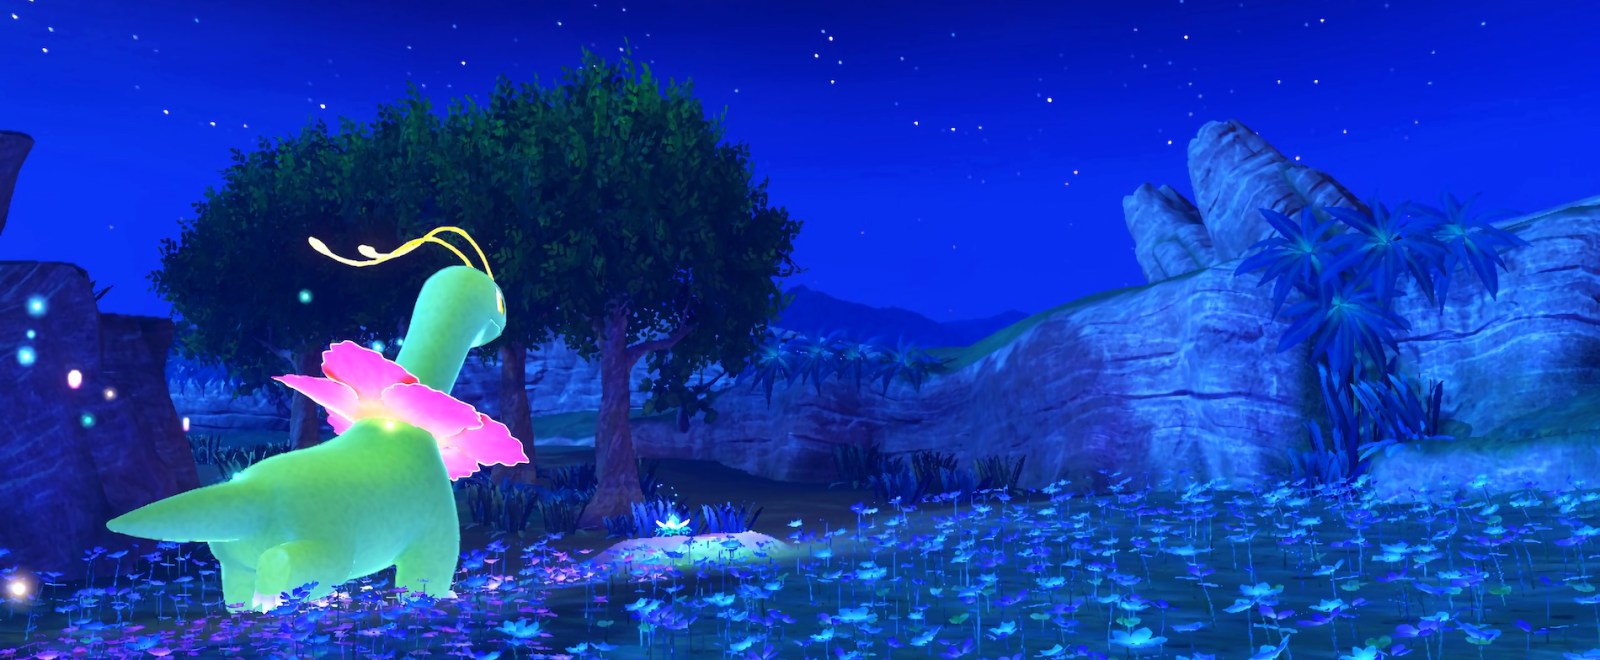
My day job is writing and editing music posts for Uproxx (and busting out a gaming post here and there). Sometimes, the job involves me going to concerts and music festivals to take photos… although not much over the past year, as you’d imagine. So, you could say that makes me a professional photographer. Now that New Pokémon Snap is out, I thought it could be fun and useful to look at the game from a photography perspective and see what sort of visuals we can squeeze out of the Nintendo Switch. So, let’s go over some tips about how to become the next Todd and produce the best Pokémon photos possible.
It’s important to note that this rundown won’t be about getting the highest score in-game, but how to take the most visually appealing photos, as those two goals don’t always go hand-in-hand. Typically, photos with the Pokémon large and in the center of the frame are most desirable for racking up points, but that doesn’t always produce the nicest image from a visual standpoint.
My first tip is to know what kind of photos you want to take. You only have so much control over your shot because in the game, you move on a predetermined path and the Pokémon can only perform so many actions. Despite that, you can still achieve a variety of shots.
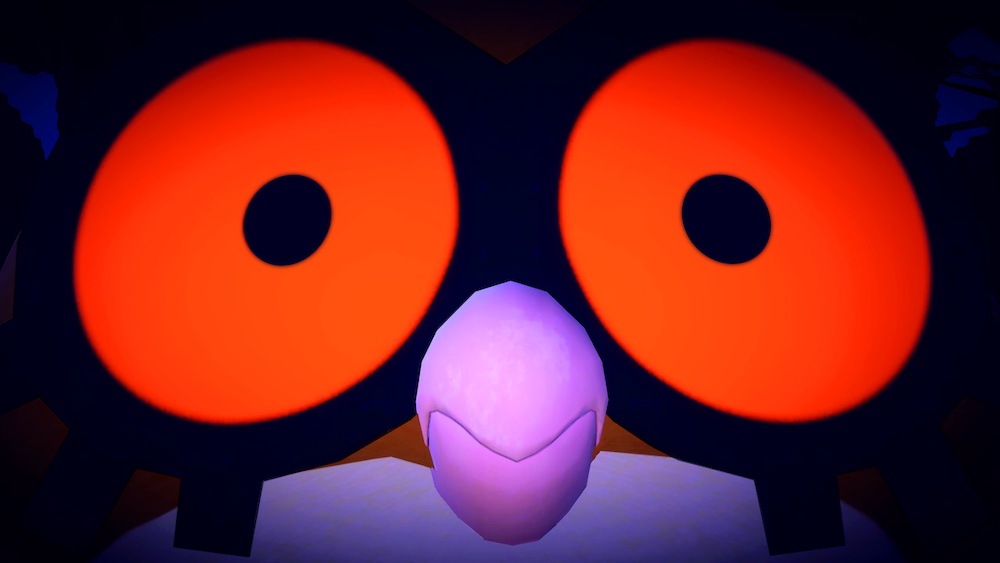
Look to different types of real-world photography for inspiration — nature, portrait, pet, landscape, etc. — and find ways to apply the styles of those genres to Pokémon Snap. You could even look at the illustrations on your favorite Pokémon cards and see what those images do well. Many basic guidelines about real-world photography — the rule of thirds, using different perspectives, etc. — should be useful here, too, so going down a YouTube or Google wormhole about photography tips could serve you well.
My next piece of advice is to not worry too much about getting the perfect shot while out in the level. The reason for that is New Pokémon Snap‘s re-snap mode makes it super easy to refine your image after the fact and even re-frame it entirely. This is where the game has the advantage over real photography: If the zoom of a photo is off or your subject isn’t quite where you want it, you can use this mode to essentially freeze time, reposition yourself, and change your camera settings so they’re exactly how you’d like them. Now, timing should be the only thing stopping your from getting the perfect shot, as opposed to the dozens of other factors that impact real-life photographers.
The third and final tip is perhaps the most important for producing a high-quality final product: Enhance the image outside of the game. Post-processing is a significant part of real-world photography as well. Take your image into a program like Photoshop or Lightroom and tinker with the brightness, sharpness, saturation, shadows, and so on. If you have a specific look in mind, it can be helpful to open an existing photo that looks similar to what you’re going for and try to match its style while editing.
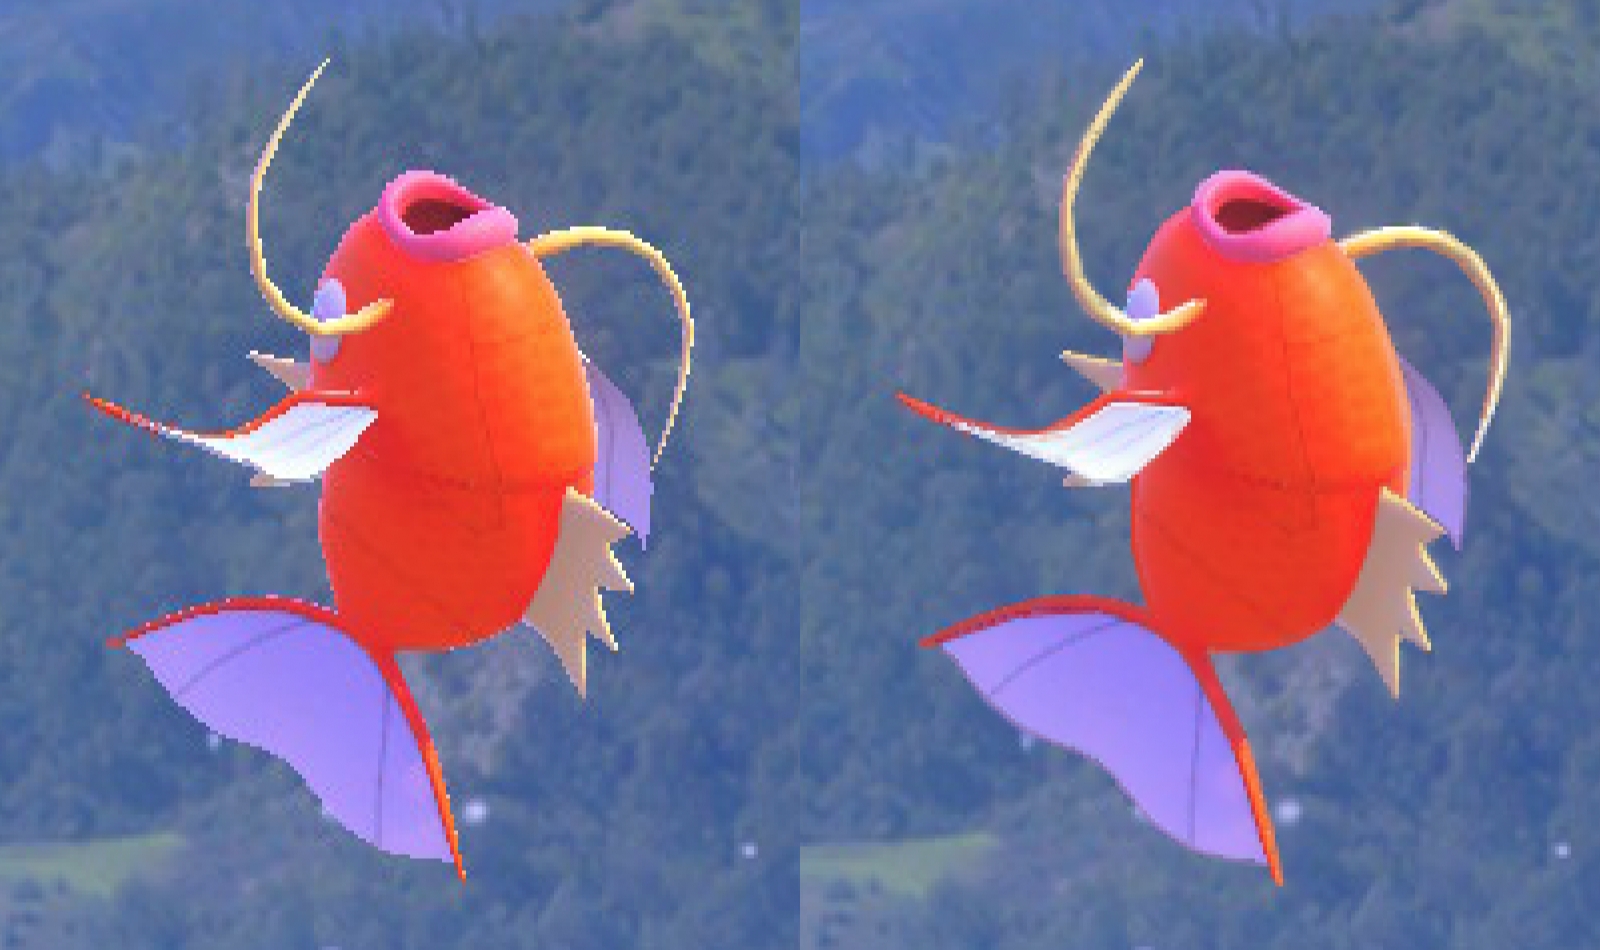
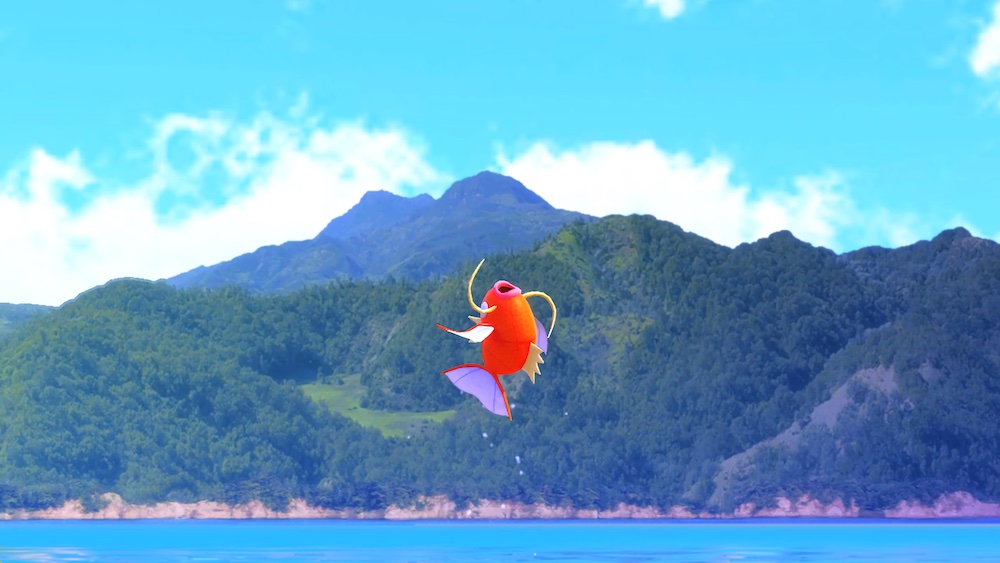
I notice that oftentimes, the outlines of Pokémon and other objects have a lot of pixelation and ugly jagged edges, especially when the Pokémon or object isn’t up close to you. So, feel free to experiment with blur and drawing over problem areas to help correct them. For example, here’s a side-by-side of an image I made using those two techniques, with the before on the left and the after on the right. Notice how the blur has taken care of pixelation both surrounding Magikarp and on its body, and how I’ve drawn new outlines for Magikarp (using the color grabber tool so the new lines blend in) that look a lot smoother.
If Photoshop seems intimidating (or you don’t feel like paying Adobe a monthly fee to use it), you can still get significant image improvement using basic tools. The built-in Preview app on Mac computers, for example, has an Adjust Color window that lets you alter things like exposure, contrast, and sharpness, and just those simple tweaks can work wonders. The Adobe Lightroom mobile app is also useful and is actually pretty robust (and it’s free). Whatever editing option you go with will at least be better than the in-game filters.
This is a great start, but perhaps you’ve noticed your image is still pretty low-resolution, at least in terms of photography: Switch screenshots max out at 720p (1280 by 720 pixels). For reference, compare that to my Samsung Galaxy S20 phone, which takes photos that are 9248 by 6936 pixels.
Fortunately, there are ways to increase the size of the image and get it looking pretty good. When doing this, I usually start with a website like Bigjpg or Waifu2x. Those sites and others like them use AI technology to increase the size of an image and produce a result that looks sharper and less noisy than just increasing the size in a regular image editor. Once you’ve enlarged the image, it’s a good idea to take it into an image editor again and make further adjustments. It’s at this point when I tend to focus on things like saturation and brightness.
After all that, here is my final before-and-after:
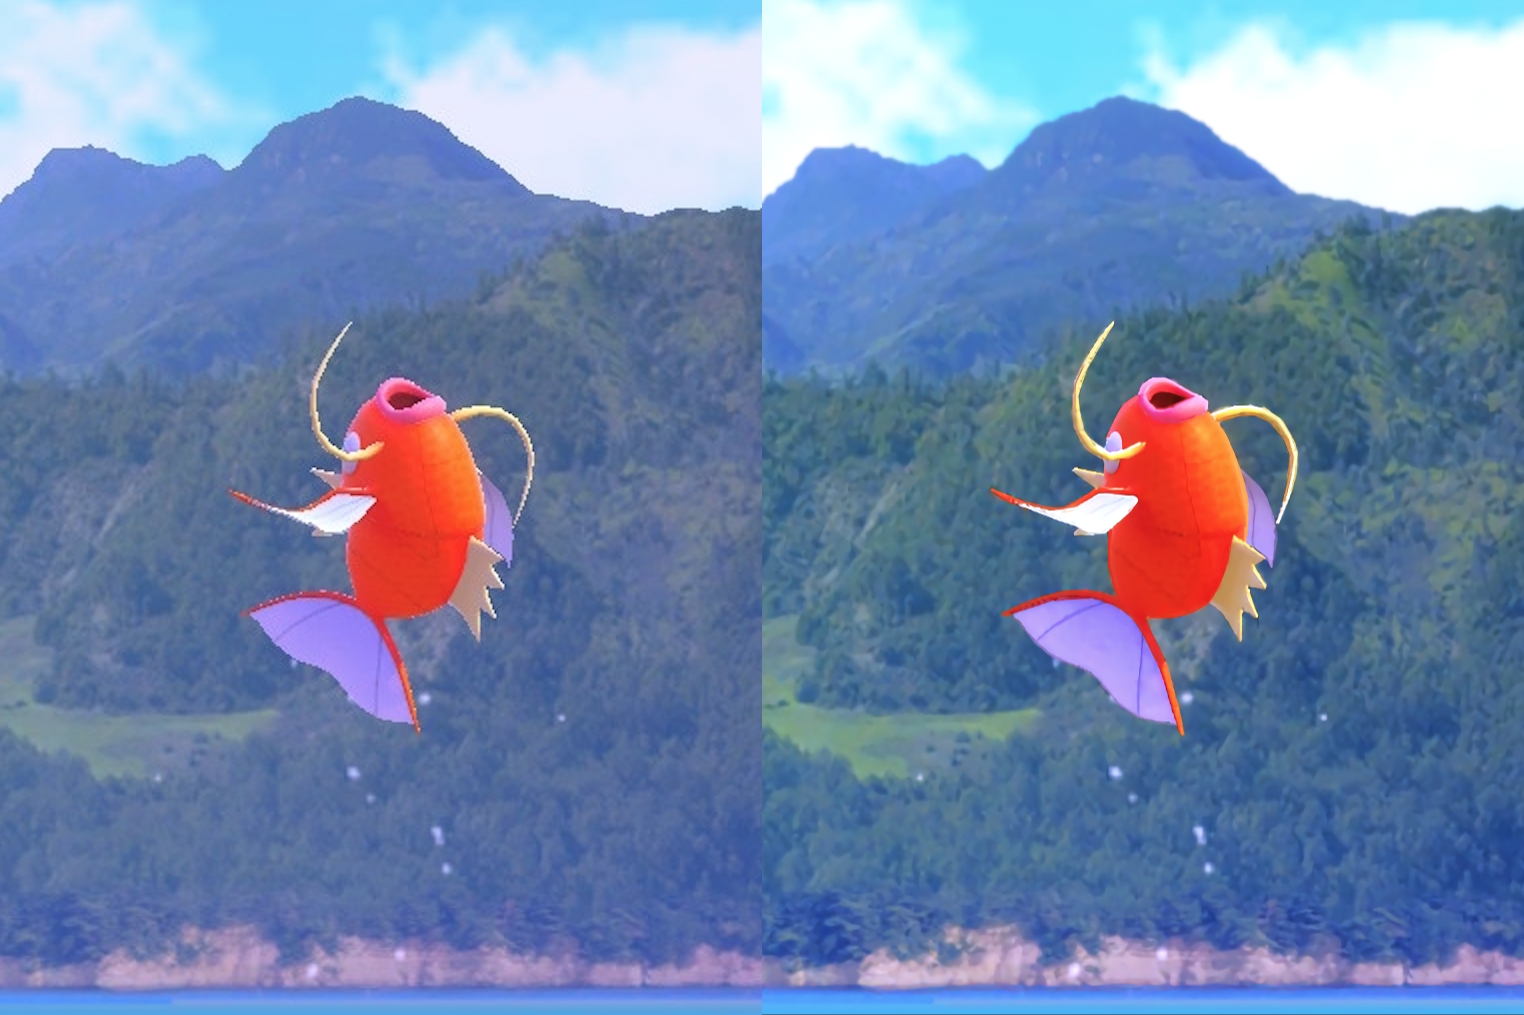
On the left is the unaltered Switch screenshot and on the right is my edited and enlarged image. On the right, most notably, Magikarp looks smoother and the colors are more vibrant. For this specific image, after taking the aforementioned editing steps, I brought it back into Photoshop (or in my case, Affinity Photo), increased the saturation, increased the brightness and contrast, used Selective Color to make the trees in the background look less washed out, and finally, intensified the shadows and highlights to give the image more depth.
When all is said and done, you should be left with an image that is larger than what’s in your Switch’s screenshot gallery and considerably better-looking. While I hope my tips are useful, they’re also not the only way to go about this. For example, Reddit user joshmassie87 seems to go deeper into color correction with their Pokémon Snap edits than I do, which has yielded some dramatic and stunning results.
All the images in this post were produced using the methods described above, so if you like what you see (or if you don’t and want to prove that you’re better than me), fire up your Switch and get shooting… and then enhancing and editing.
