
So many people have been taking the time to learn to bake bread during this quarantine, steaming up kitchens with sourdough starters and sharing their hottest crumb shots to Instagram. That’s great and all, but if you’re learning to bake bread and still haven’t attempted fresh pasta, you’re missing out. In fact, you’re an idiot.
Fresh pasta is half as hard and twice as versatile as bread. Make some pasta — that’s an instant party. No one’s coming over to your house to sit around your fancy loaf, unless you also packed a main course or a whole charcuterie board (note: if you’re going to do that, please invite me).
In the interest of spreading the noodle gospel, Uproxx Life editor Steve Bramucci challenged me to share a recipe for fresh pasta, using the fewest ingredients and the most minimal equipment. He even stipulated “no rolling pin.” I was like, come on, man, it’s literally a piece of wood, one of the most ancient cooking implements there is! But he said no, use a wine bottle. I did. And honestly, it worked just fine. Who knew?
Anyway, today we’re going to make what the eye-talians call strapponi — or, as I like to call it, “hand-torn pasta.” Honestly, that seems to get the point across pretty well. I’d love to tell you that this is an old family recipe, but the truth is I cribbed most of it from the Pasta Grannies on YouTube. But it did quickly become the pasta most requested by my family, and they’ve had many different versions of my pasta. So maybe someday it actually will become an old family recipe.
Hand-torn pasta is mildly exotic, easy to do, and doesn’t require any machinery.
You Will Need
- A bowl.
- A flat surface.
- A wine bottle.
- A clean dishtowel.
- A knife (though I suppose you could just use your hands if you really needed)
- One large saucepan.
- One sheet pan (or another pan or anything broiler safe).
- One pot large enough to boil water.
- A scoop strainer, pair of tongs, or slotted spoon.
- A wine bottle.
Ingredients
- 2.5 cups all-purpose flour
- 4 eggs
- Handful of garlic cloves
- 1-2 pounds fresh ripe tomatoes
- Parmesan cheese
- Pinch crushed red pepper
- 1/3rd cup olive oil
For The Noodles
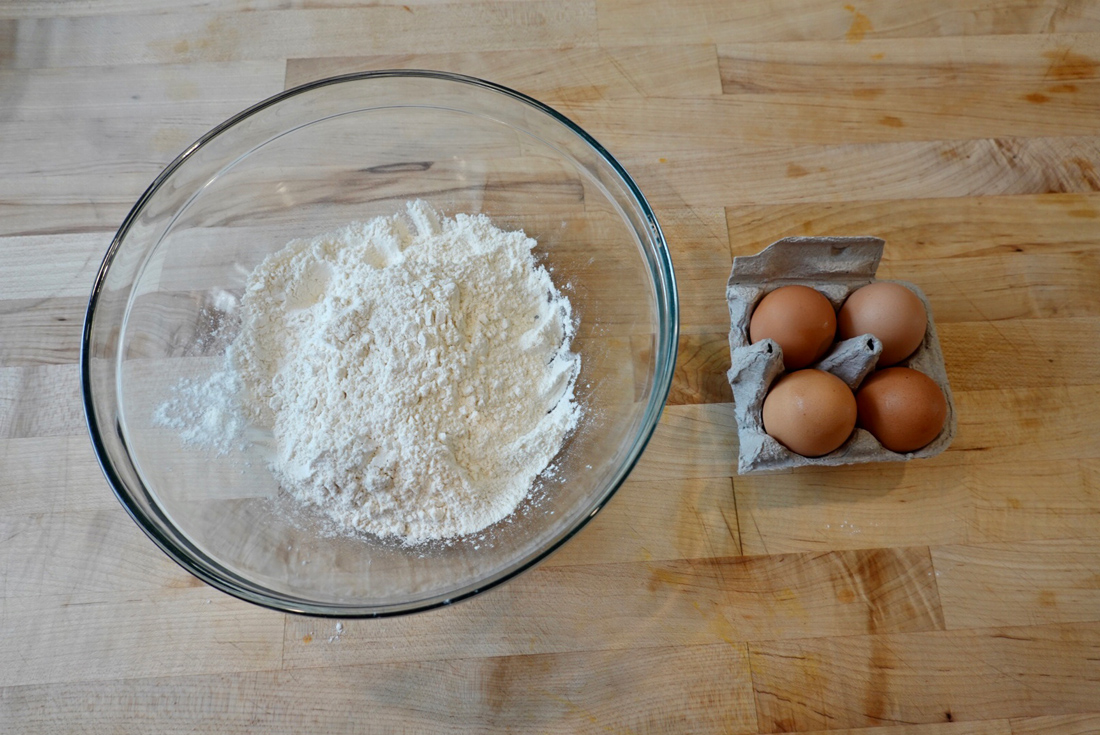
- 2.5 cups flour
- 4 eggs
Often times I double yolk the mix, and go three eggs, plus three yolks, with two cups flour, and then use 00 flour and maybe mix some semolina in there… but honestly, regular old all-purpose flour and whole eggs work just fine. It’s still easy and tastes great.
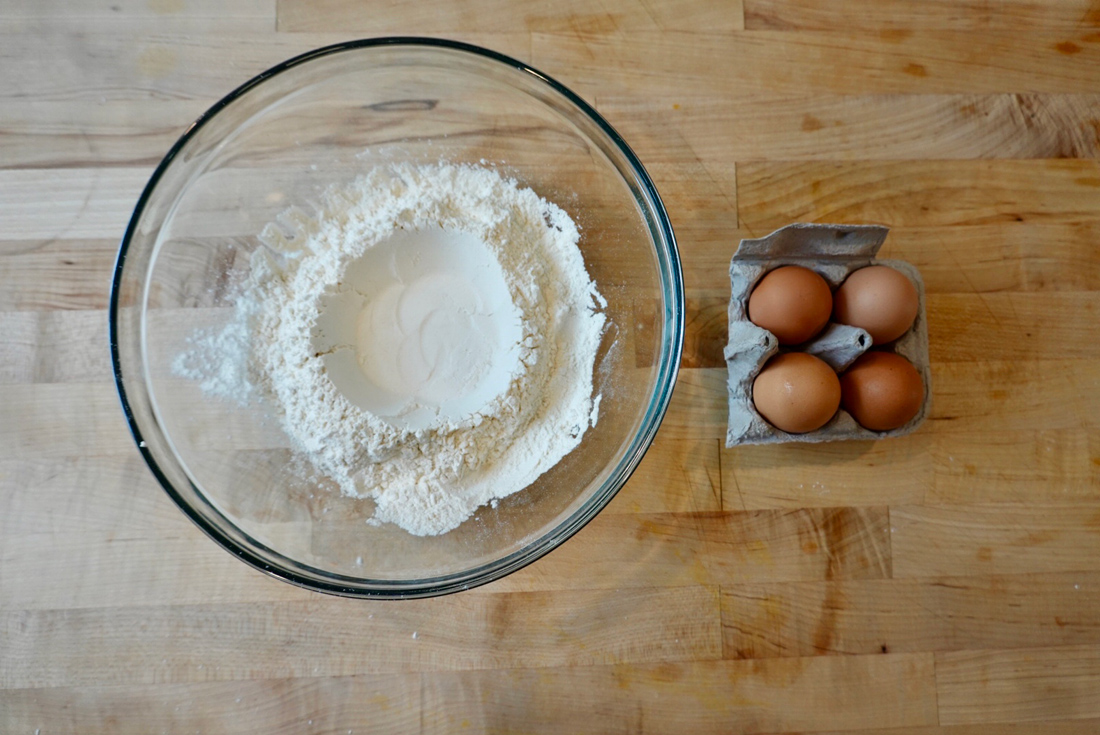
Have you ever seen “the well method” for making pasta dough? That’s basically what we’re doing here, only we’re using a bowl instead of the countertop (it’s slightly cleaner). They’re both fine. I used the back of my measuring cup to make a little swimmin’ hole for the eggs.
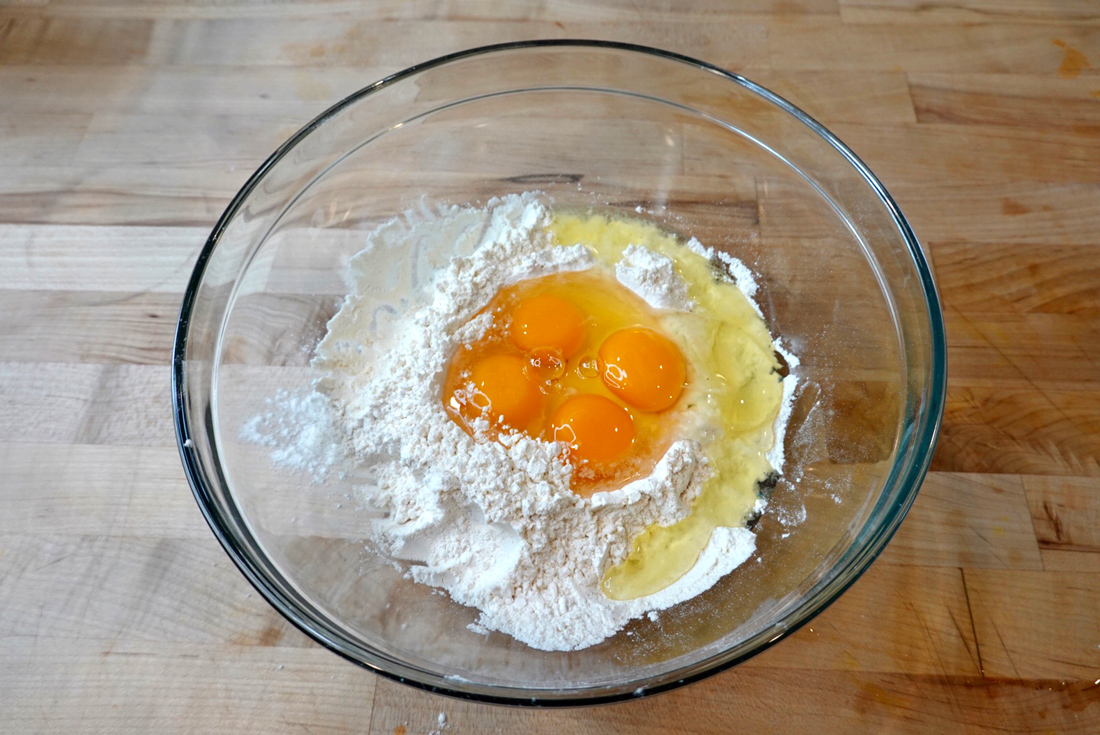
Next I cracked my eggs into the swimmin’ hole. Notice how my eggs overflowed the well? Did I want that to happen? Not particularly. Does it matter? Nope, not really. Most demo videos are going to tell you to take a fork and gently beat those eggs, being suuuper careful not to ruin your nice well, and then gradually take in a little bit more flour with every circle of the fork. If you possess that kind of finesse, wonderful. But honestly, just beat those eggs in a circle and keep incorporating more and more flour and it doesn’t really matter how messy it gets.
Eggs aren’t all exactly the same size and climates aren’t all the same humidity so you’re going to have to adjust a little no matter what. And that’s fine! It’s easy. Just keep mixing until it’s a solid mass.
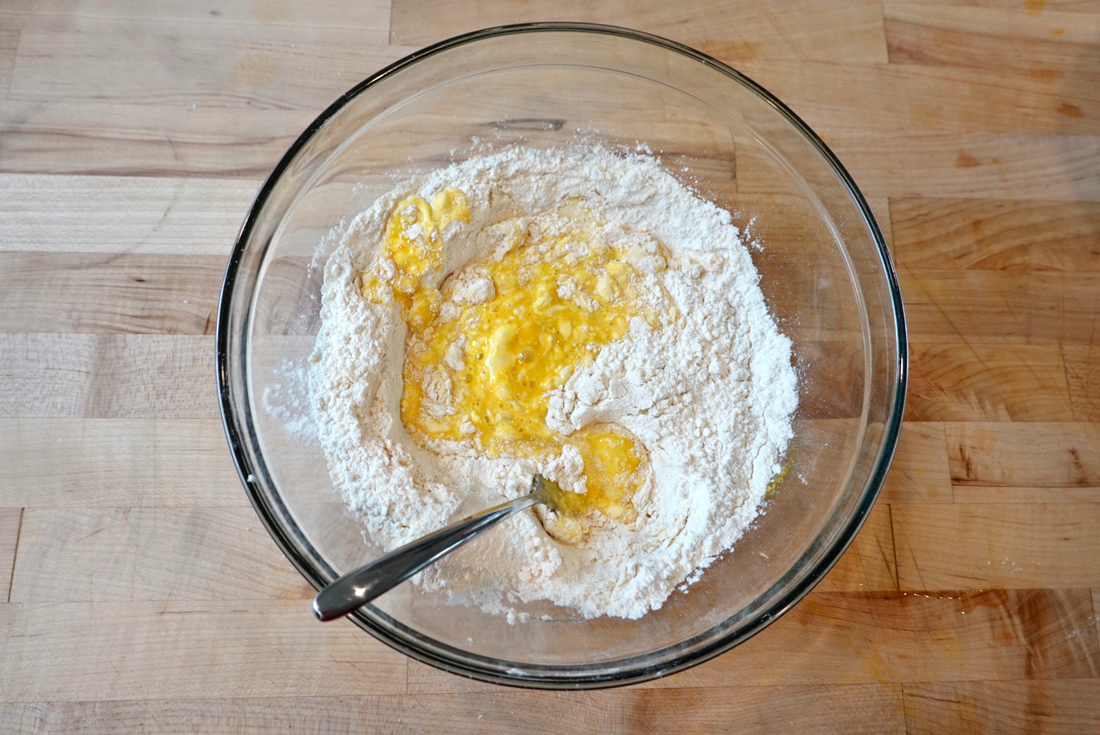
Just mix it until it’s roughly one big ball and you can’t really move the fork anymore.
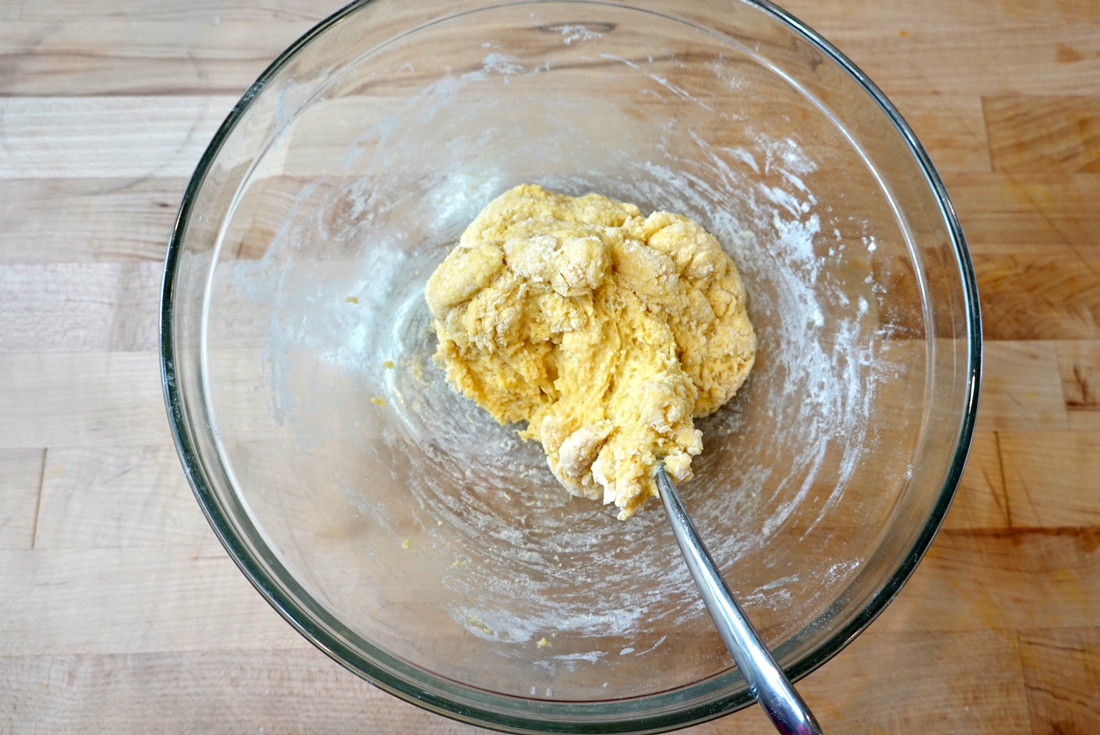
Eventually you’re going to get something like this. IF it’s sticking to the bowl more than this, you need to sprinkle in more flour. IF it’s not becoming a ball, add a few drops of water.
Once it’s a rough ball you can start kneading with your hands. You’re trying to get a uniform mass. Anywhere it sticks, either to your hand or the bowl, add more flour.
Let’s make that crystal clear, because it’s the one basic rule of pasta dough: If it sticks, add some flour.
This kneading part might take some elbow grease. We’re talking up to 10 solid minutes of sustained mushing (it also might not take that long and that’s great). Eventually, the dough is going to start to look like a smooth-ish, uniform ball. The more you knead it, the more it’s going to toughen up and start to get less pliable. That’s fine, because we’re going to let it rest. It might even seem a little dry.
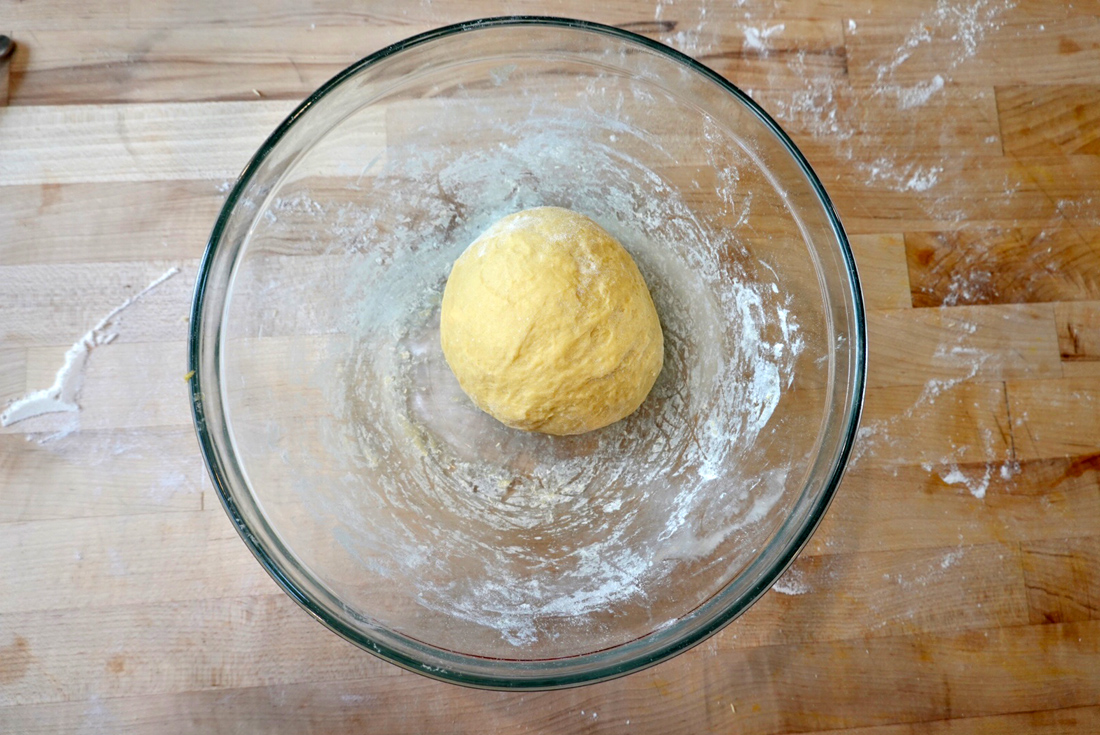
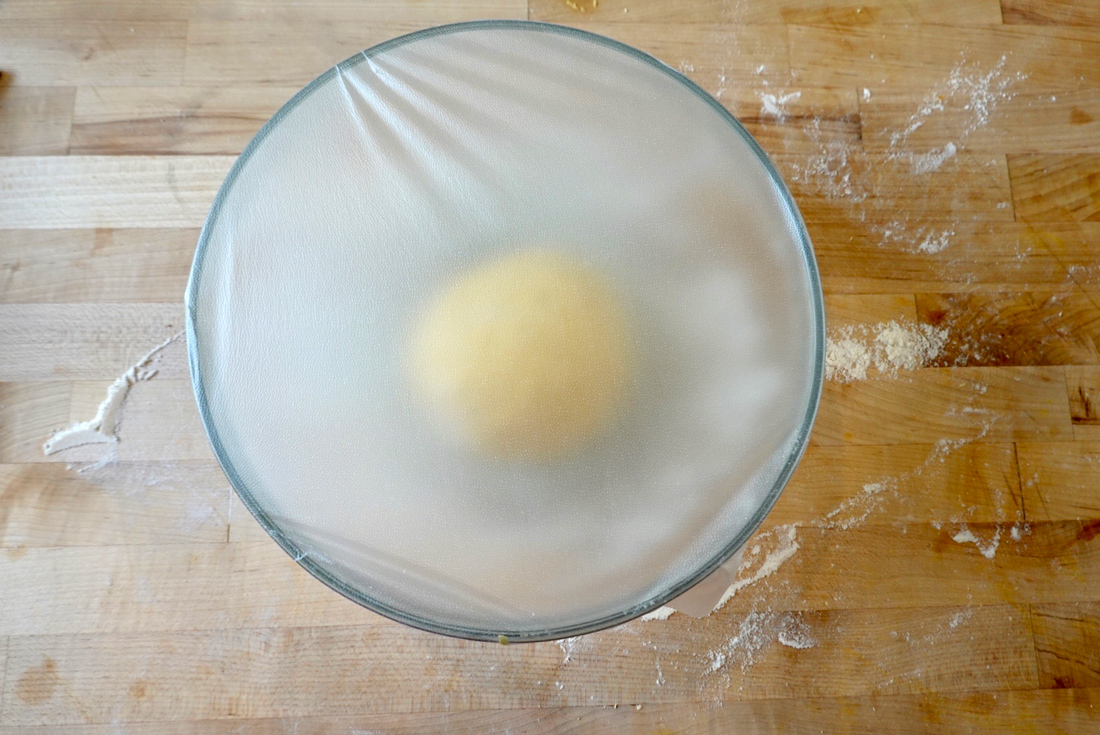
Cover the bowl and rest the dough, from 20 minutes anywhere up to six or eight hours. Sprinkle the dough ball all over with plenty of flour, because it’s going to come out wetter and stickier than it went in (insert your mom joke here).
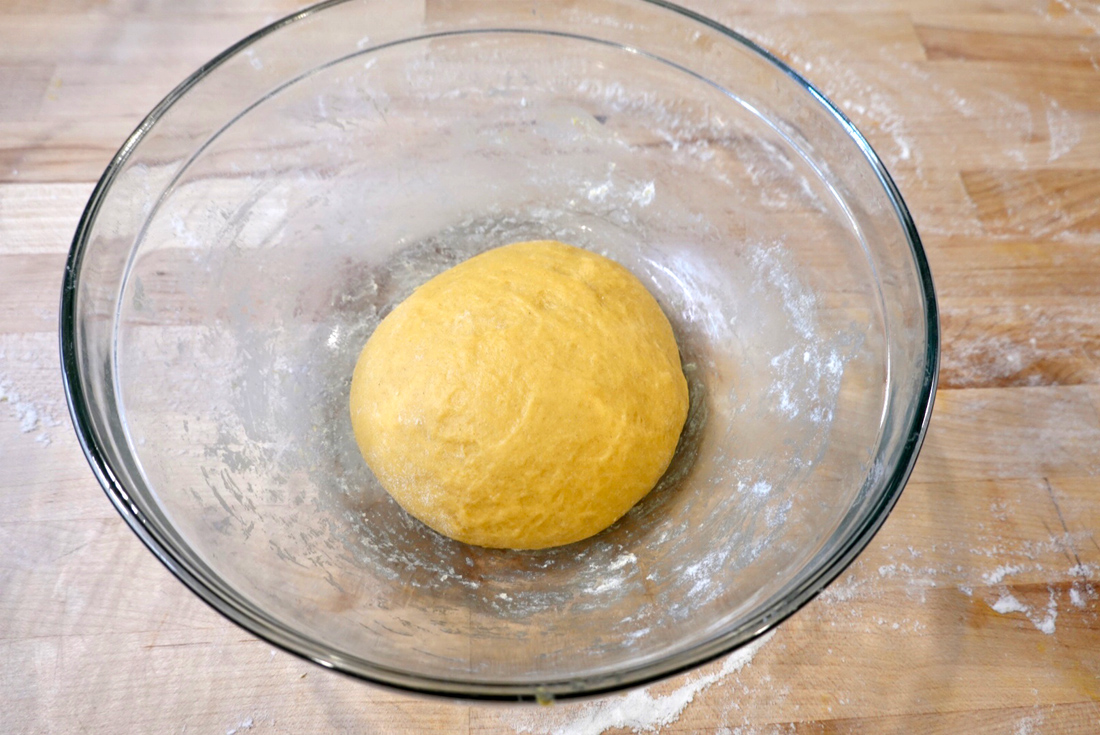
After it rests for a bit, the flour will have had time to soak up more of the moisture, so it’s going to be more moist and pliable, and usually a little darker in color, like so:
Since that’s a lot of dough to deal with at one time, I’m going to cut it into fourths and work on one quarter at a time. You can put the other quarters back into the bowl and recover while you work on one. This is where the knife comes in, although, again, if you just want to rip it into four equal balls with your hands that probably works just fine too.
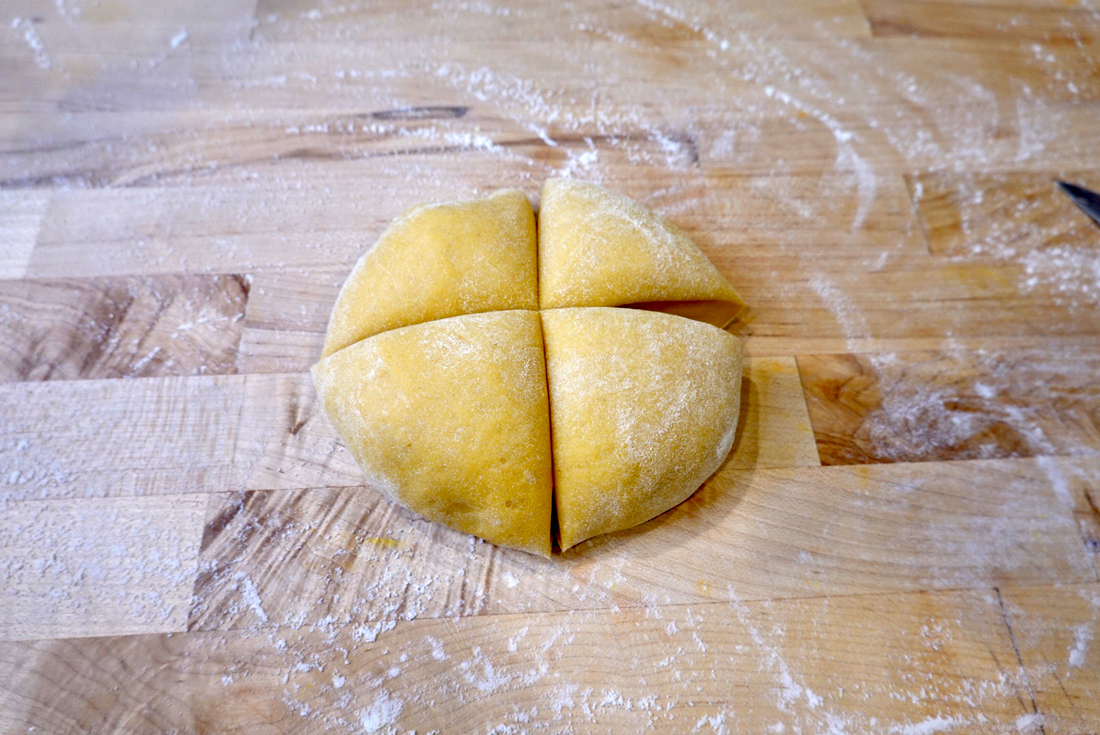
Now we’re going to take one quarter and roll it flat, using the wine bottle. Remember the only rule: if it sticks, add some flour. Does it stick to your wine bottle? Sprinkle some flour there. Does it stick to your flat surface? Put some flour there.
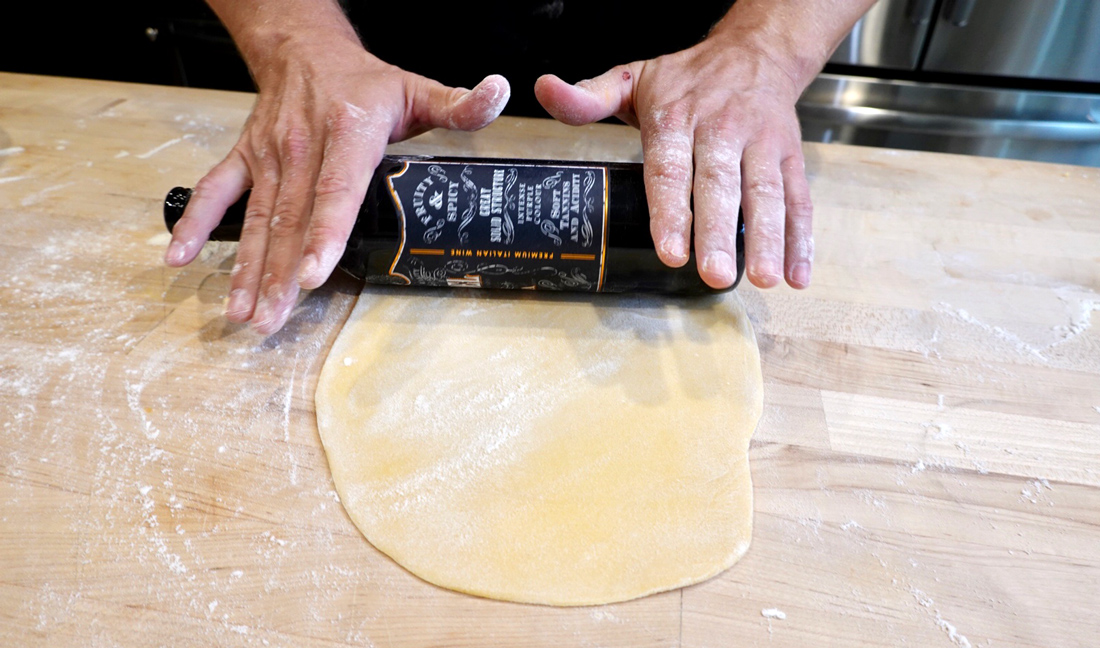
Just keep rolling until it’s flat. How do you know when it’s done? My rule of thumb is that I want it barely translucent, just thin enough that I can start to see the table through the dough.
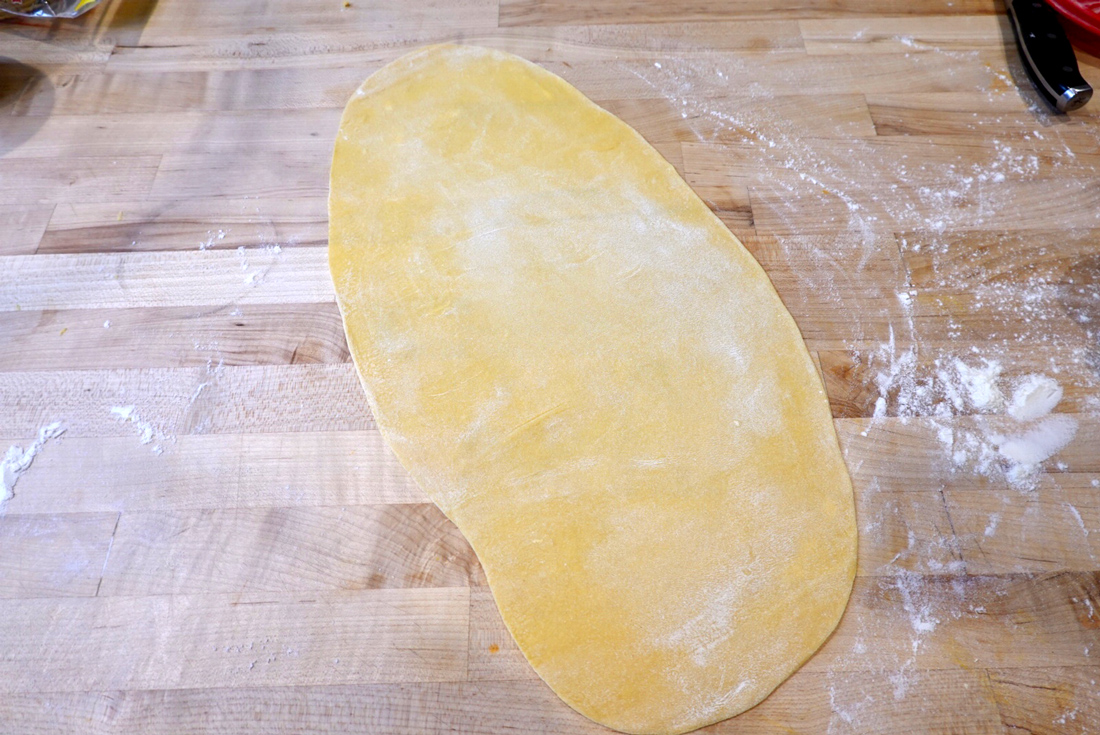
You can repeat this for all the quarters, but when you’re done, be sure to add lots of sprinkled flour to the finished sheets so they don’t stick together (you can even put pieces of parchment paper between them if you want to get super anal about it).
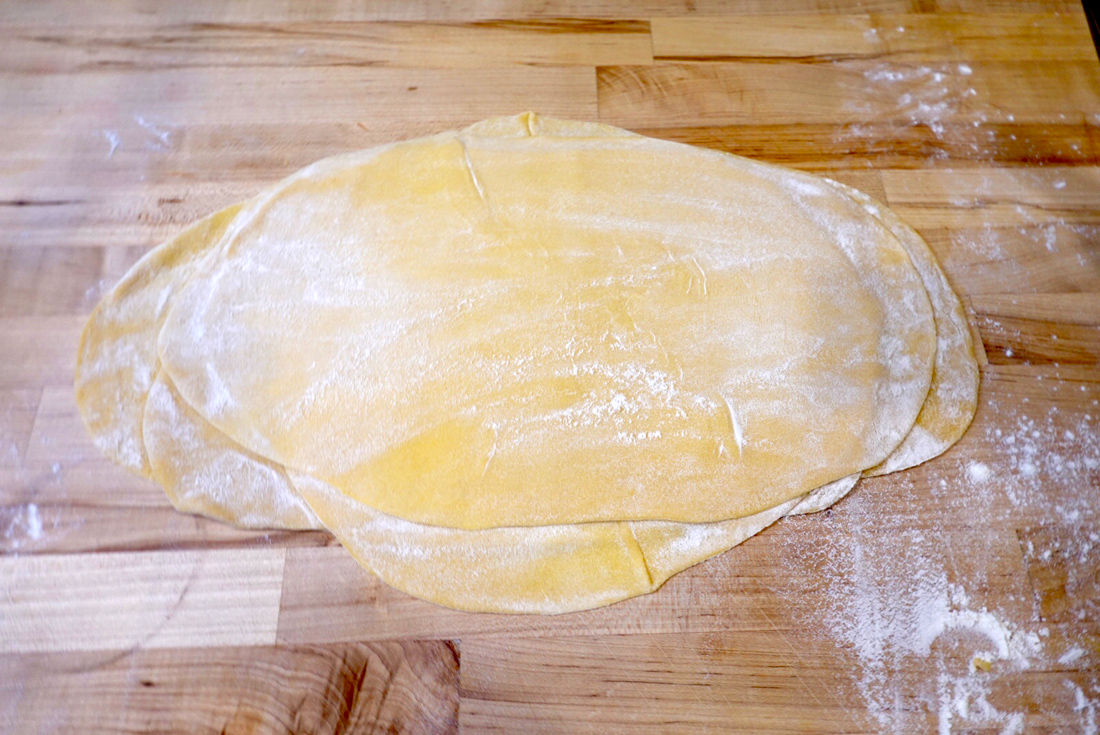
After you’re done with all four of them, you can cover with a clean dishtowel while you work on the sauce.
For The Sauce
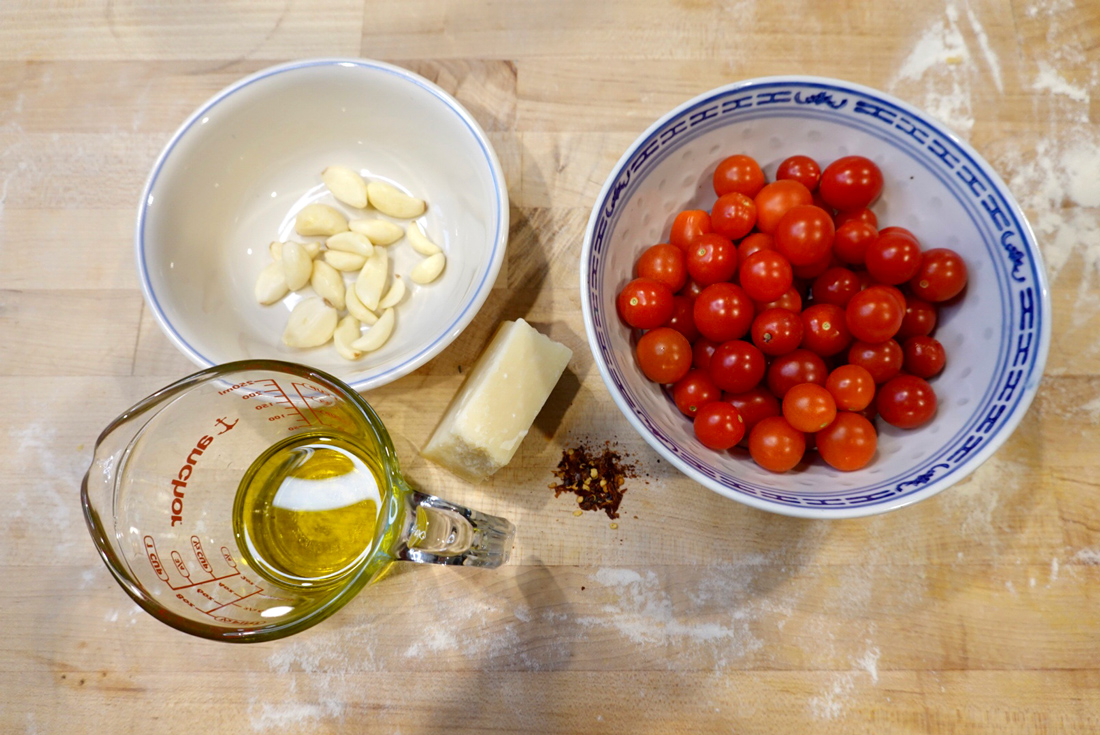
I think a lot of people (or a lot of Americans, anyway) have this conception that pasta sauce is this heavy stew that’s going to sit on top of the noodles like a chunky hat. But we’re not making cafeteria bolognese here. A good pasta sauce is more like salad dressing. It’s going to coat the noodles completely and have pops of flavor and textural variation.
Anyway, I’m trying to make the sauce as simple as the pasta. It really doesn’t need to be more complicated than this.
Ingredients
- 1-2 pounds of the freshest, ripest tomatoes you can find. (Small ones like I have here are great because they taste amazing and require no knife work. I try to find anything local and non-hothouse but it depends on the region and time of year)
- A handful of garlic (count those cloves if you want – 12? 15?)
- 1/3 cup olive oil (taste it before you use it — if it doesn’t taste good you need to buy new olive oil)
- Pinch crushed red pepper
- 1 cup (ish) grated Parmesan (it doesn’t necessarily have to be the fancy Reggiano kind, but at least respect yourself enough not to buy it pre-grated).
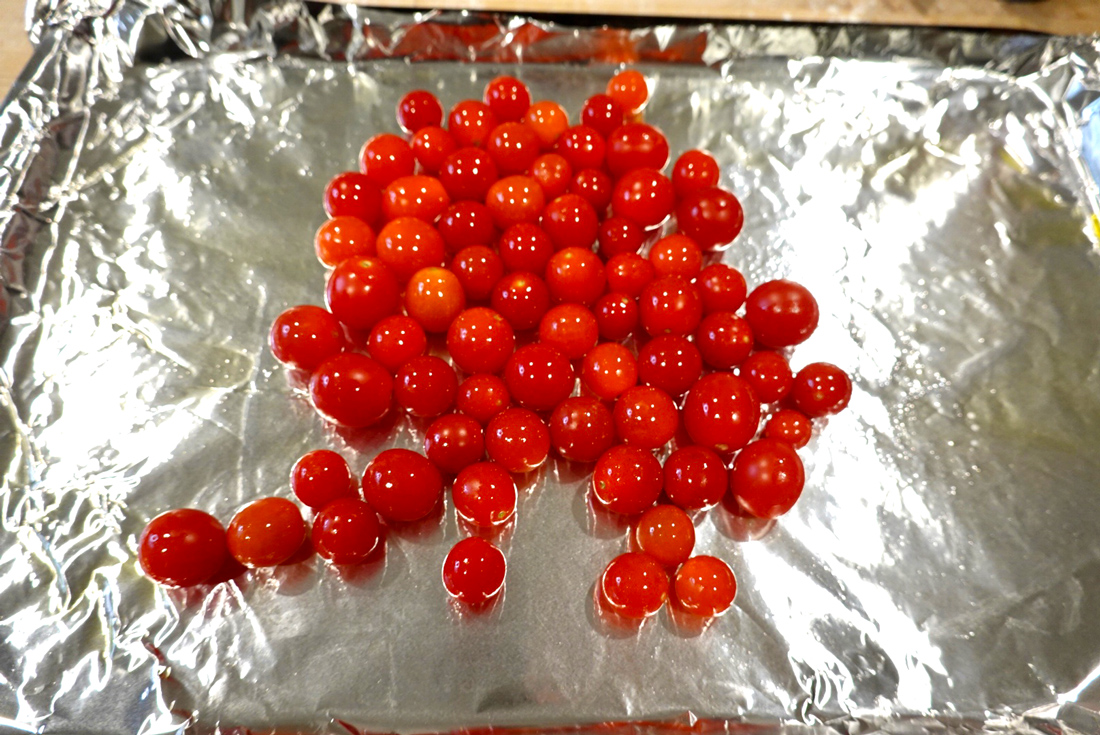
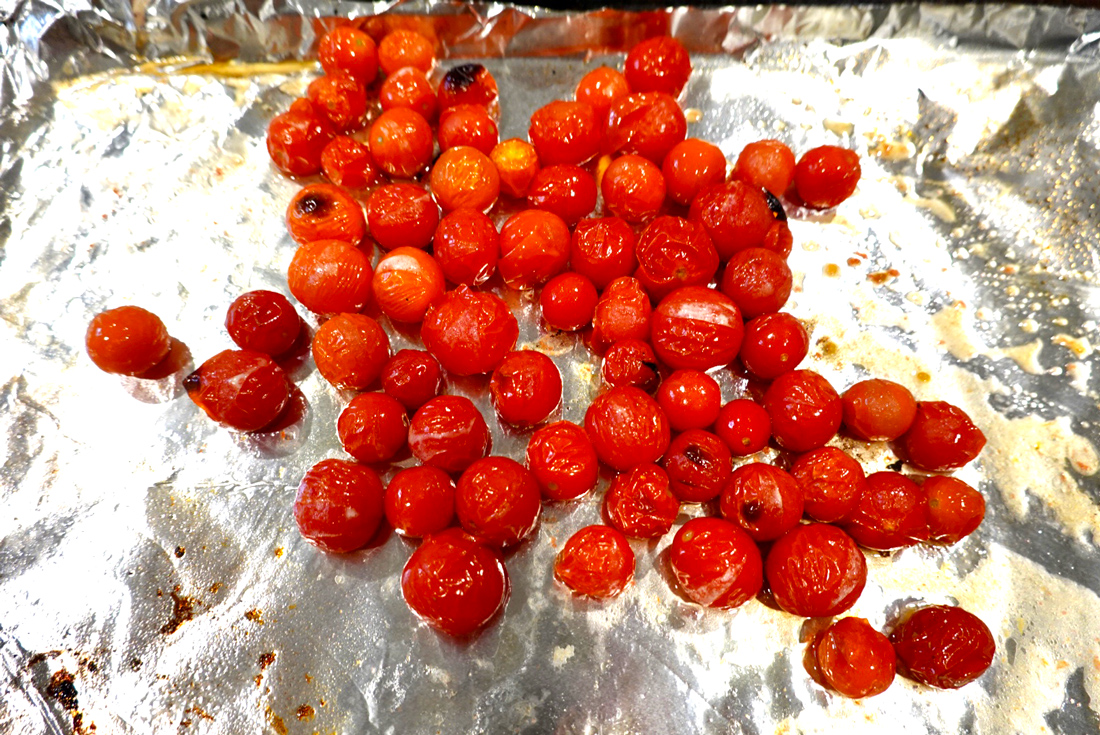
Line a sheet pan with foil and drizzle with a little olive oil. Add the tomatoes and roll them around a little in the oil to coat. Give it a light sprinkle of salt to help draw out the moisture. Stick it under the broiler on high, decently close to the heat. We’re trying to get some char on these without fully blackening them. A little black is good though. They should split and leak a little, like my work pants.
After you’ve broiled your tomatoes (or while they’re under the broiler, if you’re confident multi-tasking), smash your garlic with the side of a knife and give it a rough chop. Heat a decent-sized sauce pan on the stove over medium-low heat and add your 1/3 cup ish olive oil. Add in your garlic.
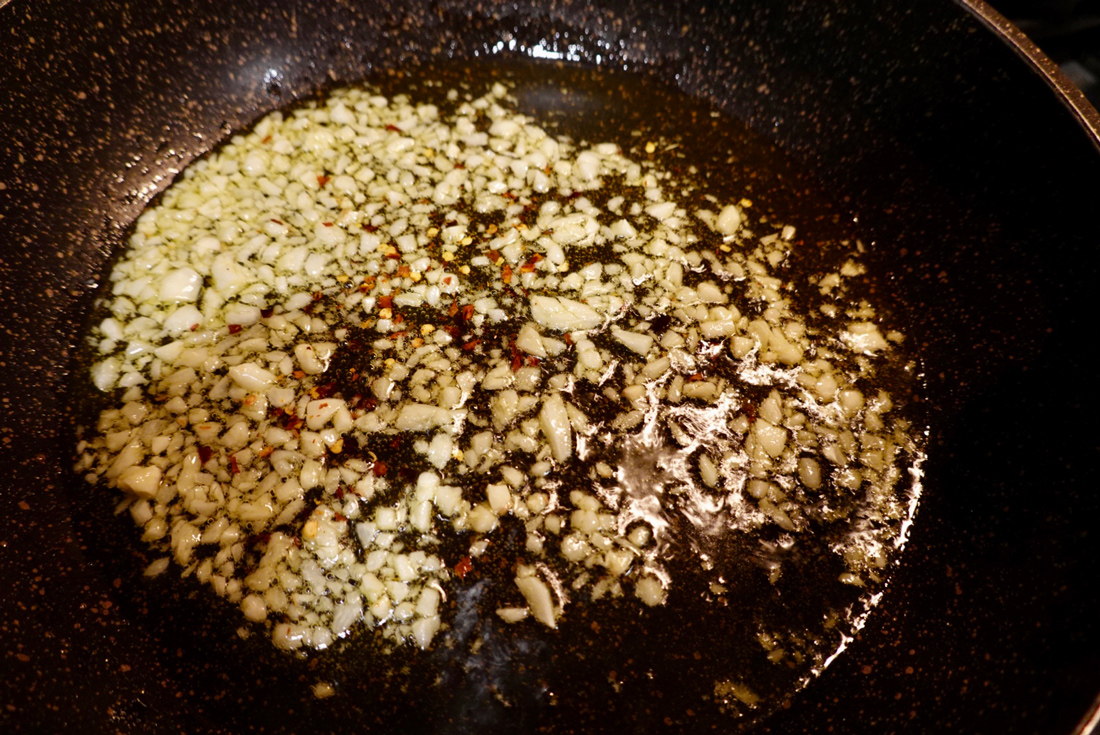
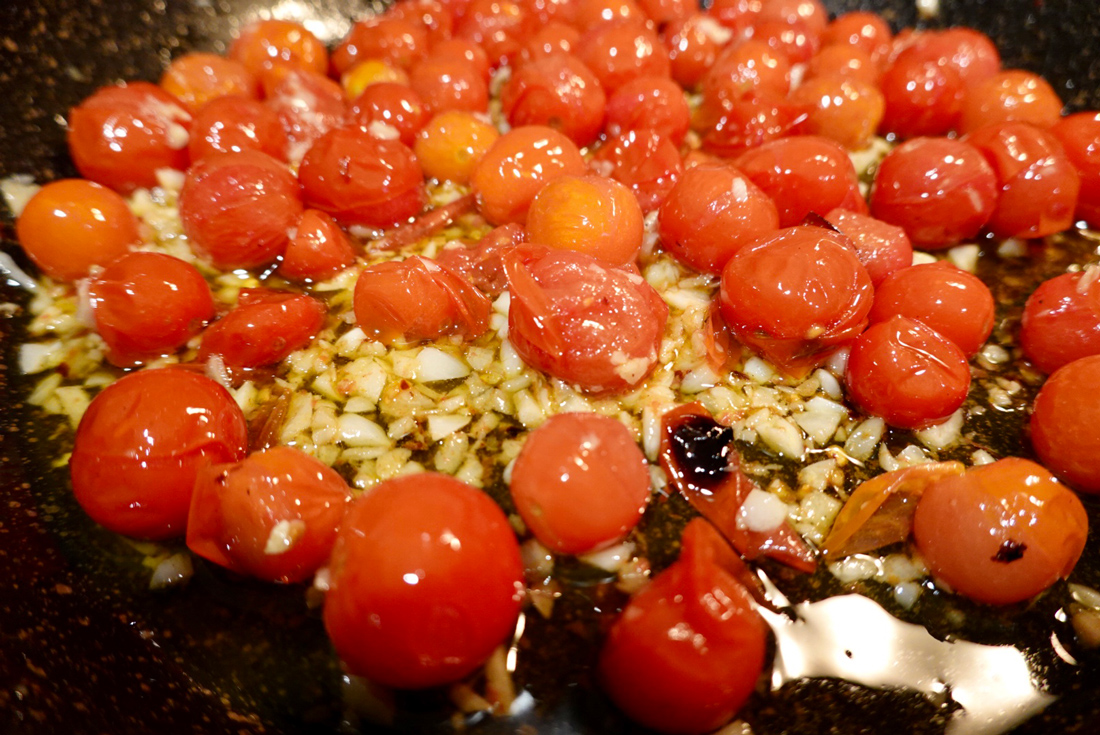
The pan should be cold enough that the garlic doesn’t sizzle when you put it in. You want to gently bring it up to a low sizzle. After 5-8 minutes, once the garlic is starting to gently sizzle and slightly changing color around the edges (do NOT let it get brown), add your pinch of crushed red pepper and let it bloom for 30 seconds or so. Then bring the heat down to the lowest setting and pour in your broiled tomatoes. Use a rubber spatula to make sure you get all the tomato juice and charred tomato bits off the sheet pan, that’s the best part! Toss your pan a little to combine and season with salt. I eyeball it, but I’d guess around a half teaspoon of salt. Leave everything in the pan on the lowest setting.
Cooking The Noodles
Heat your cooking water on the stove. If you’ve ever seen a cooking show these words are probably already seared into your brain, but the water should be “as salty as the sea.” There’s no salt in the noodles so the cooking water has to season them from the outside. The water isn’t actually as salty as the sea, but it should be salty enough to taste notably salty, like the amount of seasoning in a soup.
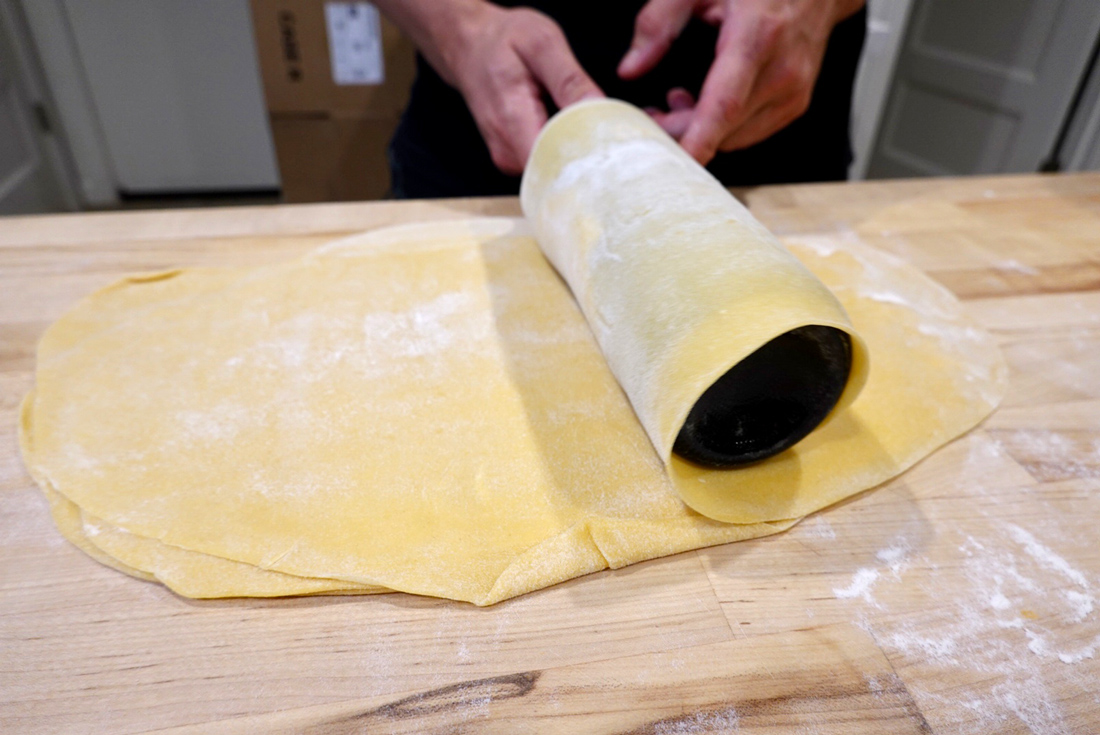
Now take your wine bottle, and use it to roll up one of your sheets of noodle.
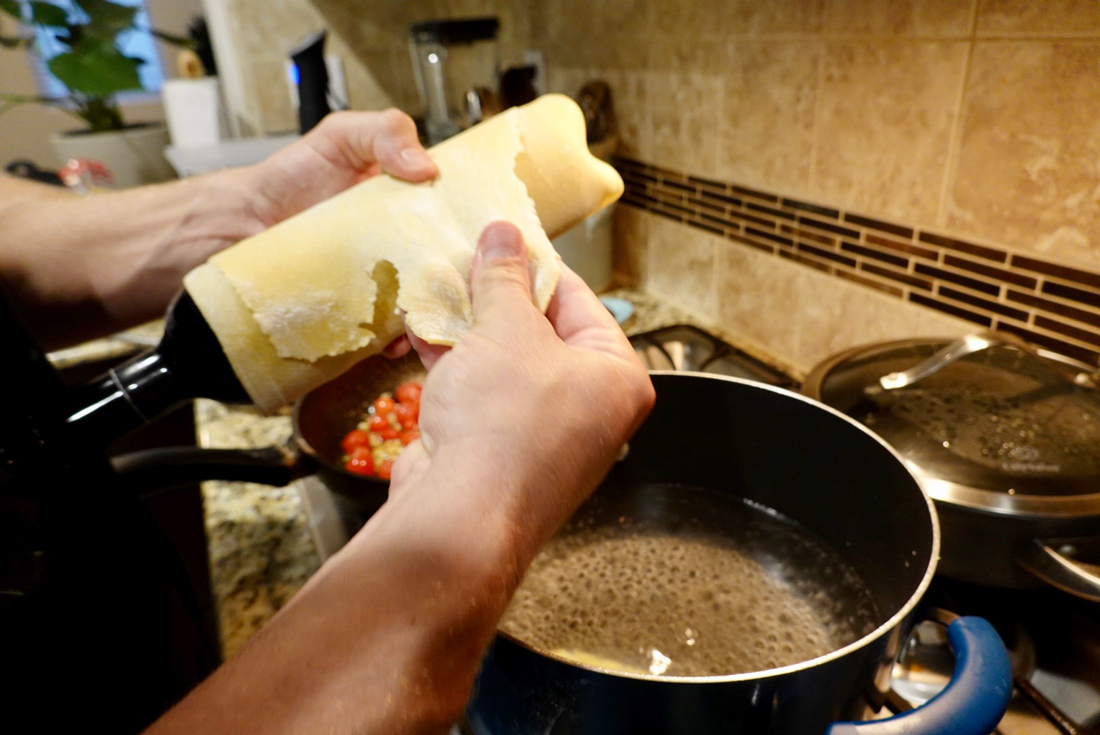
Bring that over to the stove and start tearing strips off right into the boiling water. The dough texture will kind of dictate how big of strips you’re going to get, but let’s say we’re going for roughly fist-sized patches.
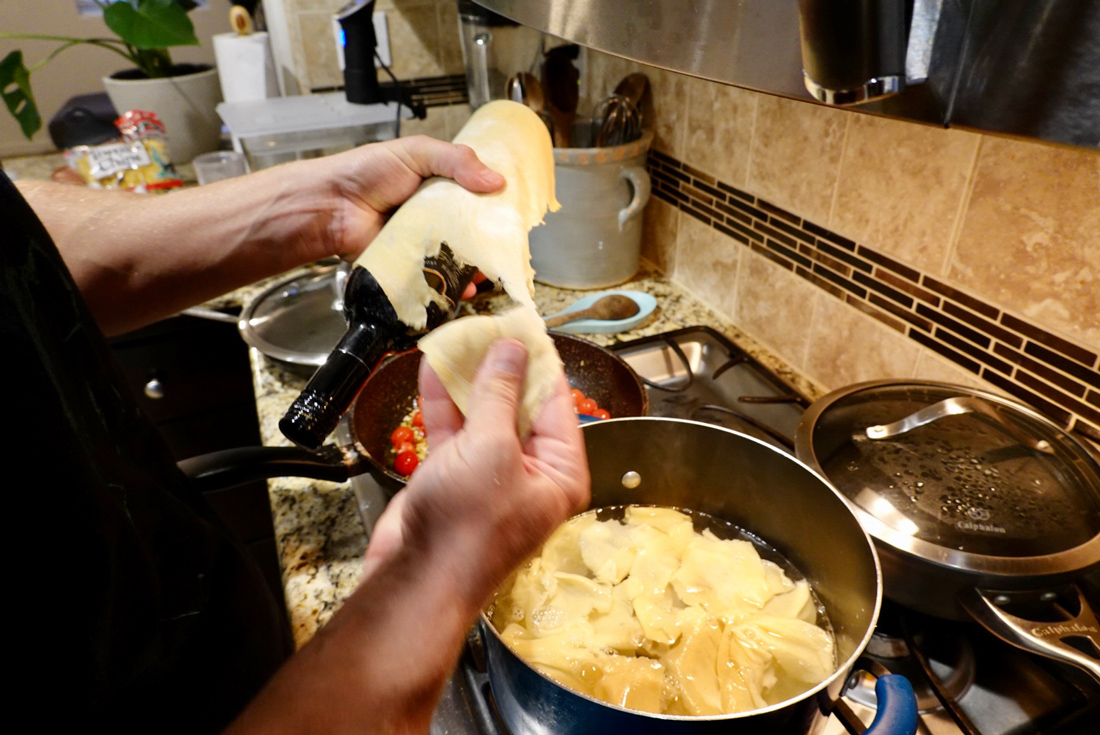
You don’t have to get crazy about it, but you do want to tear reasonably quickly so that the pasta doesn’t get drastically different cook times. It’s fresh pasta, so it cooks fast — only about two minutes or so depending on thickness. I used my wire scoop strainer to scoop off the cooked pasta into the saucepan, but tongs or a slotted spoon work too. You want to drain most of the pasta water, but not all of it. Some of that floury water is going to go into the pan and become a nice binder for the sauce and pasta. I heard someone call it a “pasta water reduction” once.
Once your batches of pasta are all cooked and in the saucepan, bring the pan back up to medium.
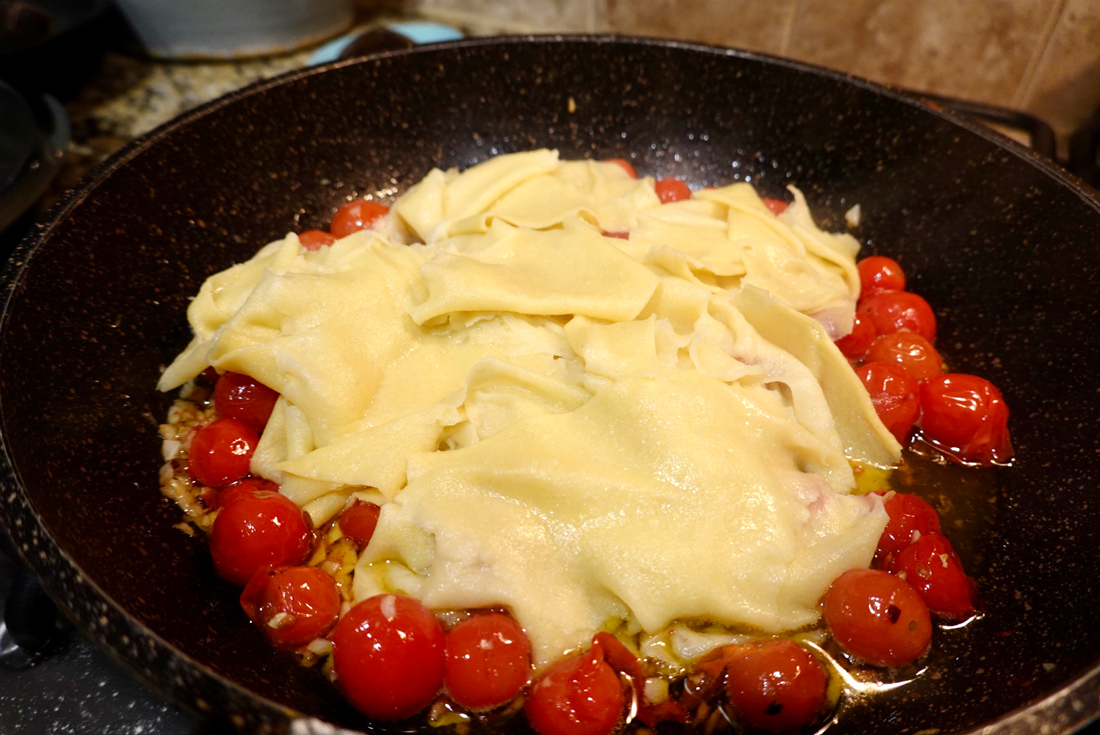
You’re going to flip your pan a few times (or just stir it up if you’re a punk like that) and add cheese.
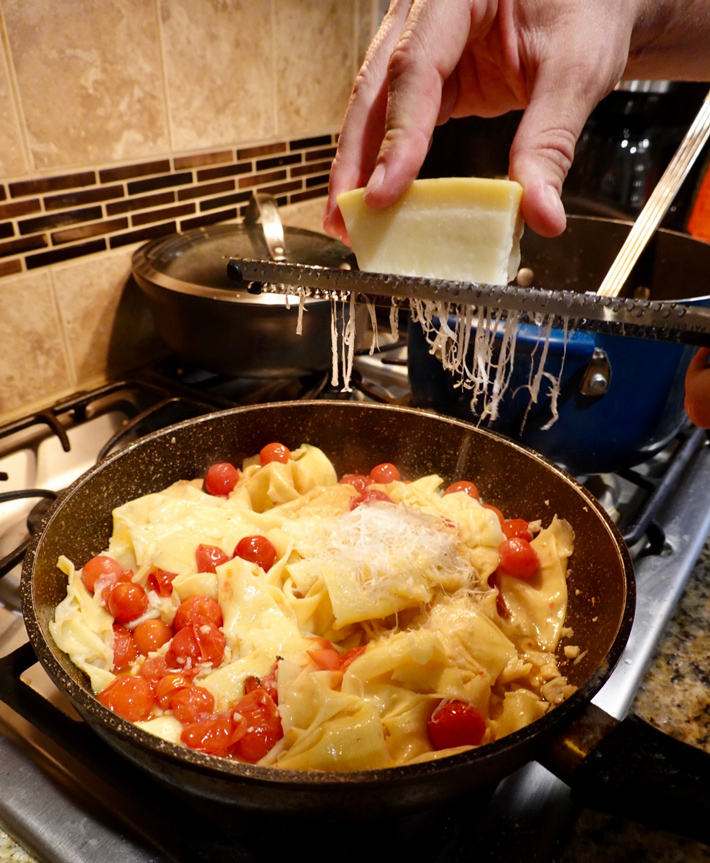
I don’t measure my cheese. What I do is grate the cheese directly into the pan. I like to completely cover the pasta with grated cheese, then stir it up to combine, then cover it completely with cheese again, and stir to combine one more time.
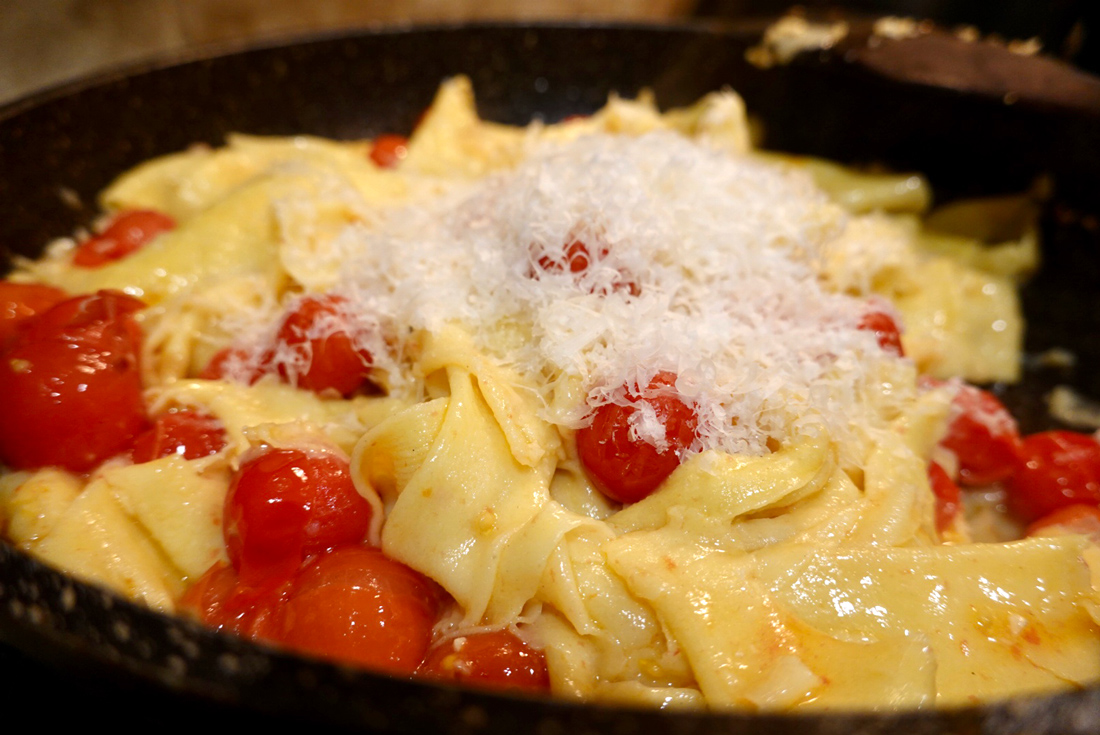
All that grated cheese, mixed with the floury pasta water that made it into the pan, is going to make a nice binder that glues the sauce to the pasta. Again, it’s a lot like salad dressing.
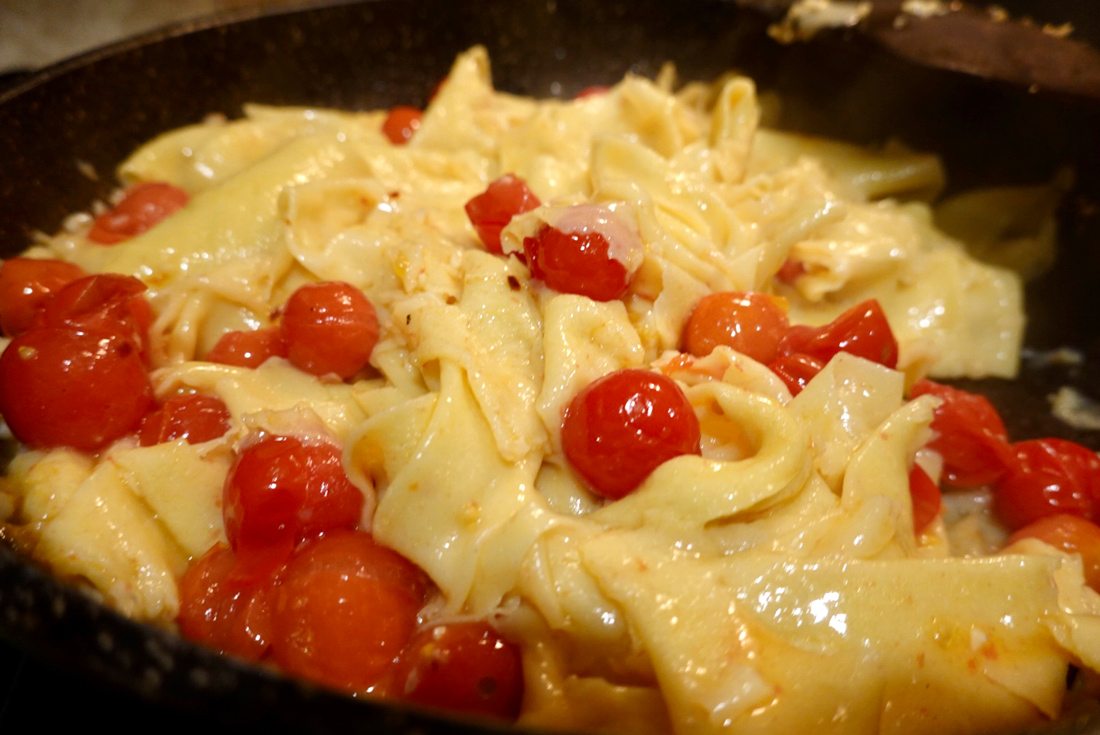
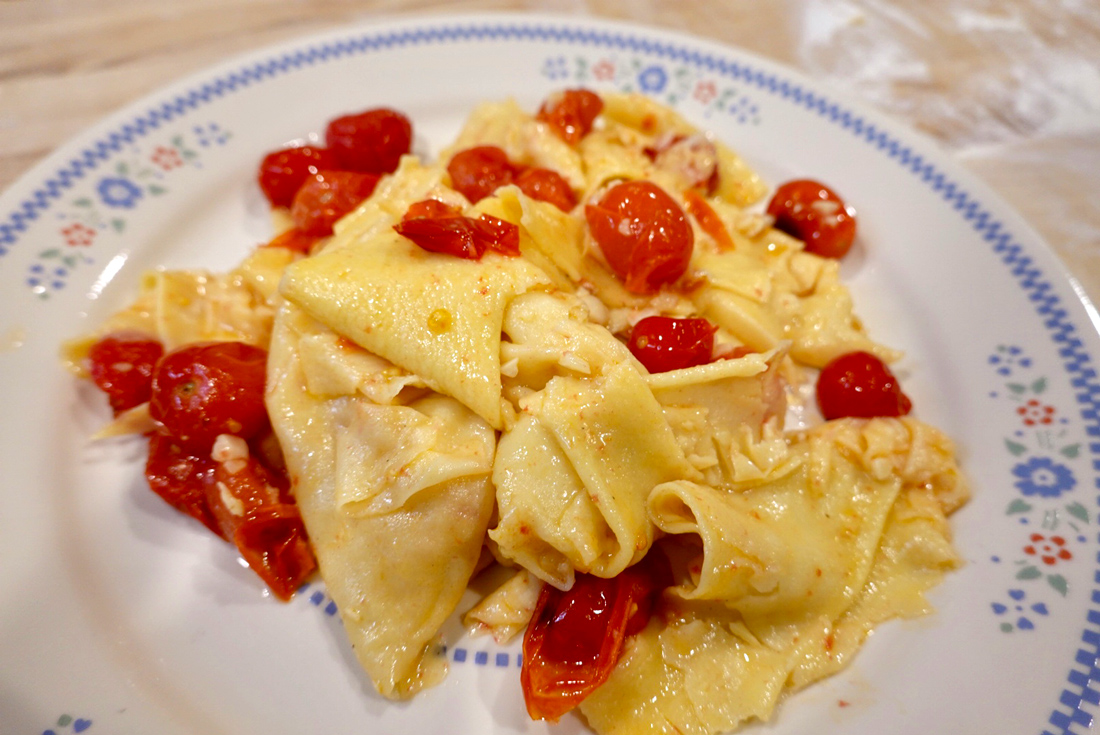
>Voila!
If you find beauty in uniformity you might not think hand-torn noodles make as beautiful a plate as machine cut noodles. Personally, I like the natural rusticity of the hand-torn noodles and the way no two noodles are exactly the same, like snowflakes. Anyway, I honestly think they taste better. I also like the way they bind to the sauce.
You could cut the tomatoes, but I love the little bursts of condensed sweetness you get when you leave them whole like we did here. The broiler just intensifies their flavor. This is super simple, a guaranteed crowd-pleaser and it always makes me happy. I’ve never seen the pasta grannies do this kind of sauce with strapponi before, so maybe there’s an Italian superstition against it. But I think it’s perfect.
Variations
If you want something a little heavier with some meat, you can render some little bits of bacon (or prosciutto, or pancetta) in the pan and then turn it down before you add the garlic. You can also add few tablespoons of cream at the very end to tie it all together. I’ve done it both ways. They’re both great.
Too spicy for the kiddos? God, kids are the worst, aren’t they? Luckily this one’s an easy fix — just grab a pan and melt some butter in there. Then add some cooked pasta to that, and do the cheese thing just like before. It creates a butter-pasta water reduction-cheese sauce that’s like the best mac and cheese you’ve ever had. Cheesy pasta is one of those dishes most kids love.
So there you have it. Even if you’ve never made pasta before I’m pretty sure you can make this one. We’ve all just about had it with your excuses.
