
Cooking a steak to (your personal idea of) perfection takes time to master. Because there are a lot of ways to cook a steak, which means there are a lot of ways to mess it up. We’re not talking about selection, cuts, or even methods today. Instead, we’re zeroing in on getting the meat done right in a general sense, whether on a grill or in a cast-iron skillet.
This is about teaching you to have a “knack” for cooking steak. So that you never cut into a $40 piece of filet mignon and find it blue when you wanted it medium ever again.
Our goal here is to help you learn the three main ways to check your temperature as you’re cooking and resting your meat. Using a thermometer is (surprise!) the most accurate. But beyond that, you’re really going off of feel more than anything else. And that’s something you master over time.
Obviously, there are a lot of variables at play here, too. Cooking a skirt steak isn’t the same thing as cooking a bone-in ribeye. Likewise, a filet is going to take a little more finesse than a strip. We’ll explore the differences in the process as it relates to the specific cut as we go along.
PART I — Know Your Temperatures
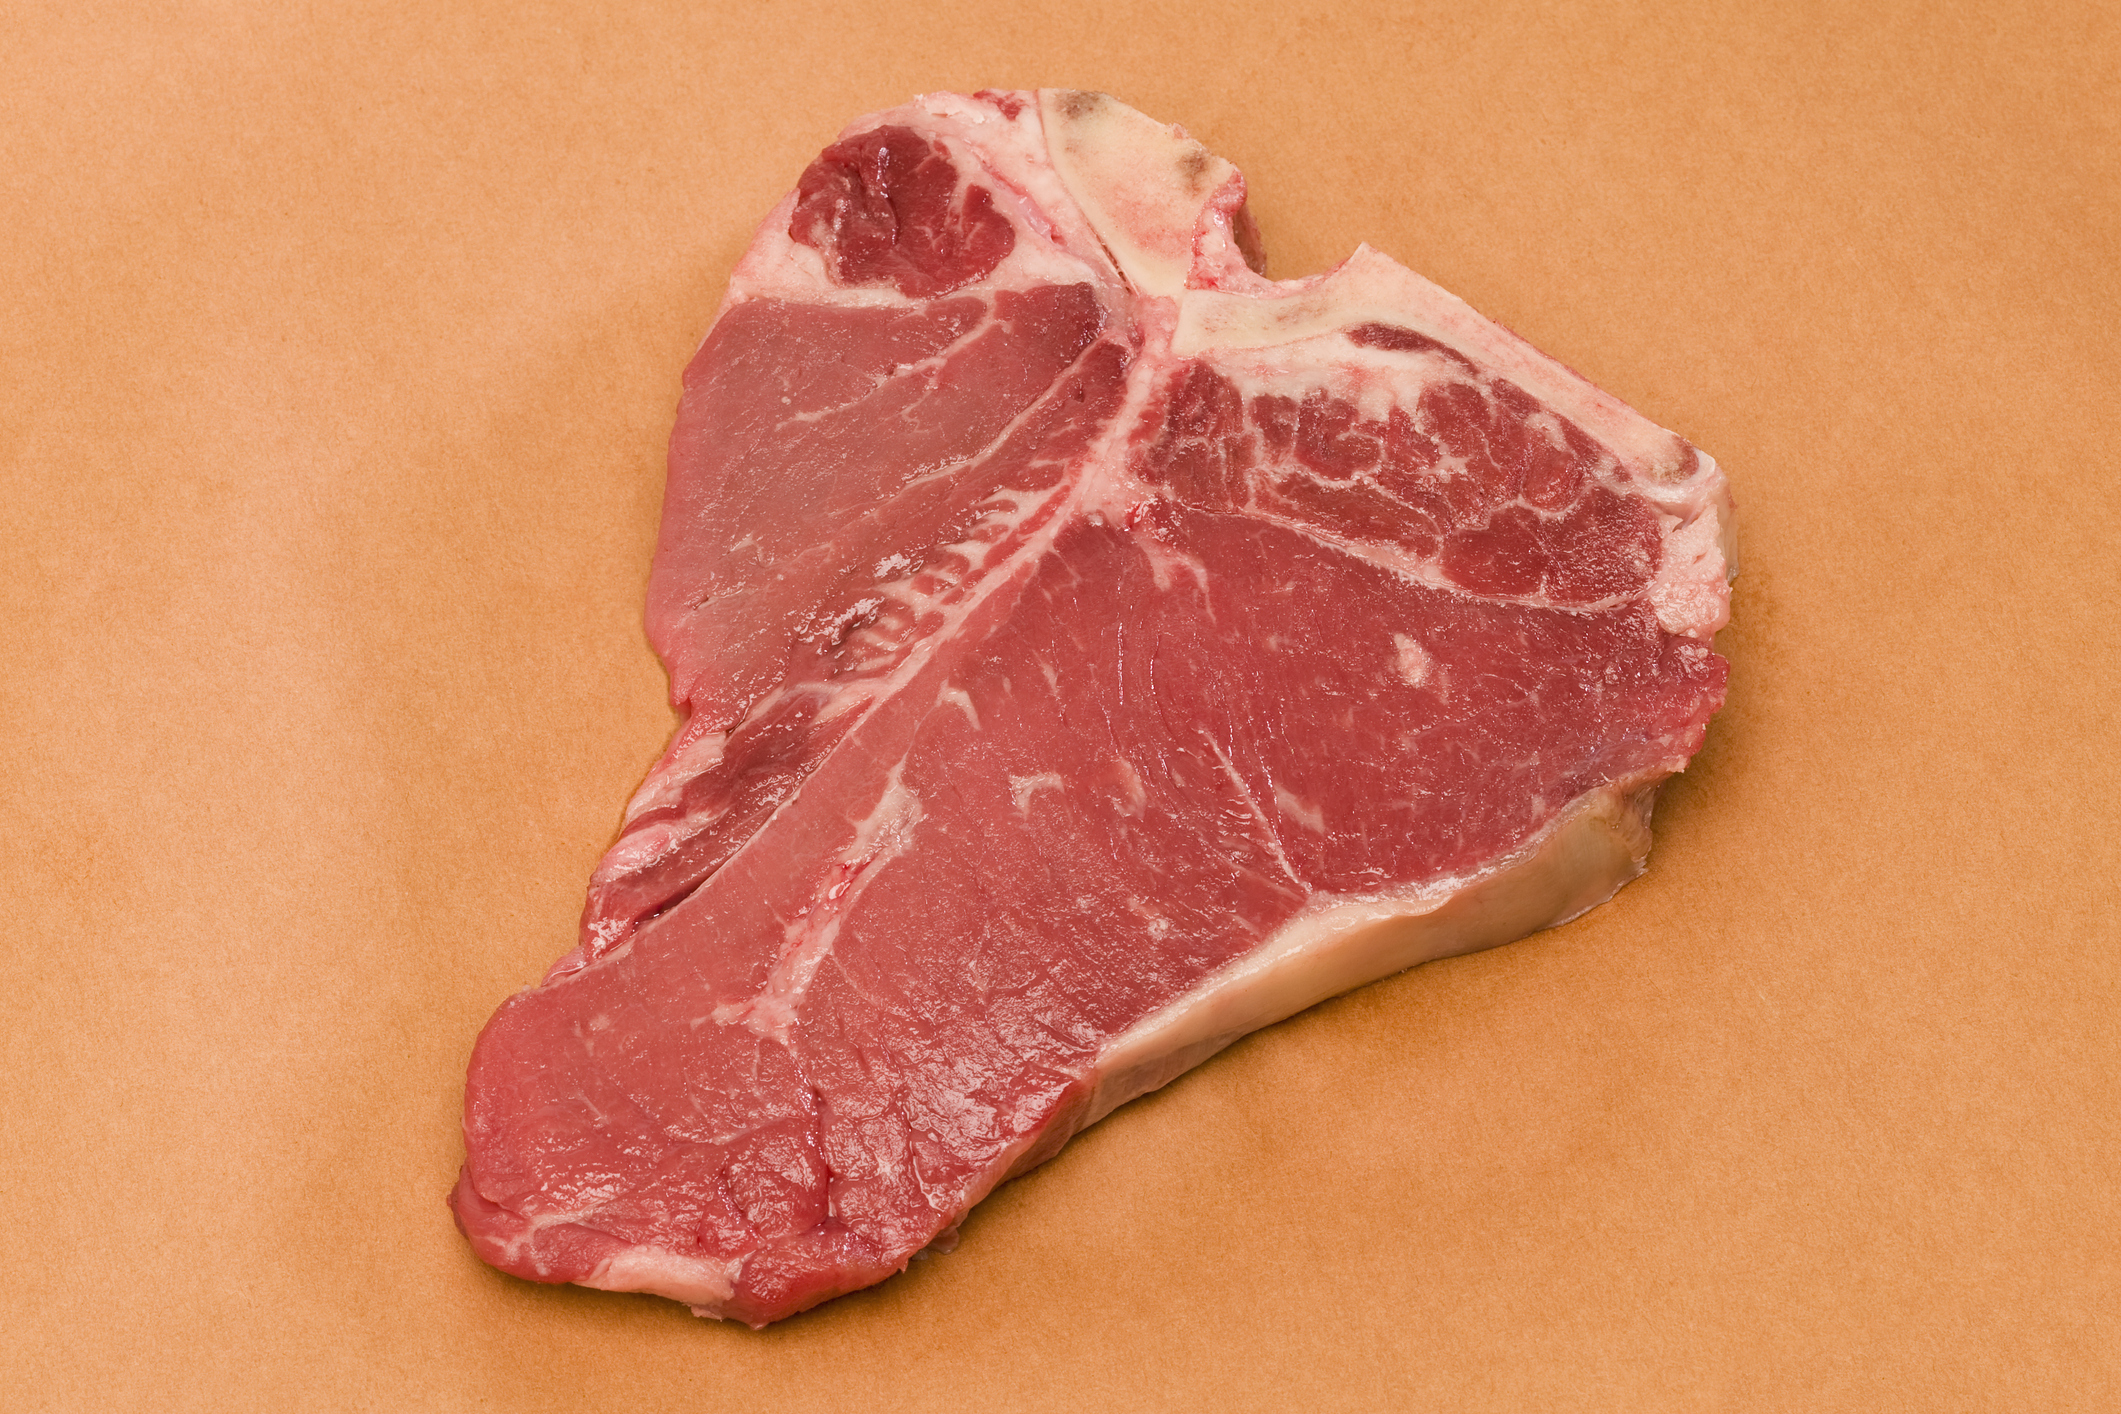
- 110F — Blue (seared, red, and just warmed through)
- 120F — Rare (dark pink and fully warmed through)
- 130F — Medium Rare (light pink throughout)
- 140F — Medium (losing most of the pink)
- 150F — Medium Well (brown with a hint of pink in the very middle)
- 160F — Well Done (no pink at all)
140F is generally the spot you want to hit if you’re worried about bad bacterias on or in your food. Side note: Buy food you trust from local sources and this becomes much less of a concern.
If you’re nervous about your meat, always cook it to at least 140F. However, a steak is a solid piece of meat and harmful bacteria (if there is any) will be on the surface, which reaches temperatures well beyond 140F while cooking. Onely when the surface area is ground and mixed into the whole (hamburger), do you really have to start worrying about harmful bacterias in your meat.
All of that being said, know what you like and are comfortable with. Then cook your steak accordingly. Sure, well done meat is worse for you, but who are we to judge?
Lastly, these are end-point temperatures. That means we’re talking about a steak’s internal temp once it has rested. In general, the internal temperature will raise anywhere from five to ten (sometimes more) degrees while it rests, depending on which cut we’re talking about (more on that later). So don’t make the common Thanksgiving mistake of not taking your protein off the heating element until it’s reached the desired temp.
PART II — Start With Room Temperature Meat
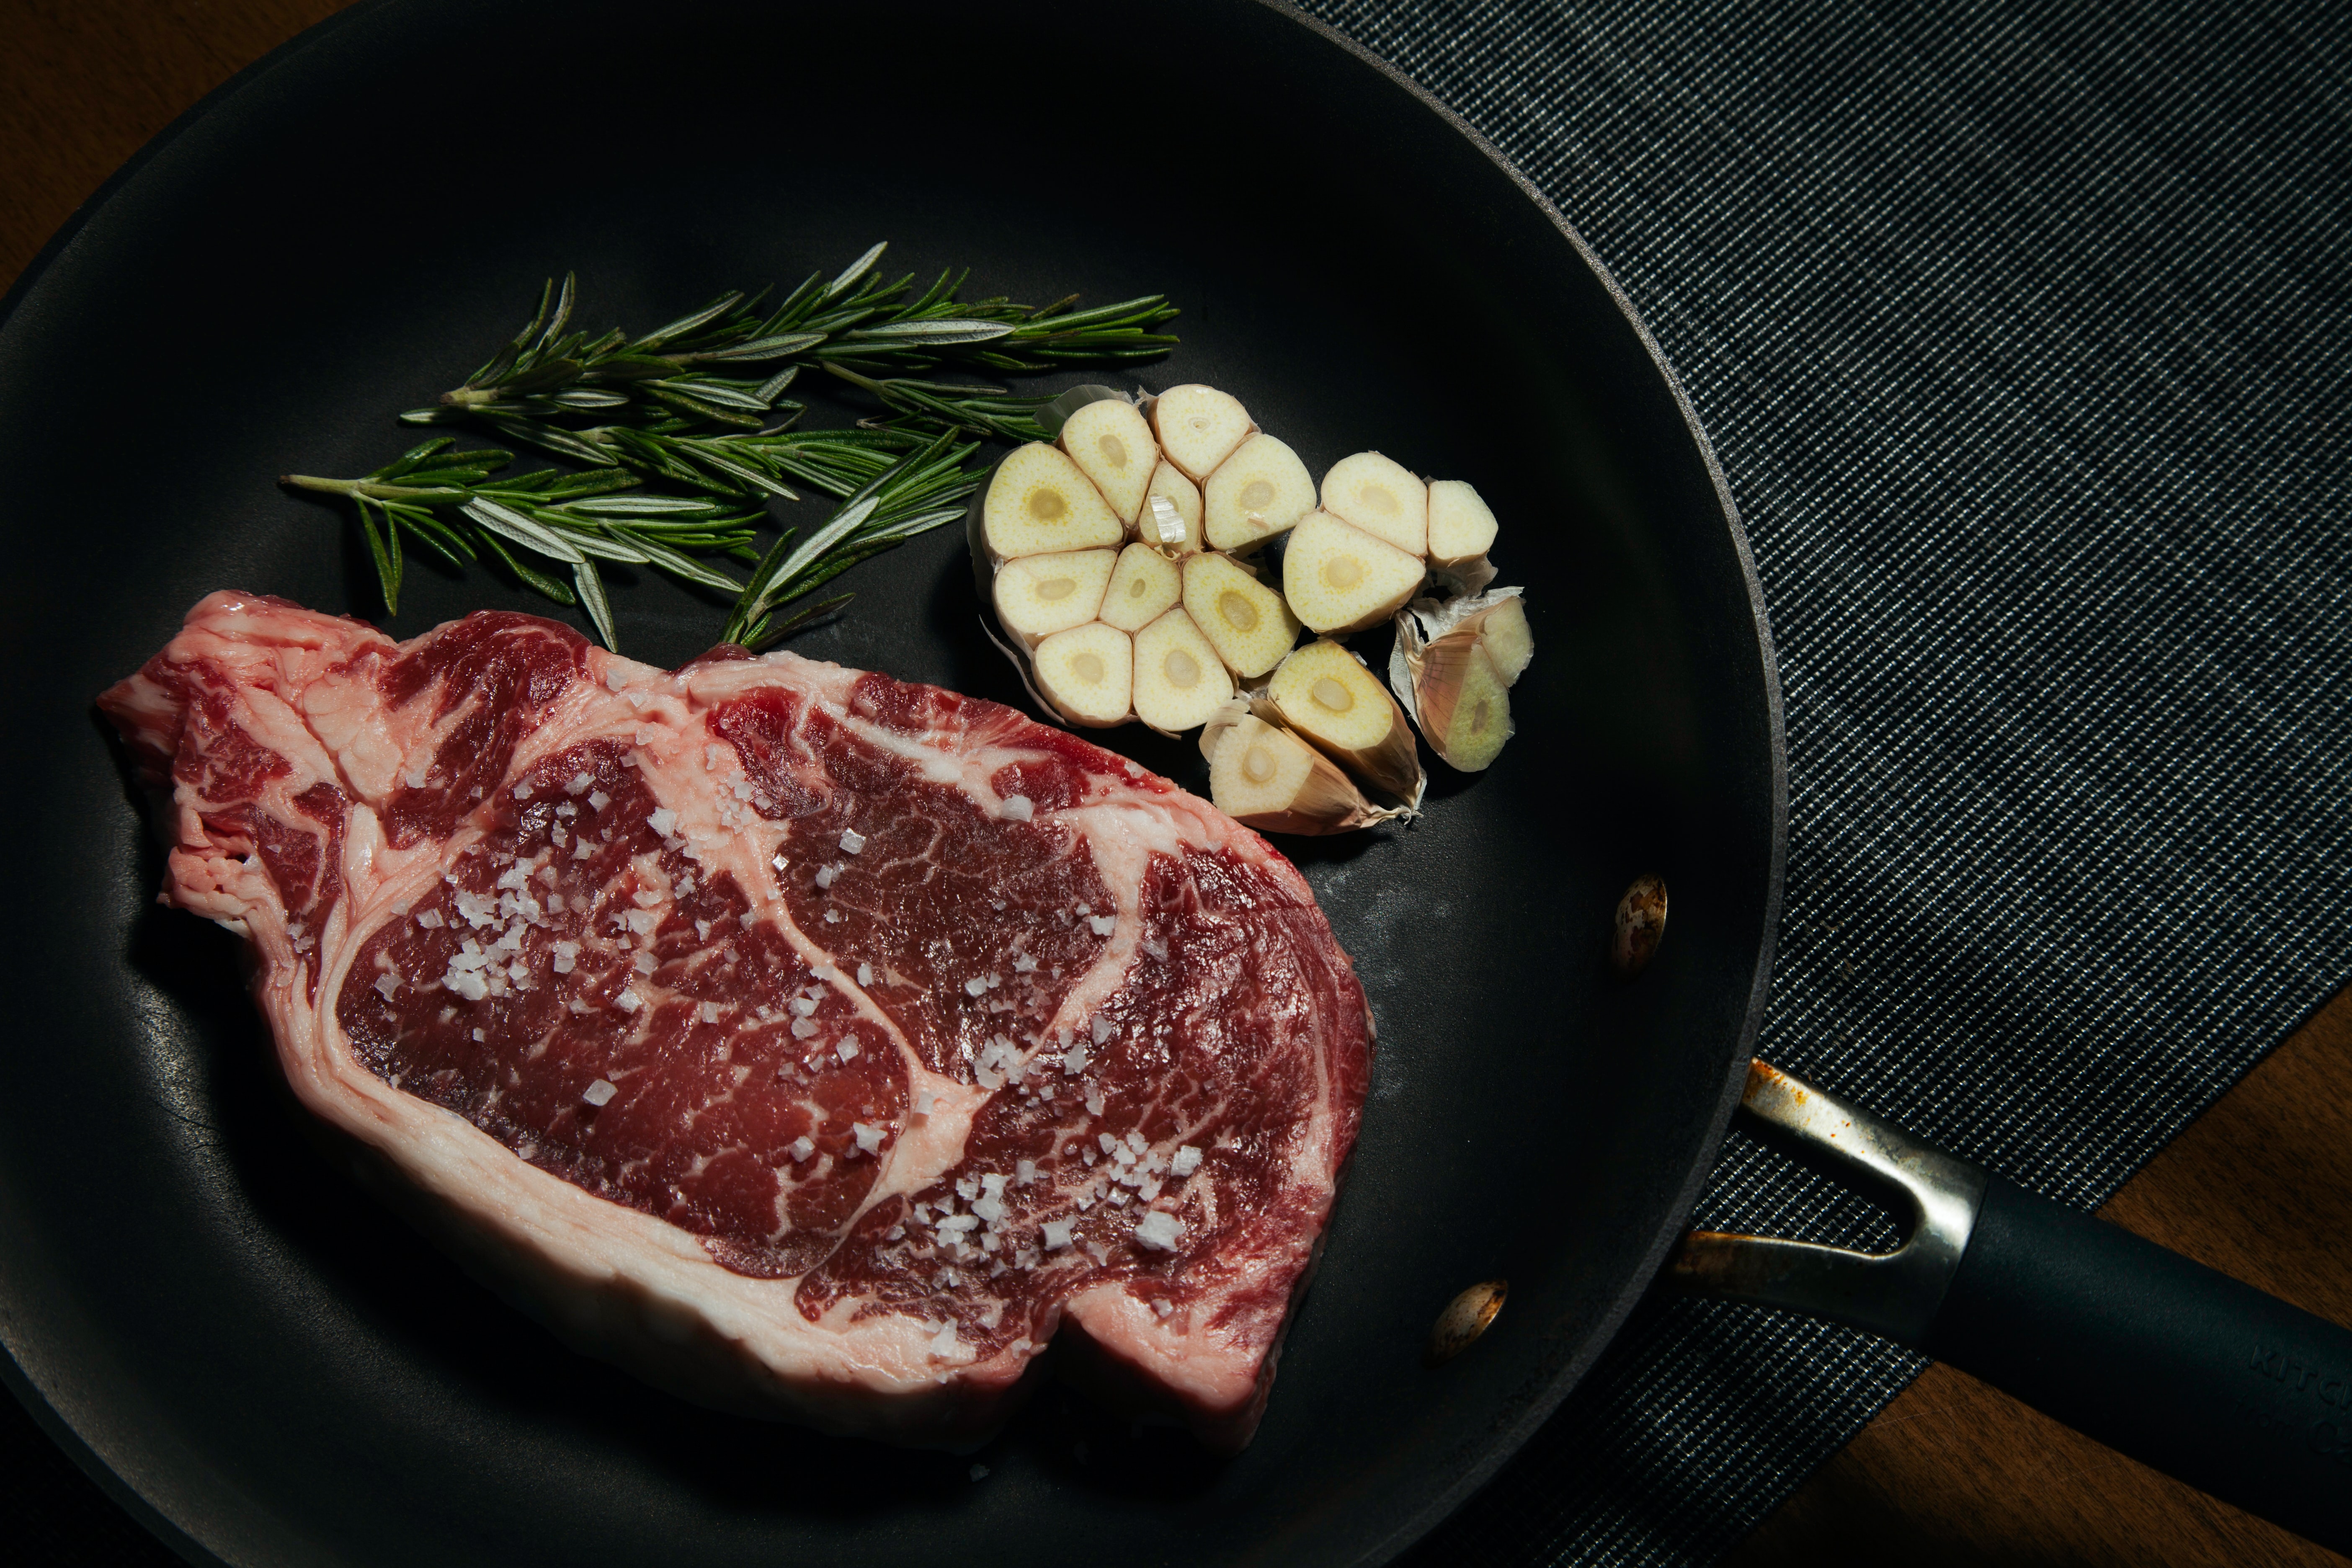
Give yourself a head start! Cooking meat fresh out of the fridge will screw up the final product. You want to take the steak out at least an hour — preferably two hours — before you cook it. This will bring the internal temp of the meat to room temp. That should mean a difference of starting your cook at 75F instead of 35F. The actual muscle and fats will be softer when the meat is room temp, allowing the heat you apply on a stove or grill more space to do its work.
You also want to salt pretty early. Our tip is to take your steak out of the fridge about two hours before you want to cook. Then liberally salt all sides and let it rest on the kitchen counter. This will help season beyond the surface while also desiccating the surface, allowing a better crust to form down the road.
(There is some debate on when to salt the steak, but with a lot of reps under my belt, I like this method.)
PART III — Rest Between The Sear And Finish/Baste
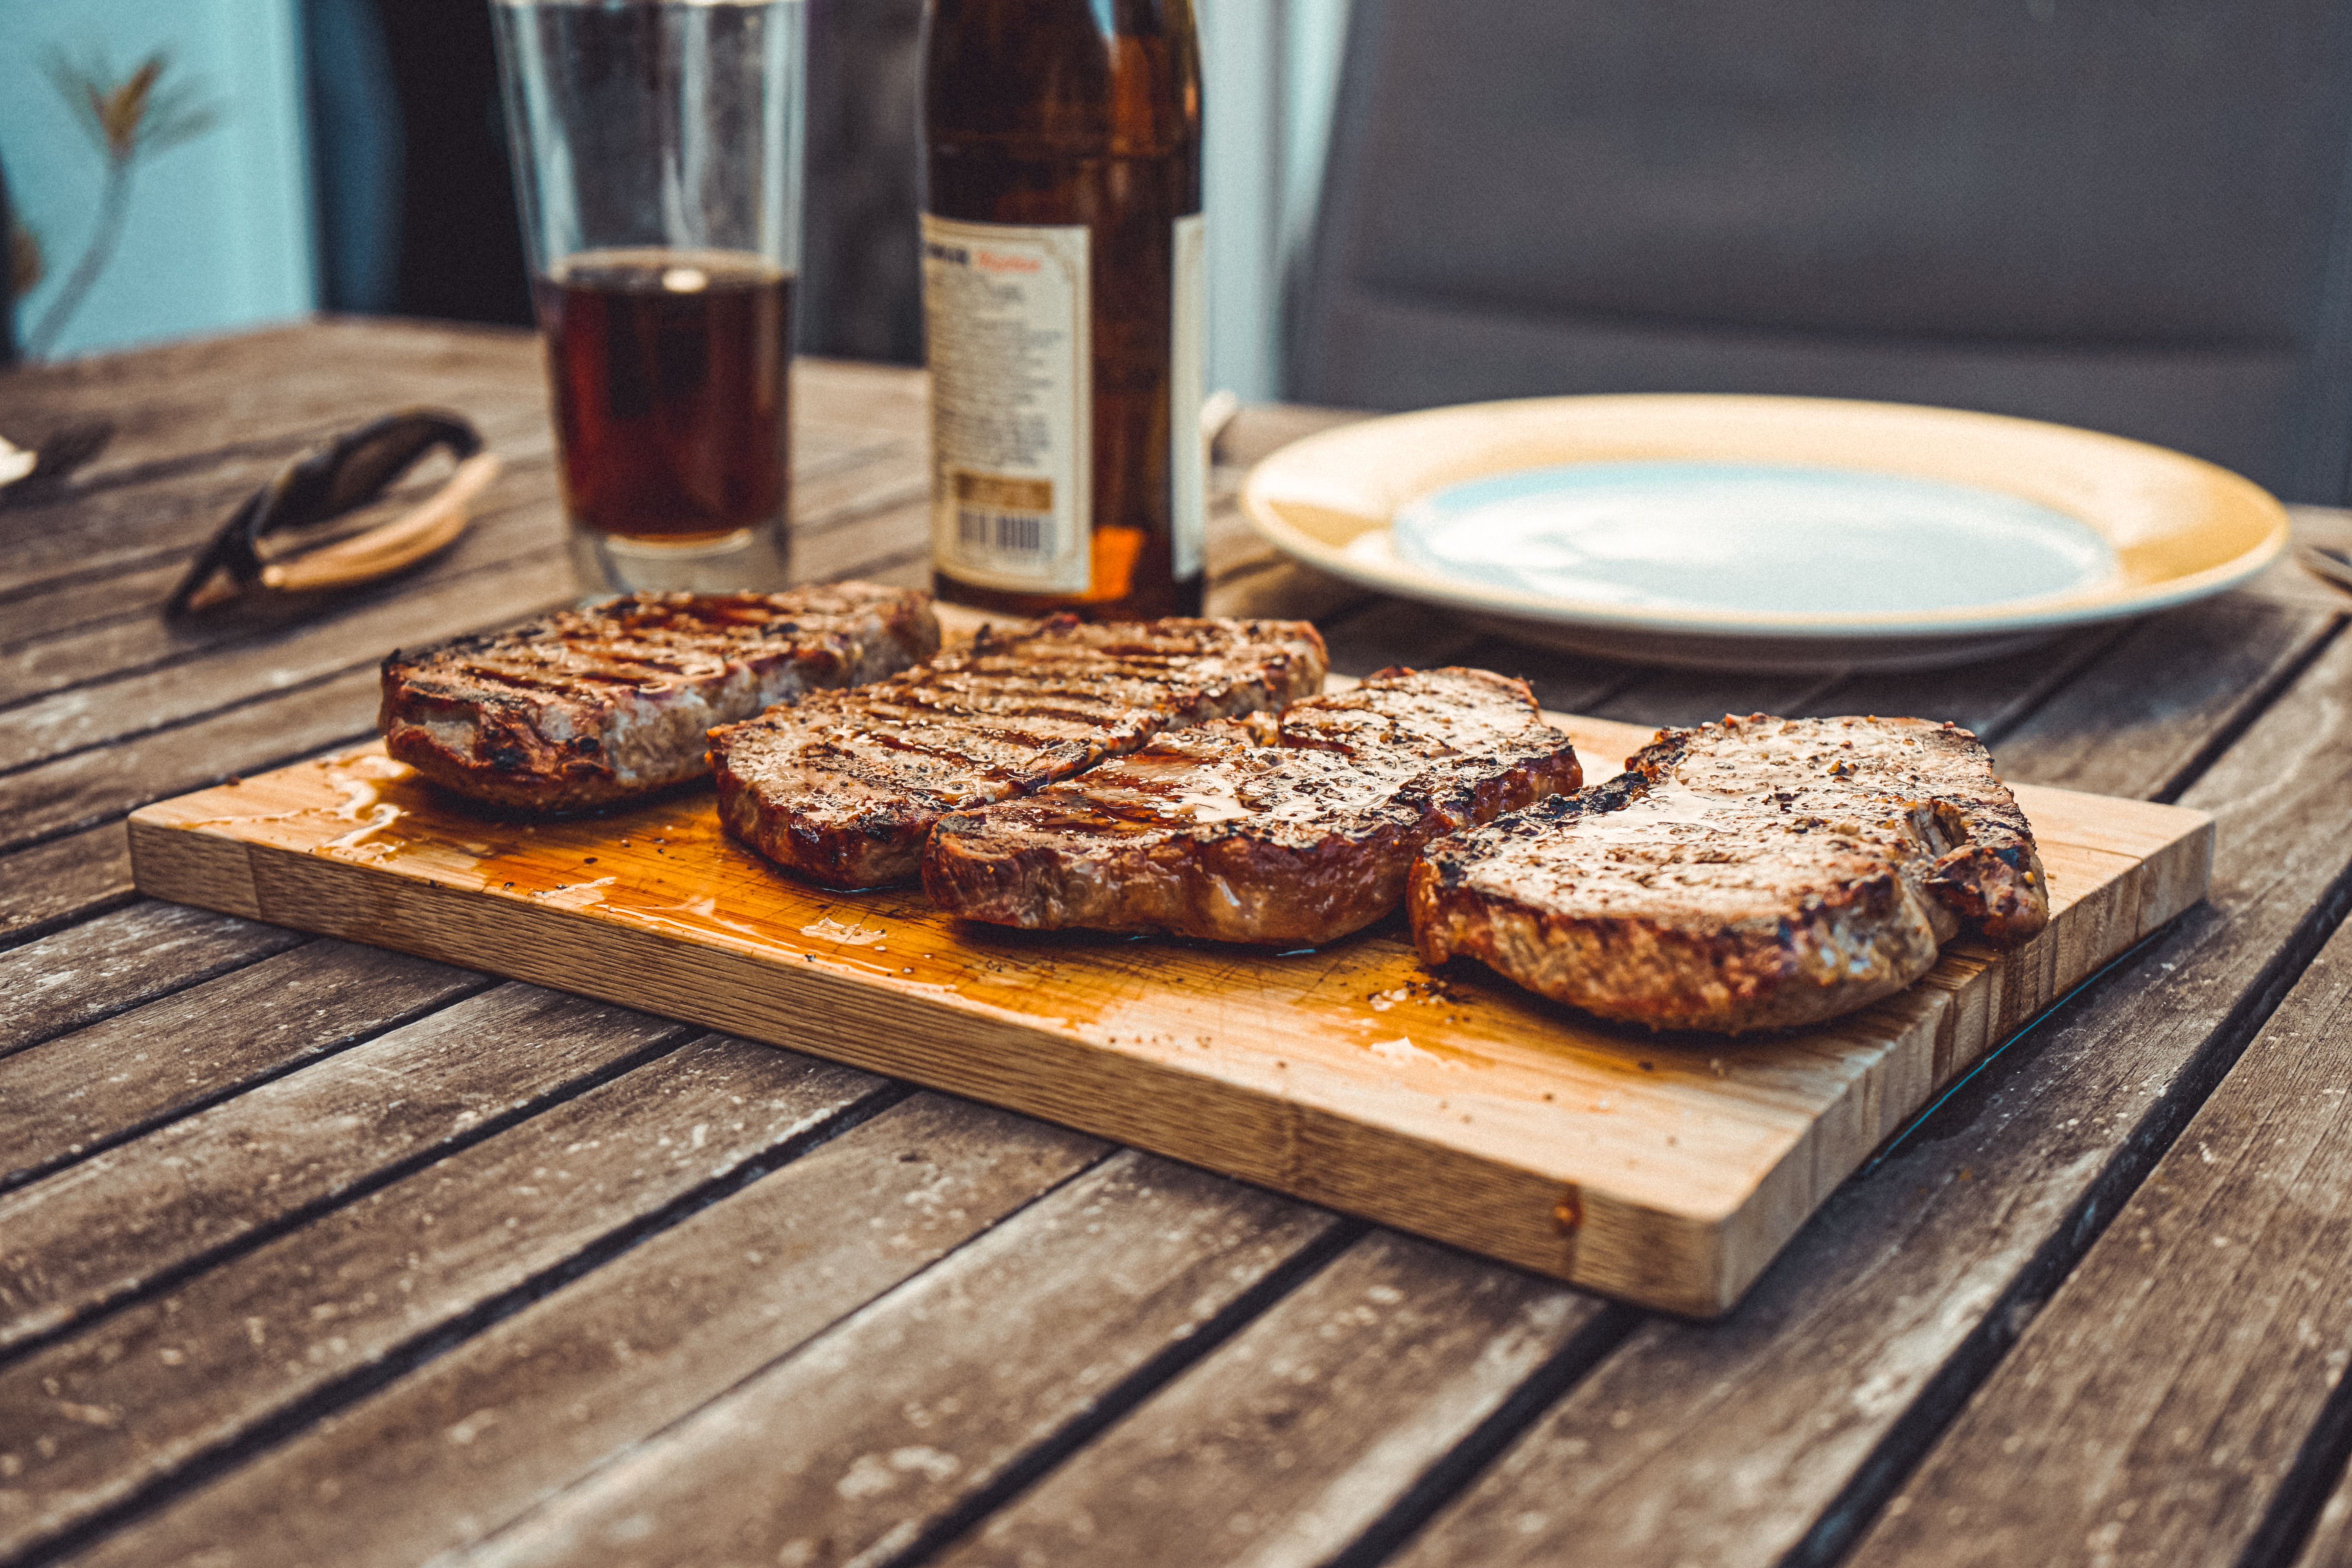
Whether on a grill or in a skillet, you want to go fast and hot for the first step of cooking. You really don’t need to worry about internal temp at this point. Heat some neutral oil in a skillet or turn your heat up to 11 on the grill and get a solid sear on your meat.
Once you have a sear on both sides, take that steak off the heat and let it rest for a second. If you’re going for rare or medium-rare, this will stop the outer layer of the steak from losing all its pink color and going brown.
Generally, let the steak sit for three to five minutes just to take the edge of that high heat off. If we’re talking about a flank or skirt steak, you really don’t need to do this because they’re thin enough just to sear and be done with it. If we’re talking something with a bone, this is crucial.
Then you want to finish the steak on closer to medium or medium-high heat. This is where you add in your aromatics — thyme, rosemary, garlic, whatever — and butter if you’re basting.
This is also where you start testing for temperature. Which leads us to…
PART IV — The Touch Method
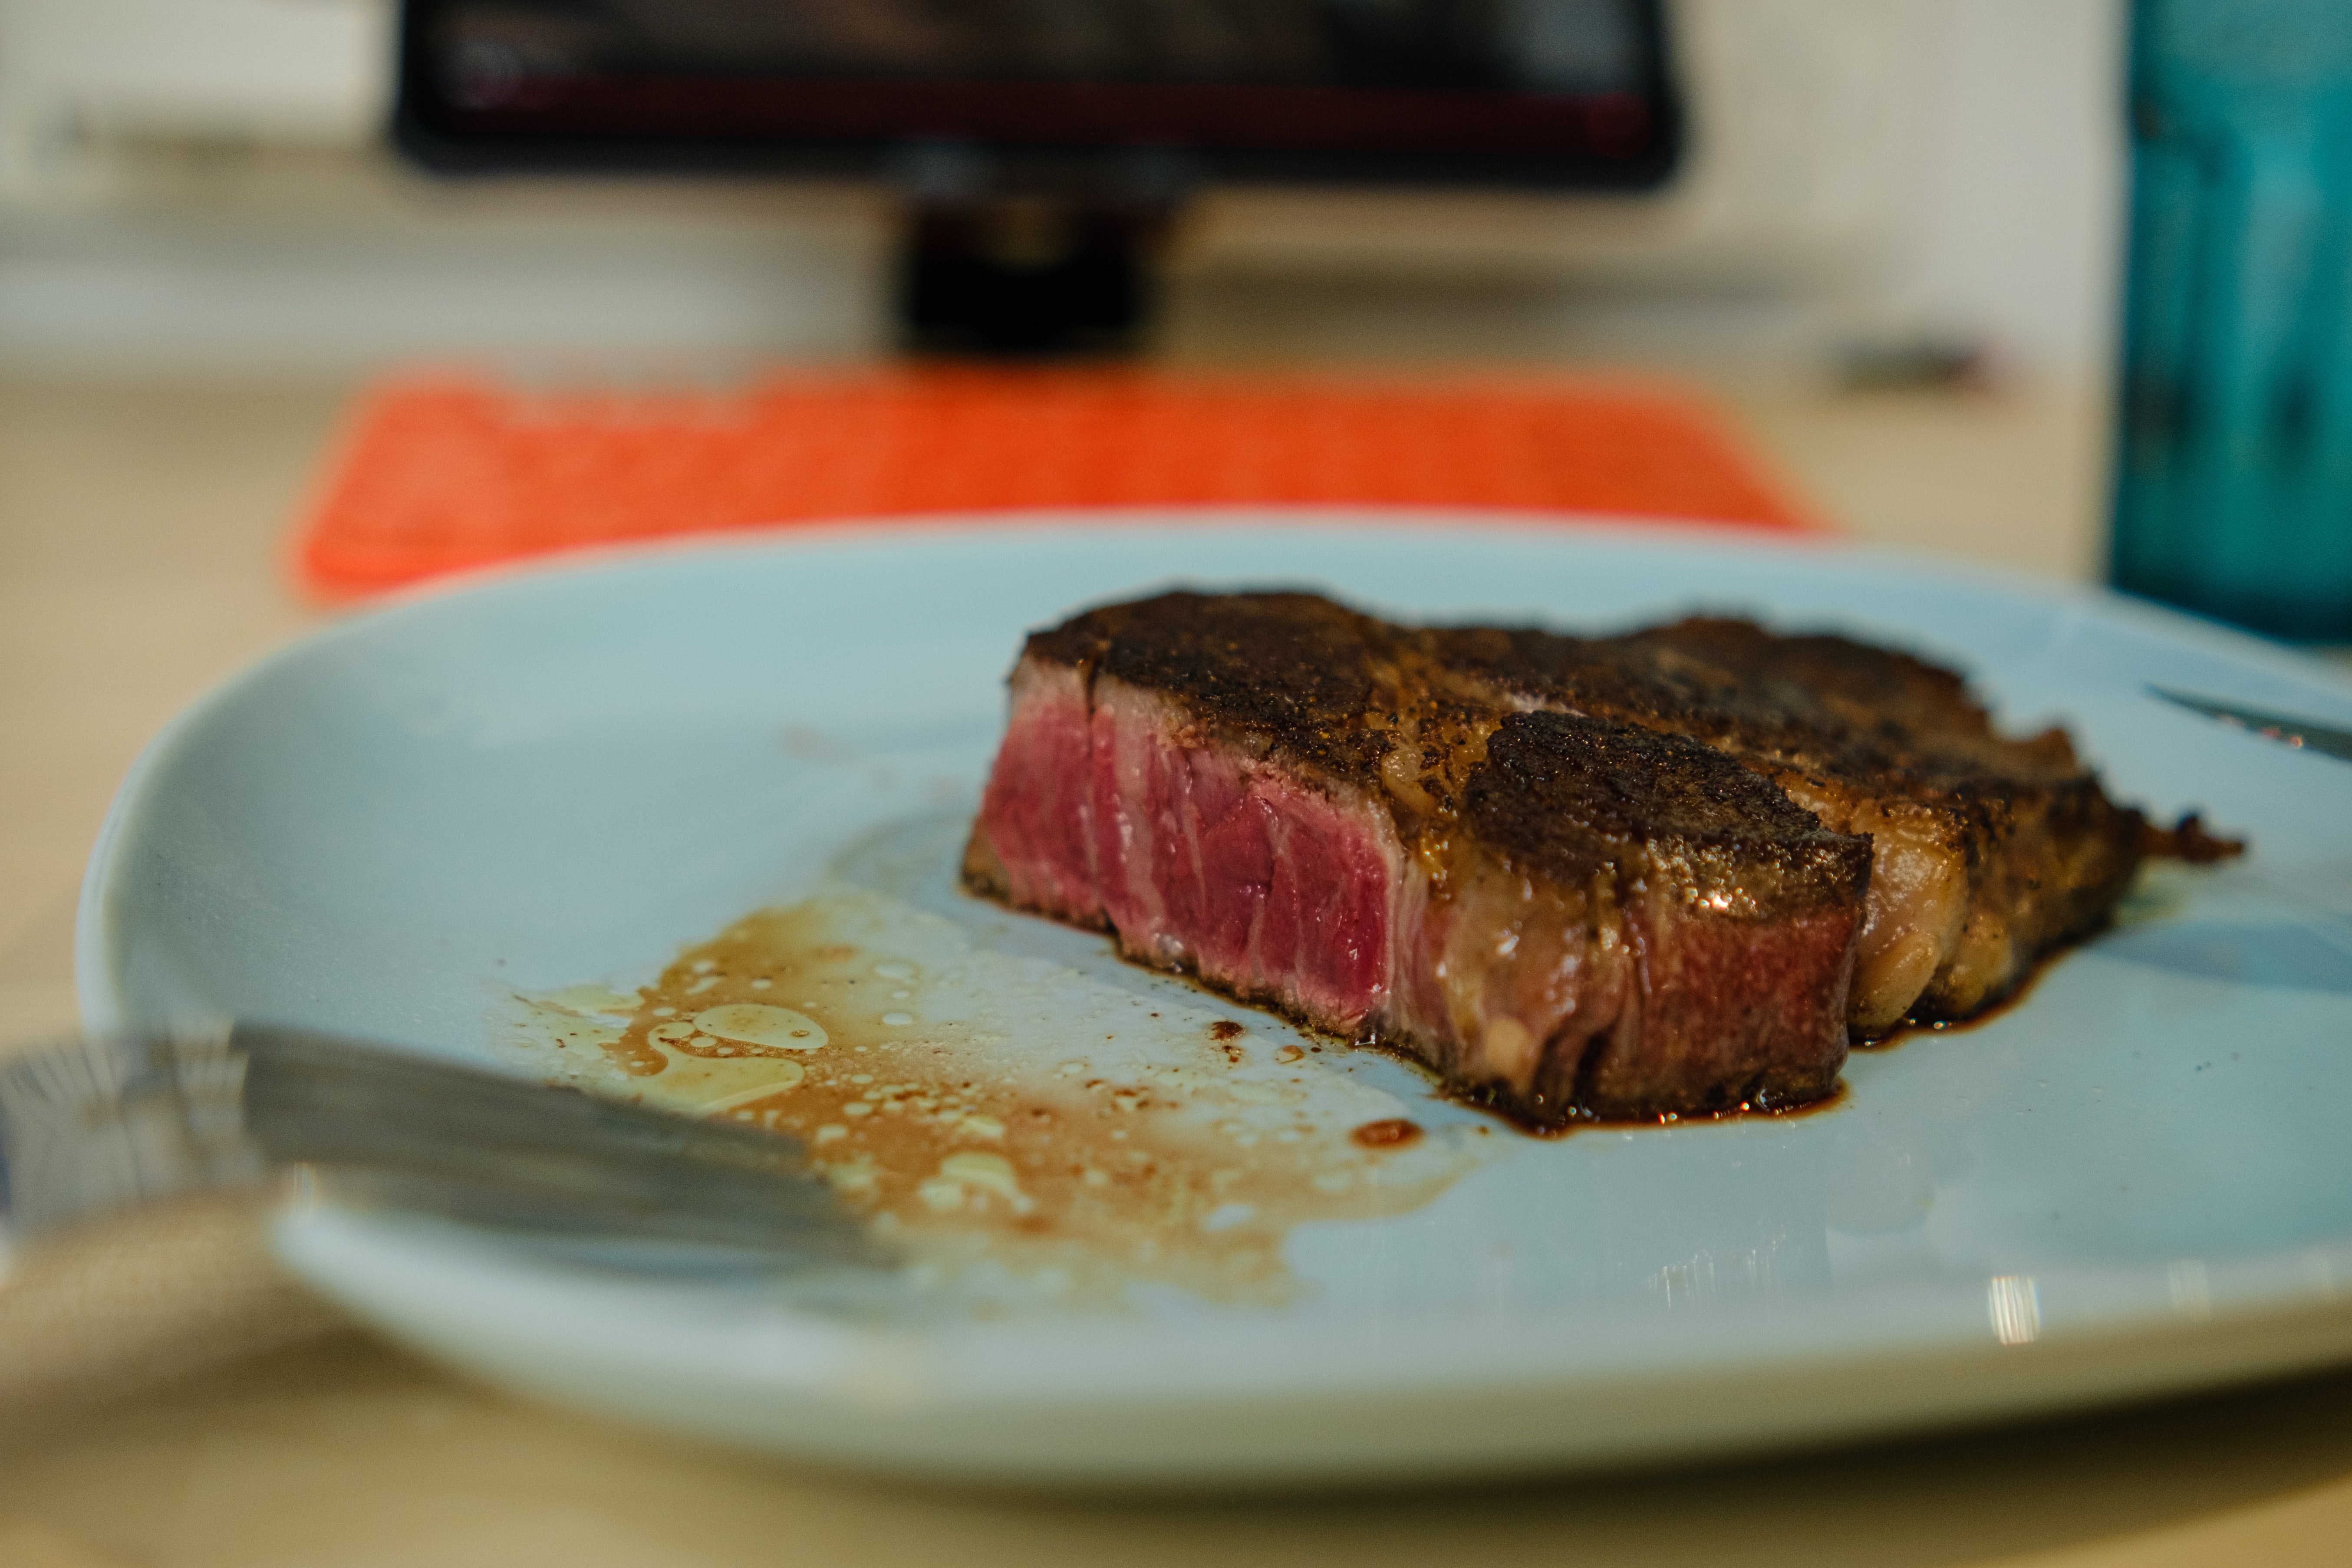
The most talked-about way to test your steak’s doneness is called the “touch method,” where you use your hand’s meatiness as a gauge.
It goes something like this: Look at your palm. Start poking it where your thumb meets the palm, leading to the index finger. That little bit of soft fleshy bit is basically the same feel as a rare steak. Now, move your poking finger about a half-inch towards the inner palm. It’s a little stiffer, right? That’s medium-rare. Another half-inch towards the palm is medium. The next half-inch should have your poking finger fully in the palm and a fairly stiff point which is medium-well leading to well done.
This little explainer is actually produced by the American Heart Association.
Chef Gordon Ramsay has a different riff on the touch test here. He drops a few other gems, too.
This is not a science. A skirt steak will cook much faster than, say, a rib eye. So you’ll have to keep a closer eye on it and take it off pretty fast. Then there’s a filet (or tenderloin) which, depending on thickness, will still hold a bit of giggle to it even as it cooks through. So you’ll have to practice this and find the sweet spots.
PART V — The Metal Spear Method
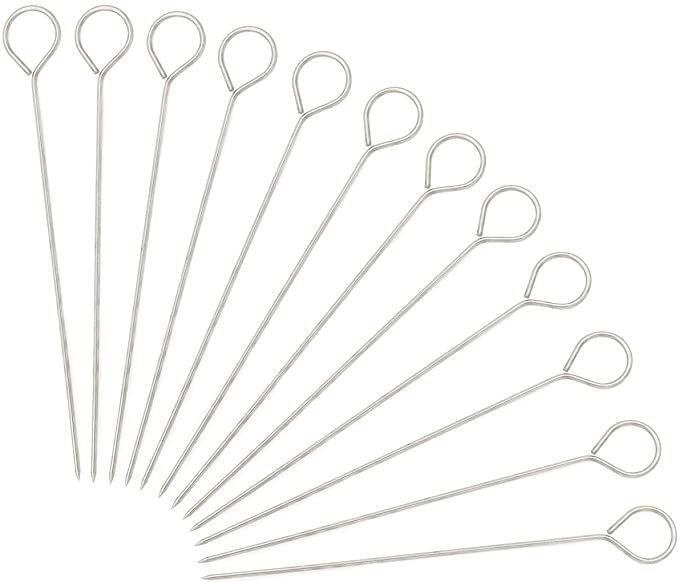
This might sound a little crazy to the uninitiated, but most professional chefs use a very small metal meat pick or spear to test their meat’s doneness. Basically, what you’ll see trained chefs do is insert this thin little metal stick into the meat and then place that stick on their wrist (or more weirdly their chin) to test the warmth of the internal meat. How warm that metal stick is will tell the chef where the meat is internally.
While this is a cool looking trick, it takes forever to master. You really have to get used to how a temperature feels which you really can’t do unless you’re cooking 50 steaks a night in culinary school. Still, if you master this at home, good on you! It’s a fun way to prove your prowess at cooking meat precisely… if you can dial it in.
PART VI — The “Just Use A Thermometer Already!” Method
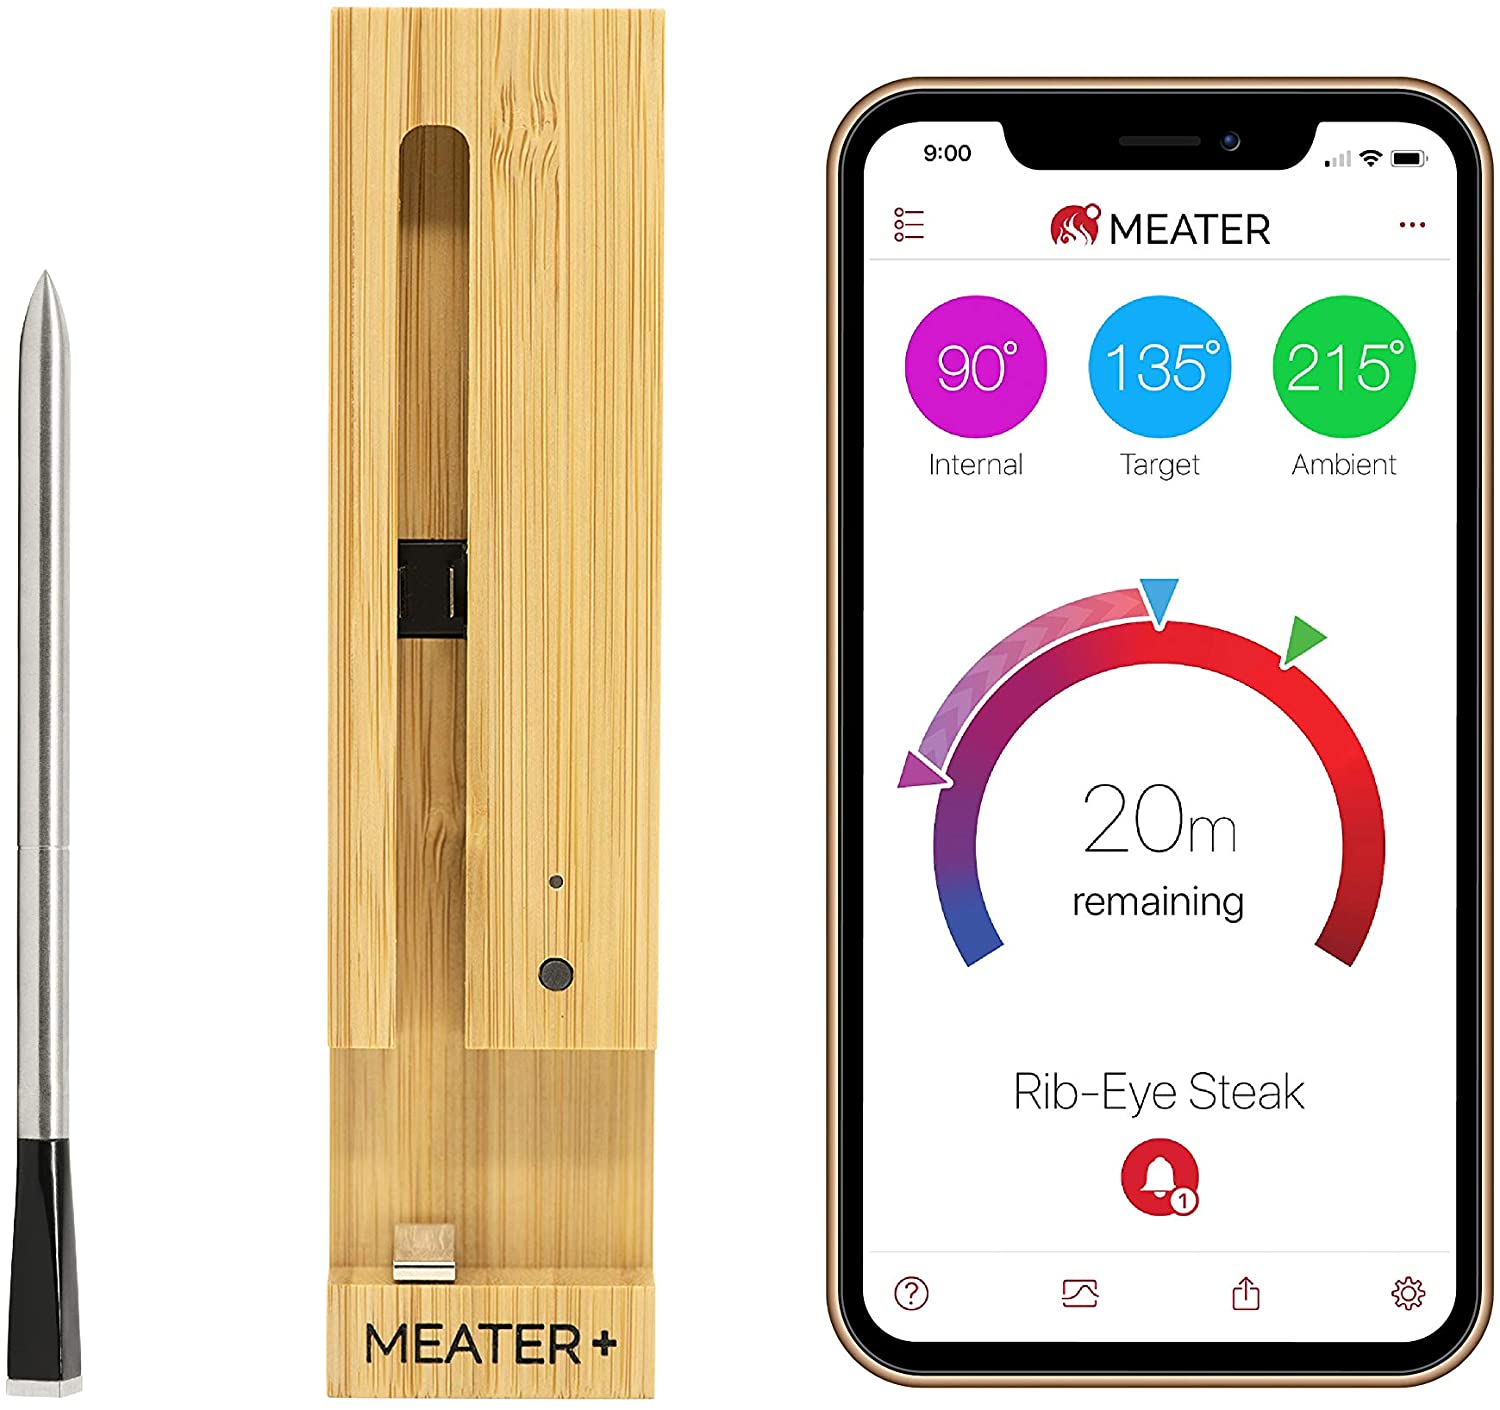
This is really where everyone should start, especially if you’re dealing with thick cuts of meat. You can use something like a Meater thermometer to know exactly where your steak is at all times. We’re calling out that thermometer specifically because you leave it in the meat while you cook. You do not want to be poking your steak a dozen times to check the temperature — it’ll create holes through which all the juices you want to preserve will escape. The thermometer in the image above sort of gets sealed into the meat as it cooks, so you don’t lose the precious fluids.
If you do want to use a standard thermometer, our advice is to use the “touch method” and then put a thermometer in to see how close you are to the targeted temp just once. Please don’t keep poking the steak with a thermometer. The best thing you can do is practice and feel it out over trial and error until you have it just right.
PART VII — Always Rest After The Cook
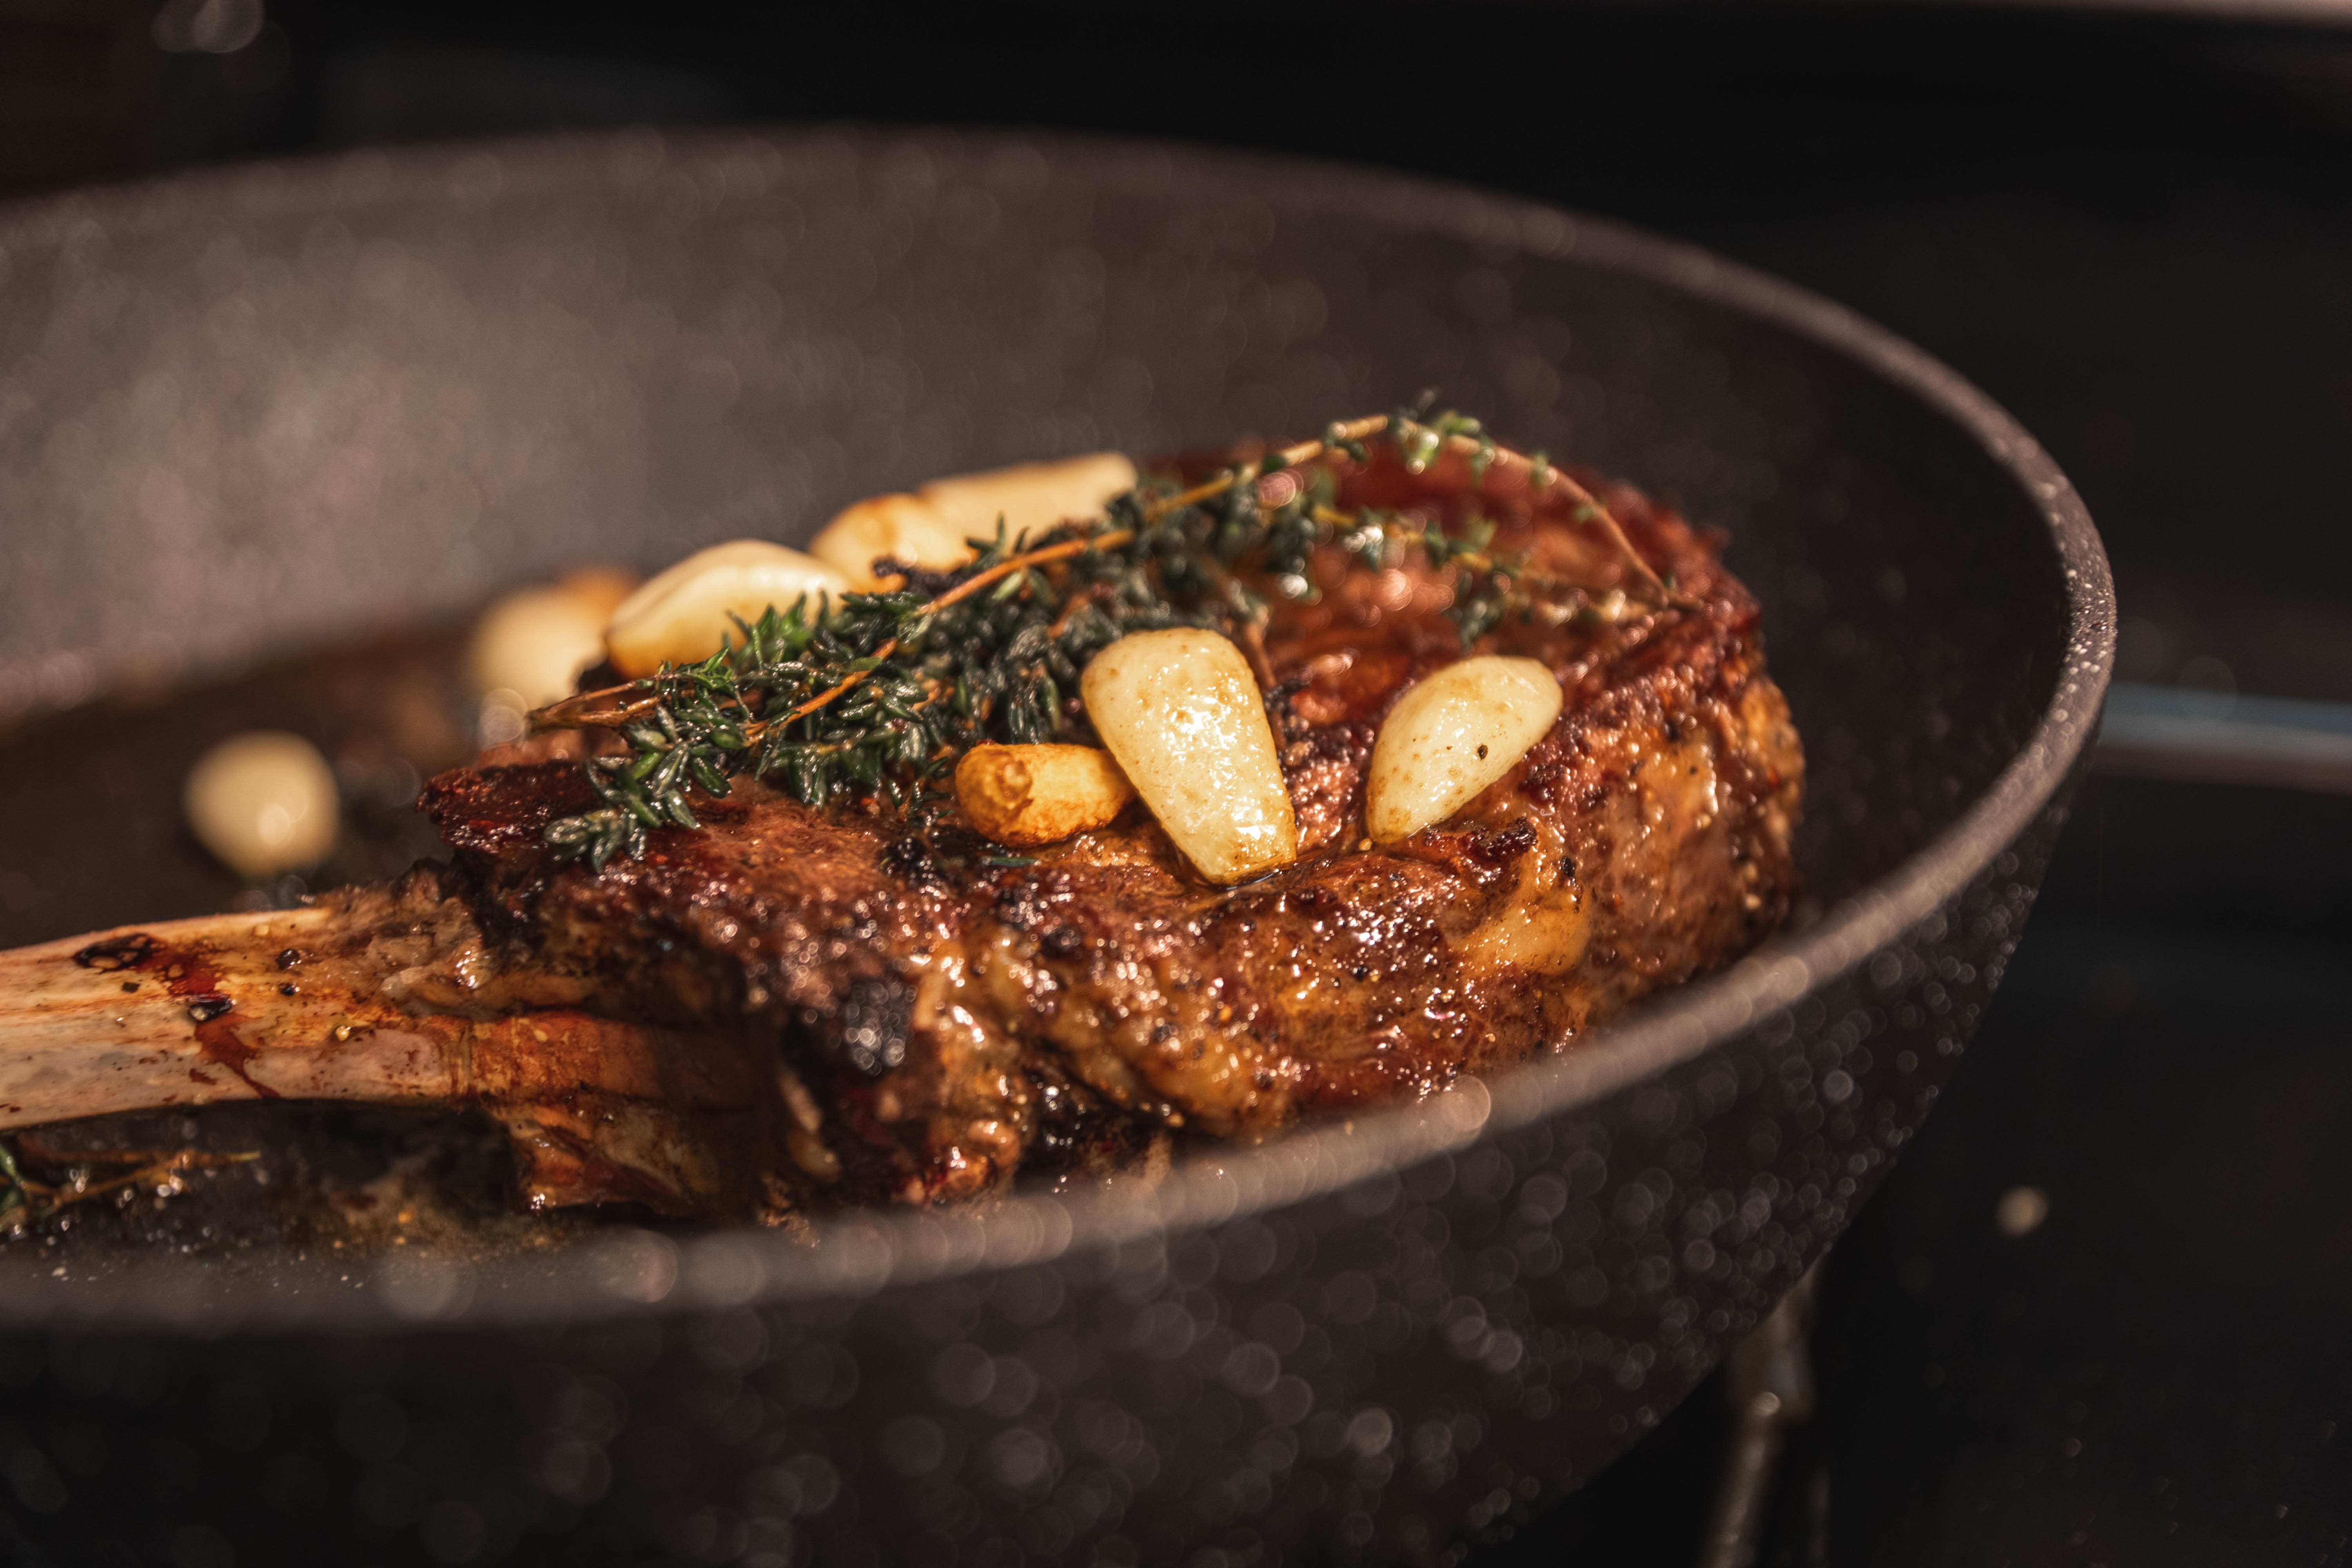
This is the final step of cooking any steak and crucial to the final doneness of the meat.
If you’re cooking something thin like a skirt or even something small like a four-ounce filet, you’ll need around five minutes for the rest. In that time, you can see anywhere from five to seven or eight degrees change in temperature.
If you’re talking about a big ol’ rib-eye or porterhouse, you’ll need at least ten minutes and expect a ten-degree increase in internal temp.
So, if you’re aiming for medium-rare with a rib eye, take it off the heat at 120F to 125F. Rest for ten minutes. Then check the temp with a thermometer. It should be between 130F and 135F. This process also allows the steak to calm down and for fluids to redistribute. The juices will settle back into the muscle, creating a more succulent final experience.
This resting time also gives you just the right amount of time to make a quick pan sauce. But that’s an article for another day.
