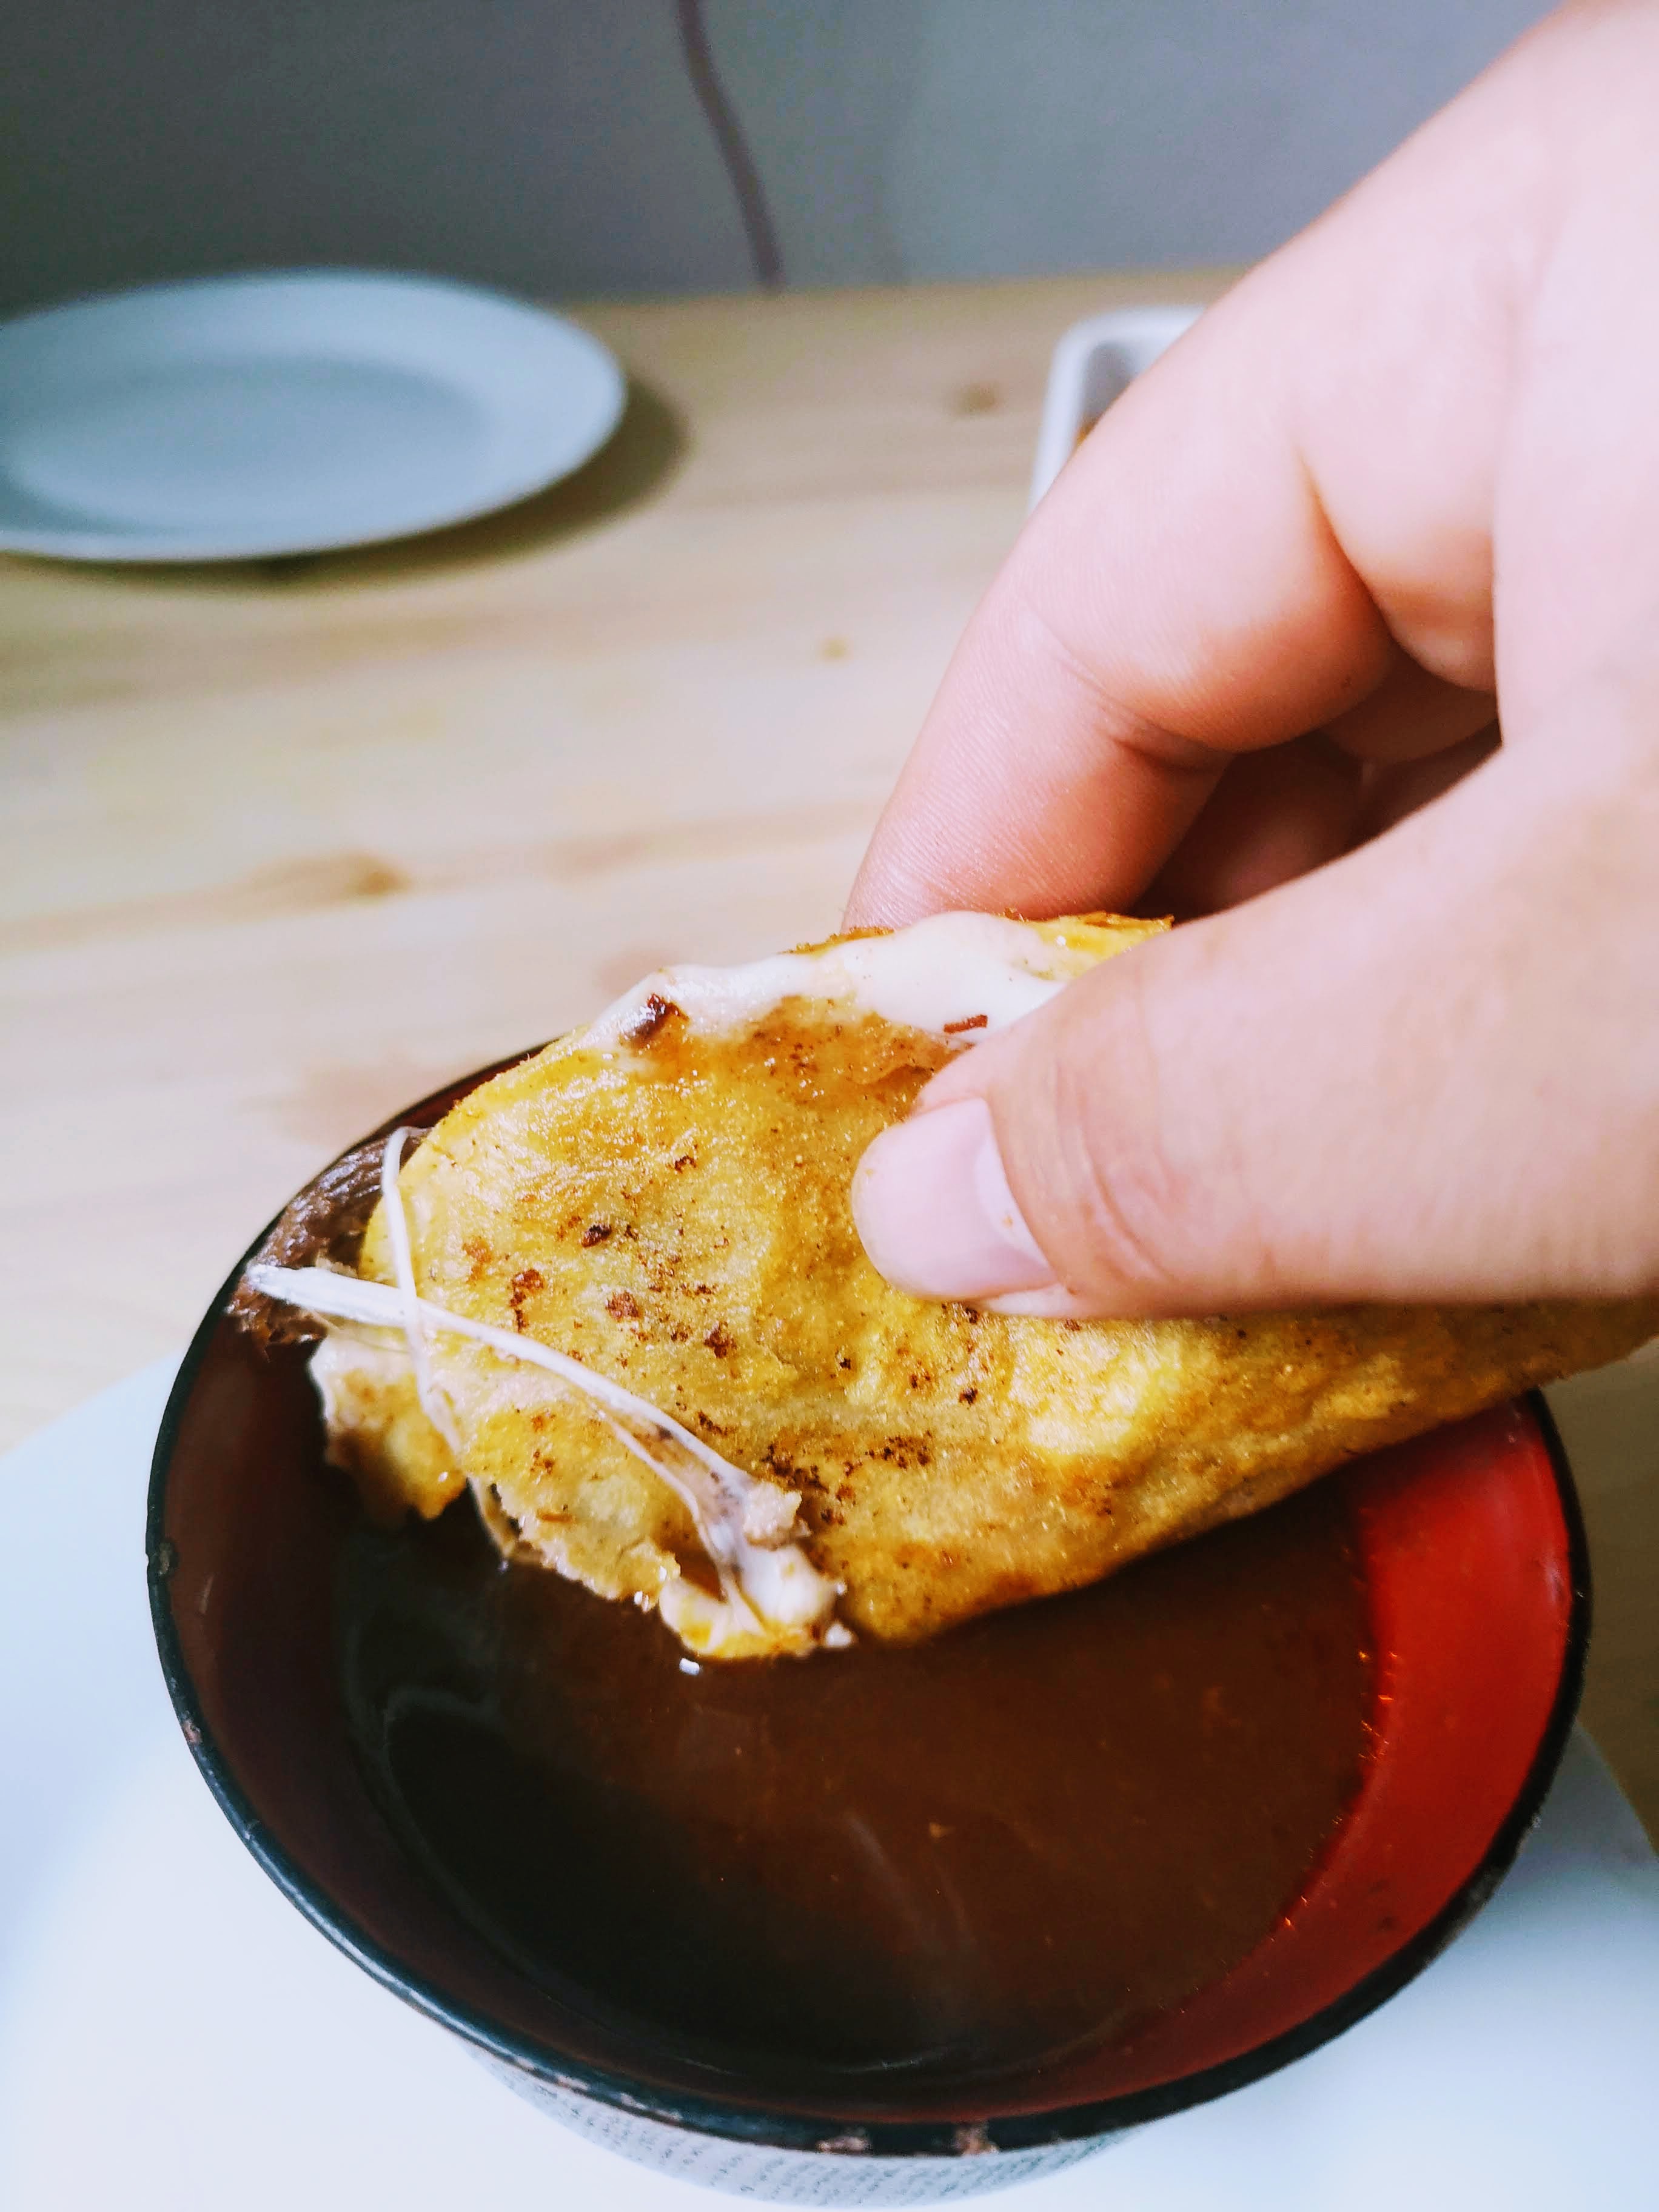
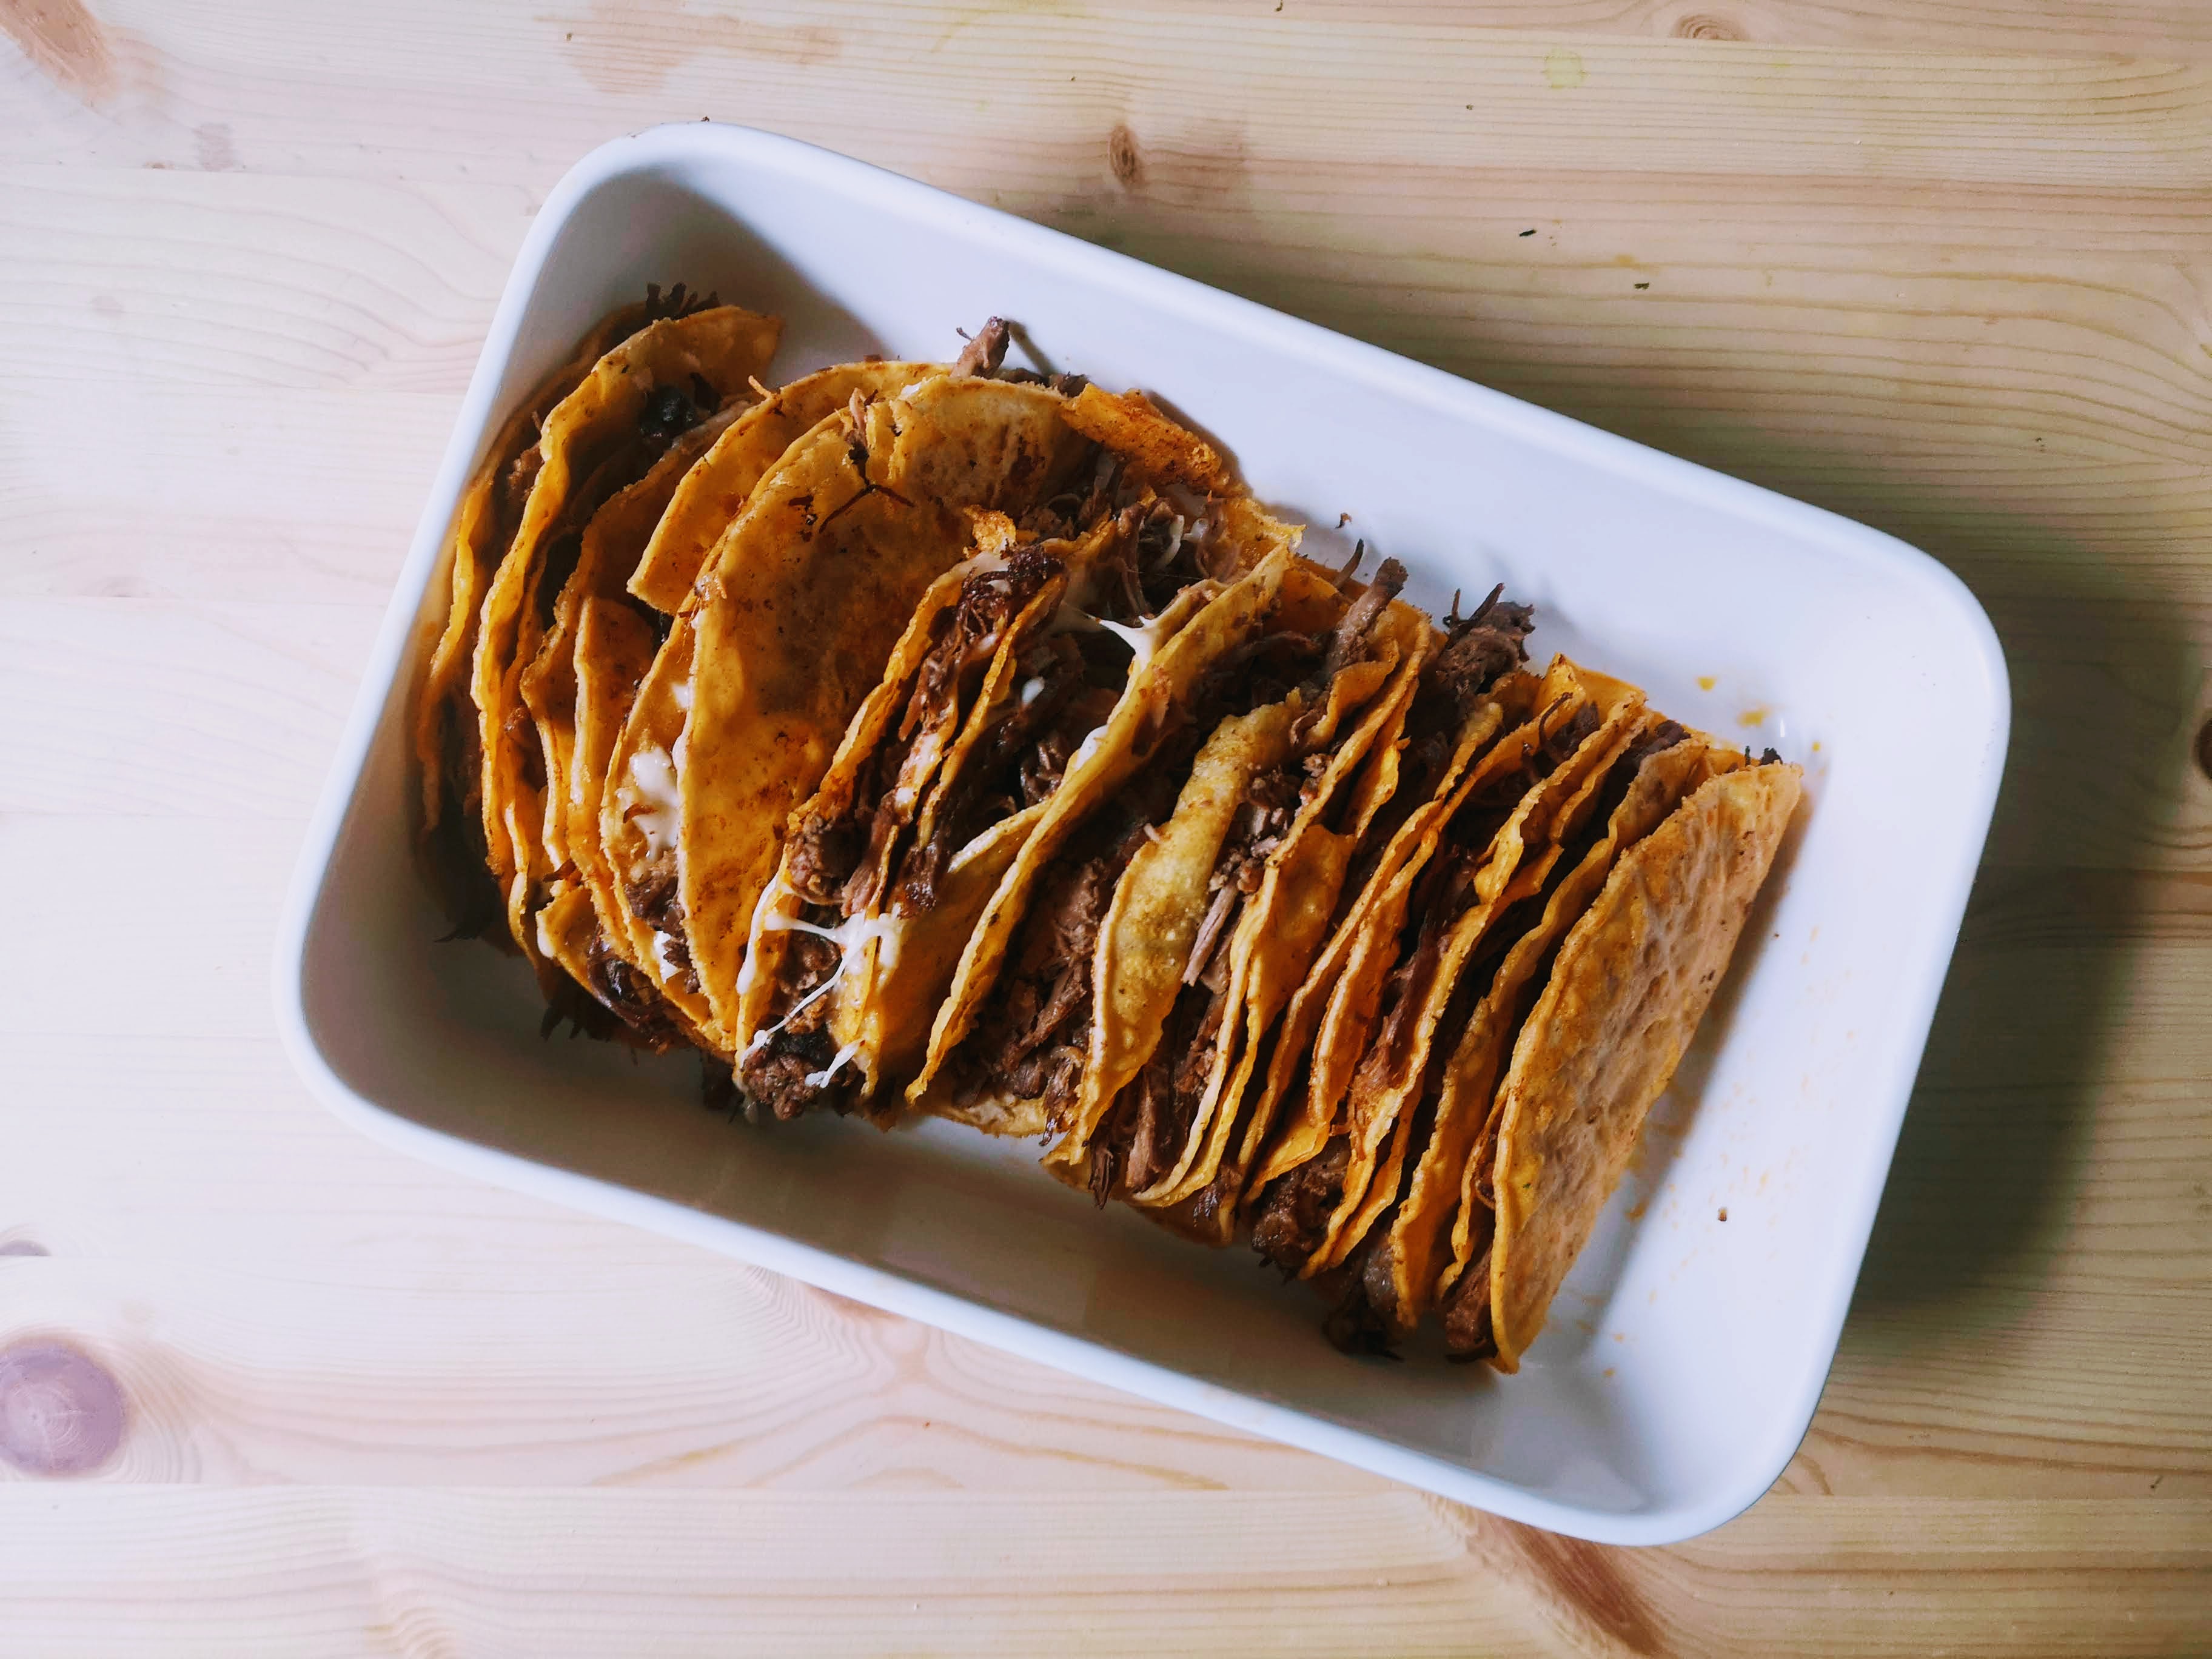
Birria tacos have a long and storied history in Mexico before they blew up around the U.S. food truck scene a few years ago. The tacos are full of slowly stewed meat — usually goat or beef — with a deeply built, chili-based spicy stew at the core, both for frying those tacos (in the skimmed fat) and dipping them (in the braising liquid).
The recipe comes from around what’s now Central Mexico. It was originally prepared by the Indigenous population as a stew made with Spanish goats back in the 1500s — basically invented as an attempt to make their gamey goats more palatable. Cut to the 1950s (and several genocides against Indigenous Mexicans later), and people were still eating birria as a stew and in tacos. A taquero in Tijuana decided to start serving his beef birria tacos with a side cup of the braising liquid for dippin’, putting a vital component of the dish in place. In 1980 another taquero in Los Angeles added a little cheese, creating the quesabirria, and here we are. Today, I’m making both standard beef birria and quesabirria tacos with a delicious “consomme” on the side for dipping.
Before we dive in, it should be noted, this takes a lot of time. You’re slow-stewing/braising tough cuts of meat into luscious, soft, and well-spiced meat that you can bite through. That isn’t a quick process. I did mine over a whole day, but most recipes call for you to take two days. Which does raise the question, are these worth making at home? Yes. And no. Yes, in that a lot of people don’t live in a city where these taco trucks are the norm, so making them at home is a way around that. No, in that this takes forever. It’s tiring, and it’s a lot of work for a plate of tacos, Tuesday night or not.
All of that aside, this is really freaking delicious. So, make up your own mind on whether you want to give these a shot. The ends do justify the effort, I promise you that.
Birria Tacos
Ingredients:
Makes about 2 dozen tacos
- 4 lbs. top round of beef, trimmed of the fat cap
- 2 lbs. oxtails
- 1.5 liters/quarts of beef stock
- 4 Marisol chili peppers, deseeded
- 1 jalapeno, deseeded
- 1 small can of chipotles in adobo sauce
- 1 yellow onion, quartered
- 1 large tomato, quartered
- 6 cloves of garlic, whole
- 10 peppercorns
- 6 allspice berries
- 2 cinnamon sticks
- 2 tbsp. cumin
- 2 bay leaves
- 2 sprigs of fresh thyme
- 1 sprig of fresh sage
- 2 sprigs of fresh marjoram
- 2 sprigs of fresh oregano
- Olive oil
- Salt
- Pepper
- Corn tortillas
Optional:
- Low-moisture mozzarella or Oaxacan queso
- Fresh cilantro
- Diced red onion
- Guacamole or a simple mash of avocado
- Lime wedges
When it comes to the ingredients, you should be able to source all of this at a good grocery store — or a regular one and a good butcher. I like to add in oxtail. Not so much for the little meat that you get in the end, but for gelatin, fat, and marrow that you get. That makes the stew base — or “consomme” — so much lusher and more deeply beefy. If there was one thing you could skip because you can’t find it, you can skip the oxtail. Your consomme will be thinner but still okay.
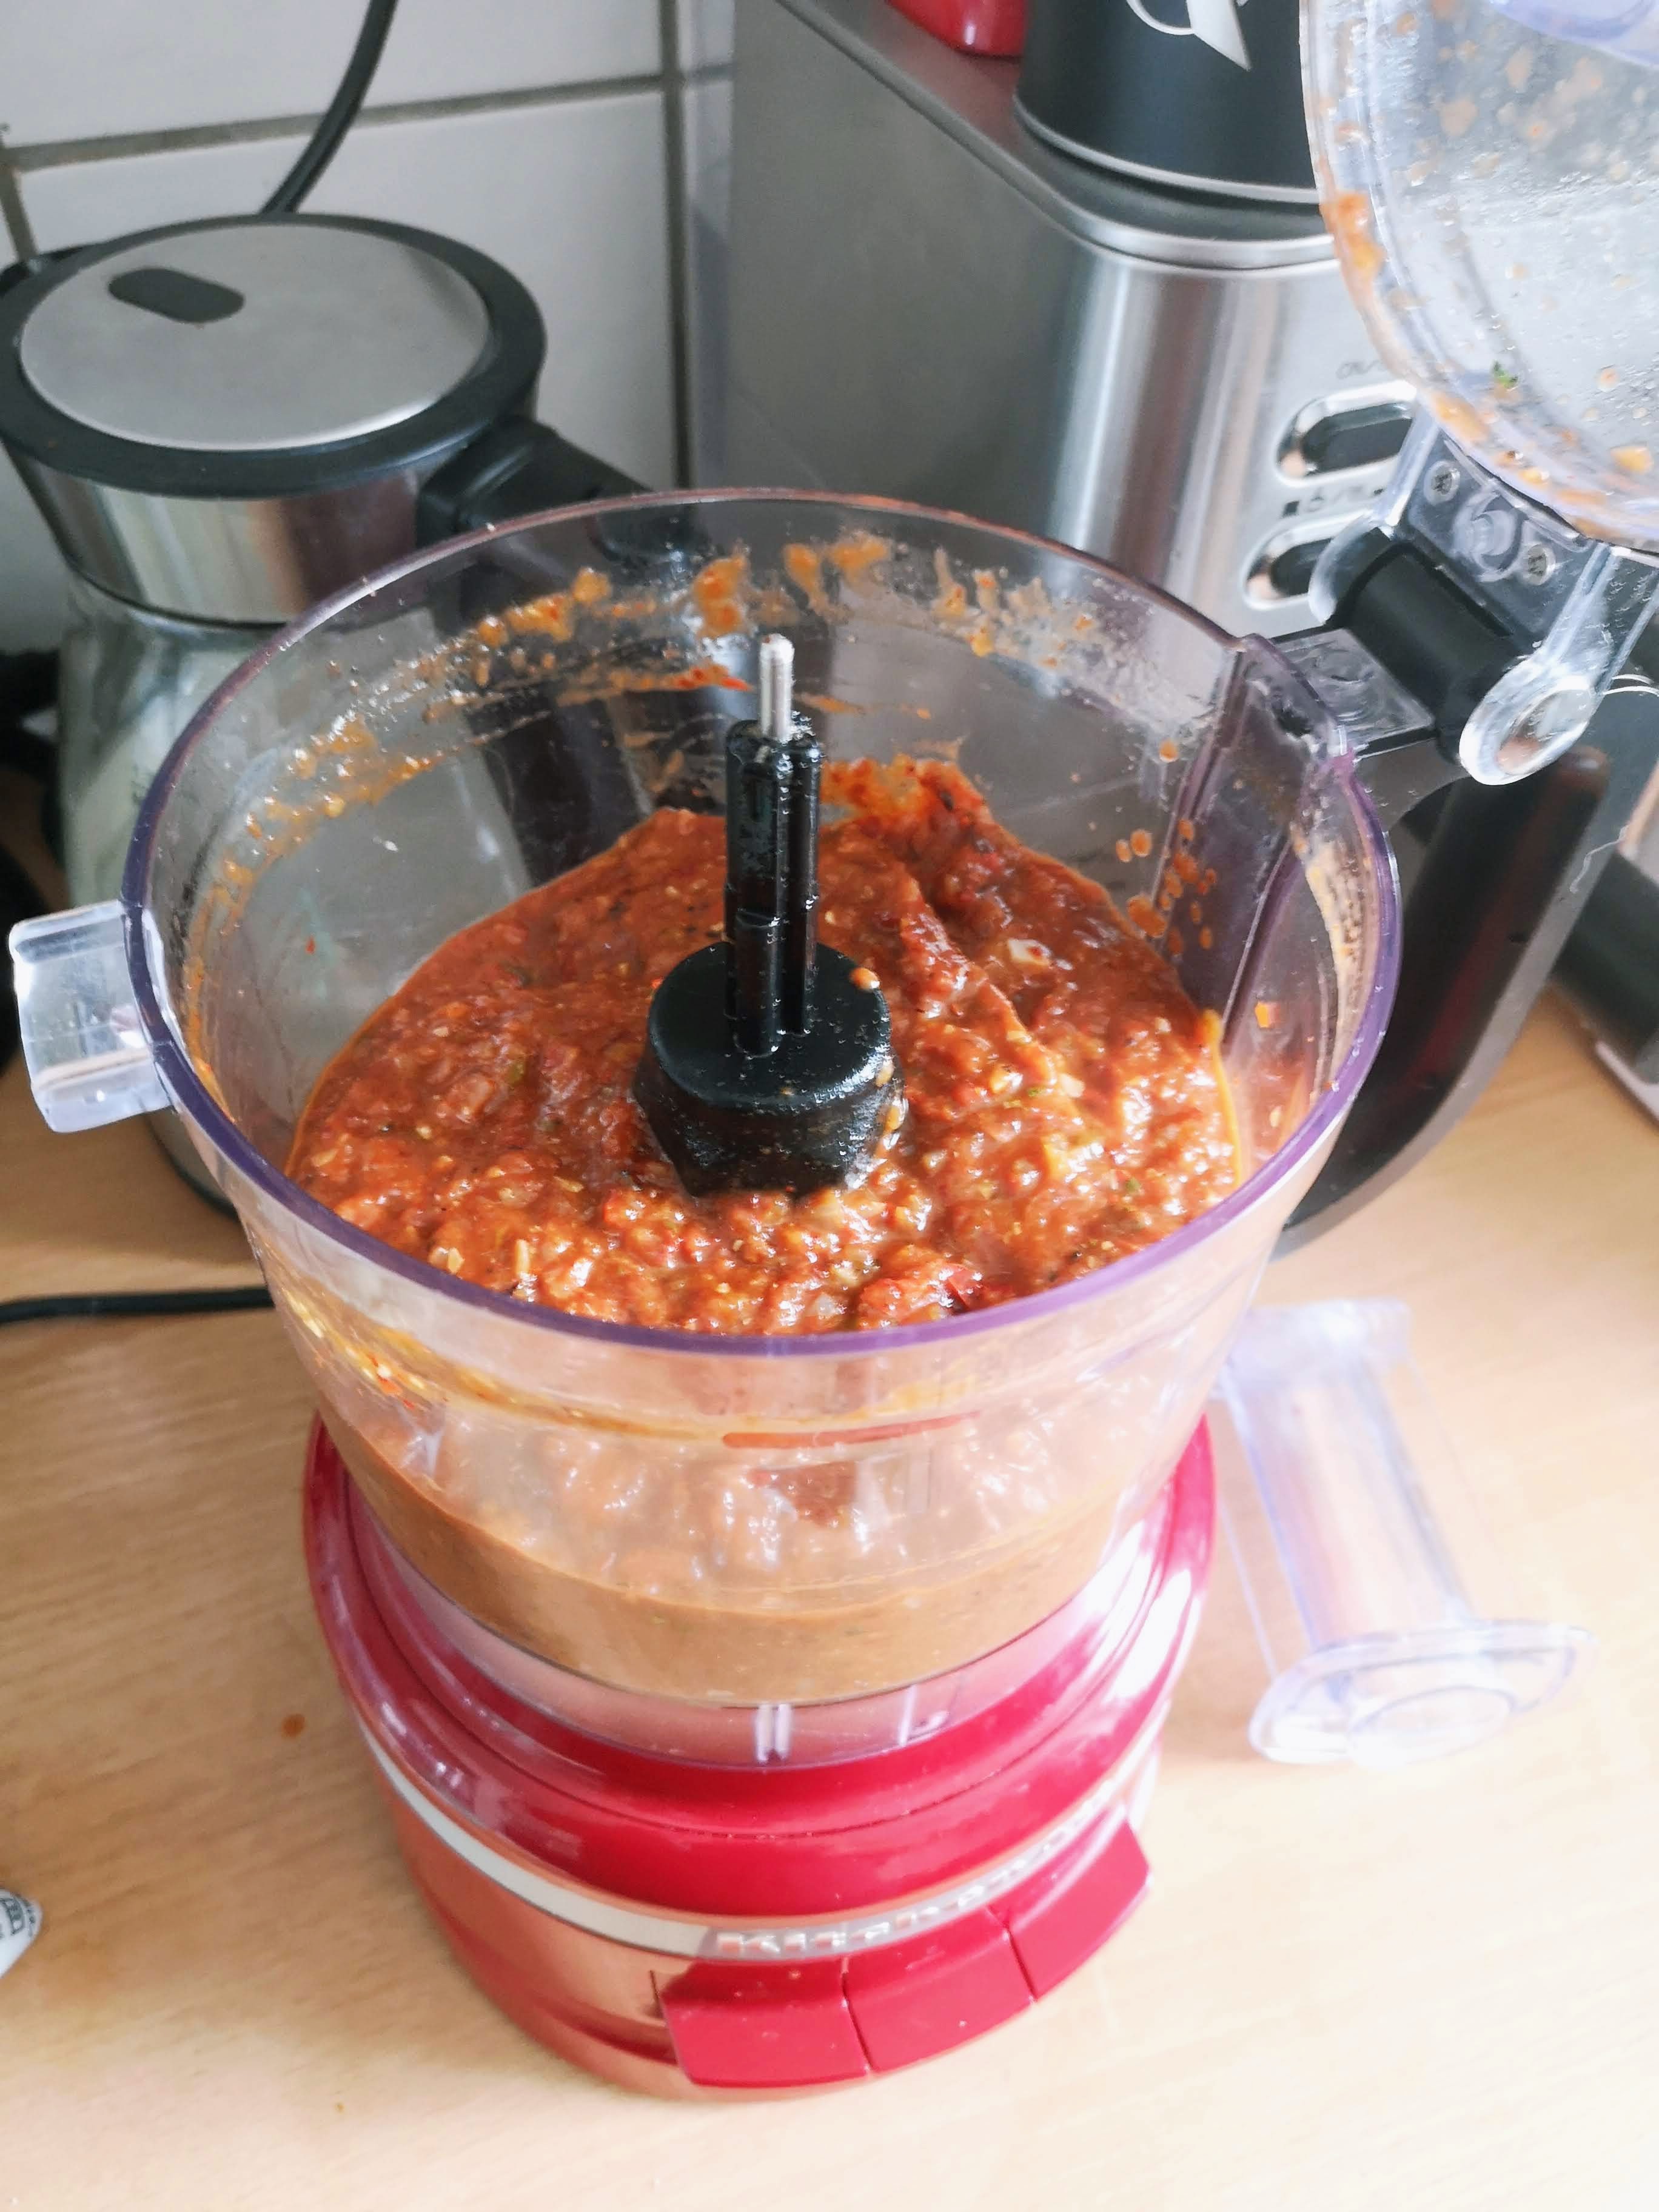
Lastly, there’s the chili mix/paste. I didn’t have any dried chilis on hand, so I used fresh and canned chipotle chilis. This stuff is roasted, blended, and cooked down for four hours, they’ll work just fine if you can’t find dried chilis. [Editor’s Note: If you can find dried chiles — Guajillo, New Mexico, Califonia — just toast and rehydrate in some hot water, it takes about 10 minutes]
What You’ll Need:
- Cutting board
- Kitchen knife
- Cookie sheet
- Large braising pan/pot (oven safe)
- Baking paper
- Tongs
- Spatula
- Food processor/blender
- Smaller pots (for reheating)
- Cast-iron skillet
- Small bowls (for consomme)
- Fine mesh strainer
- Large Tupperware containers for storage/straining things
- Spoons
Method:
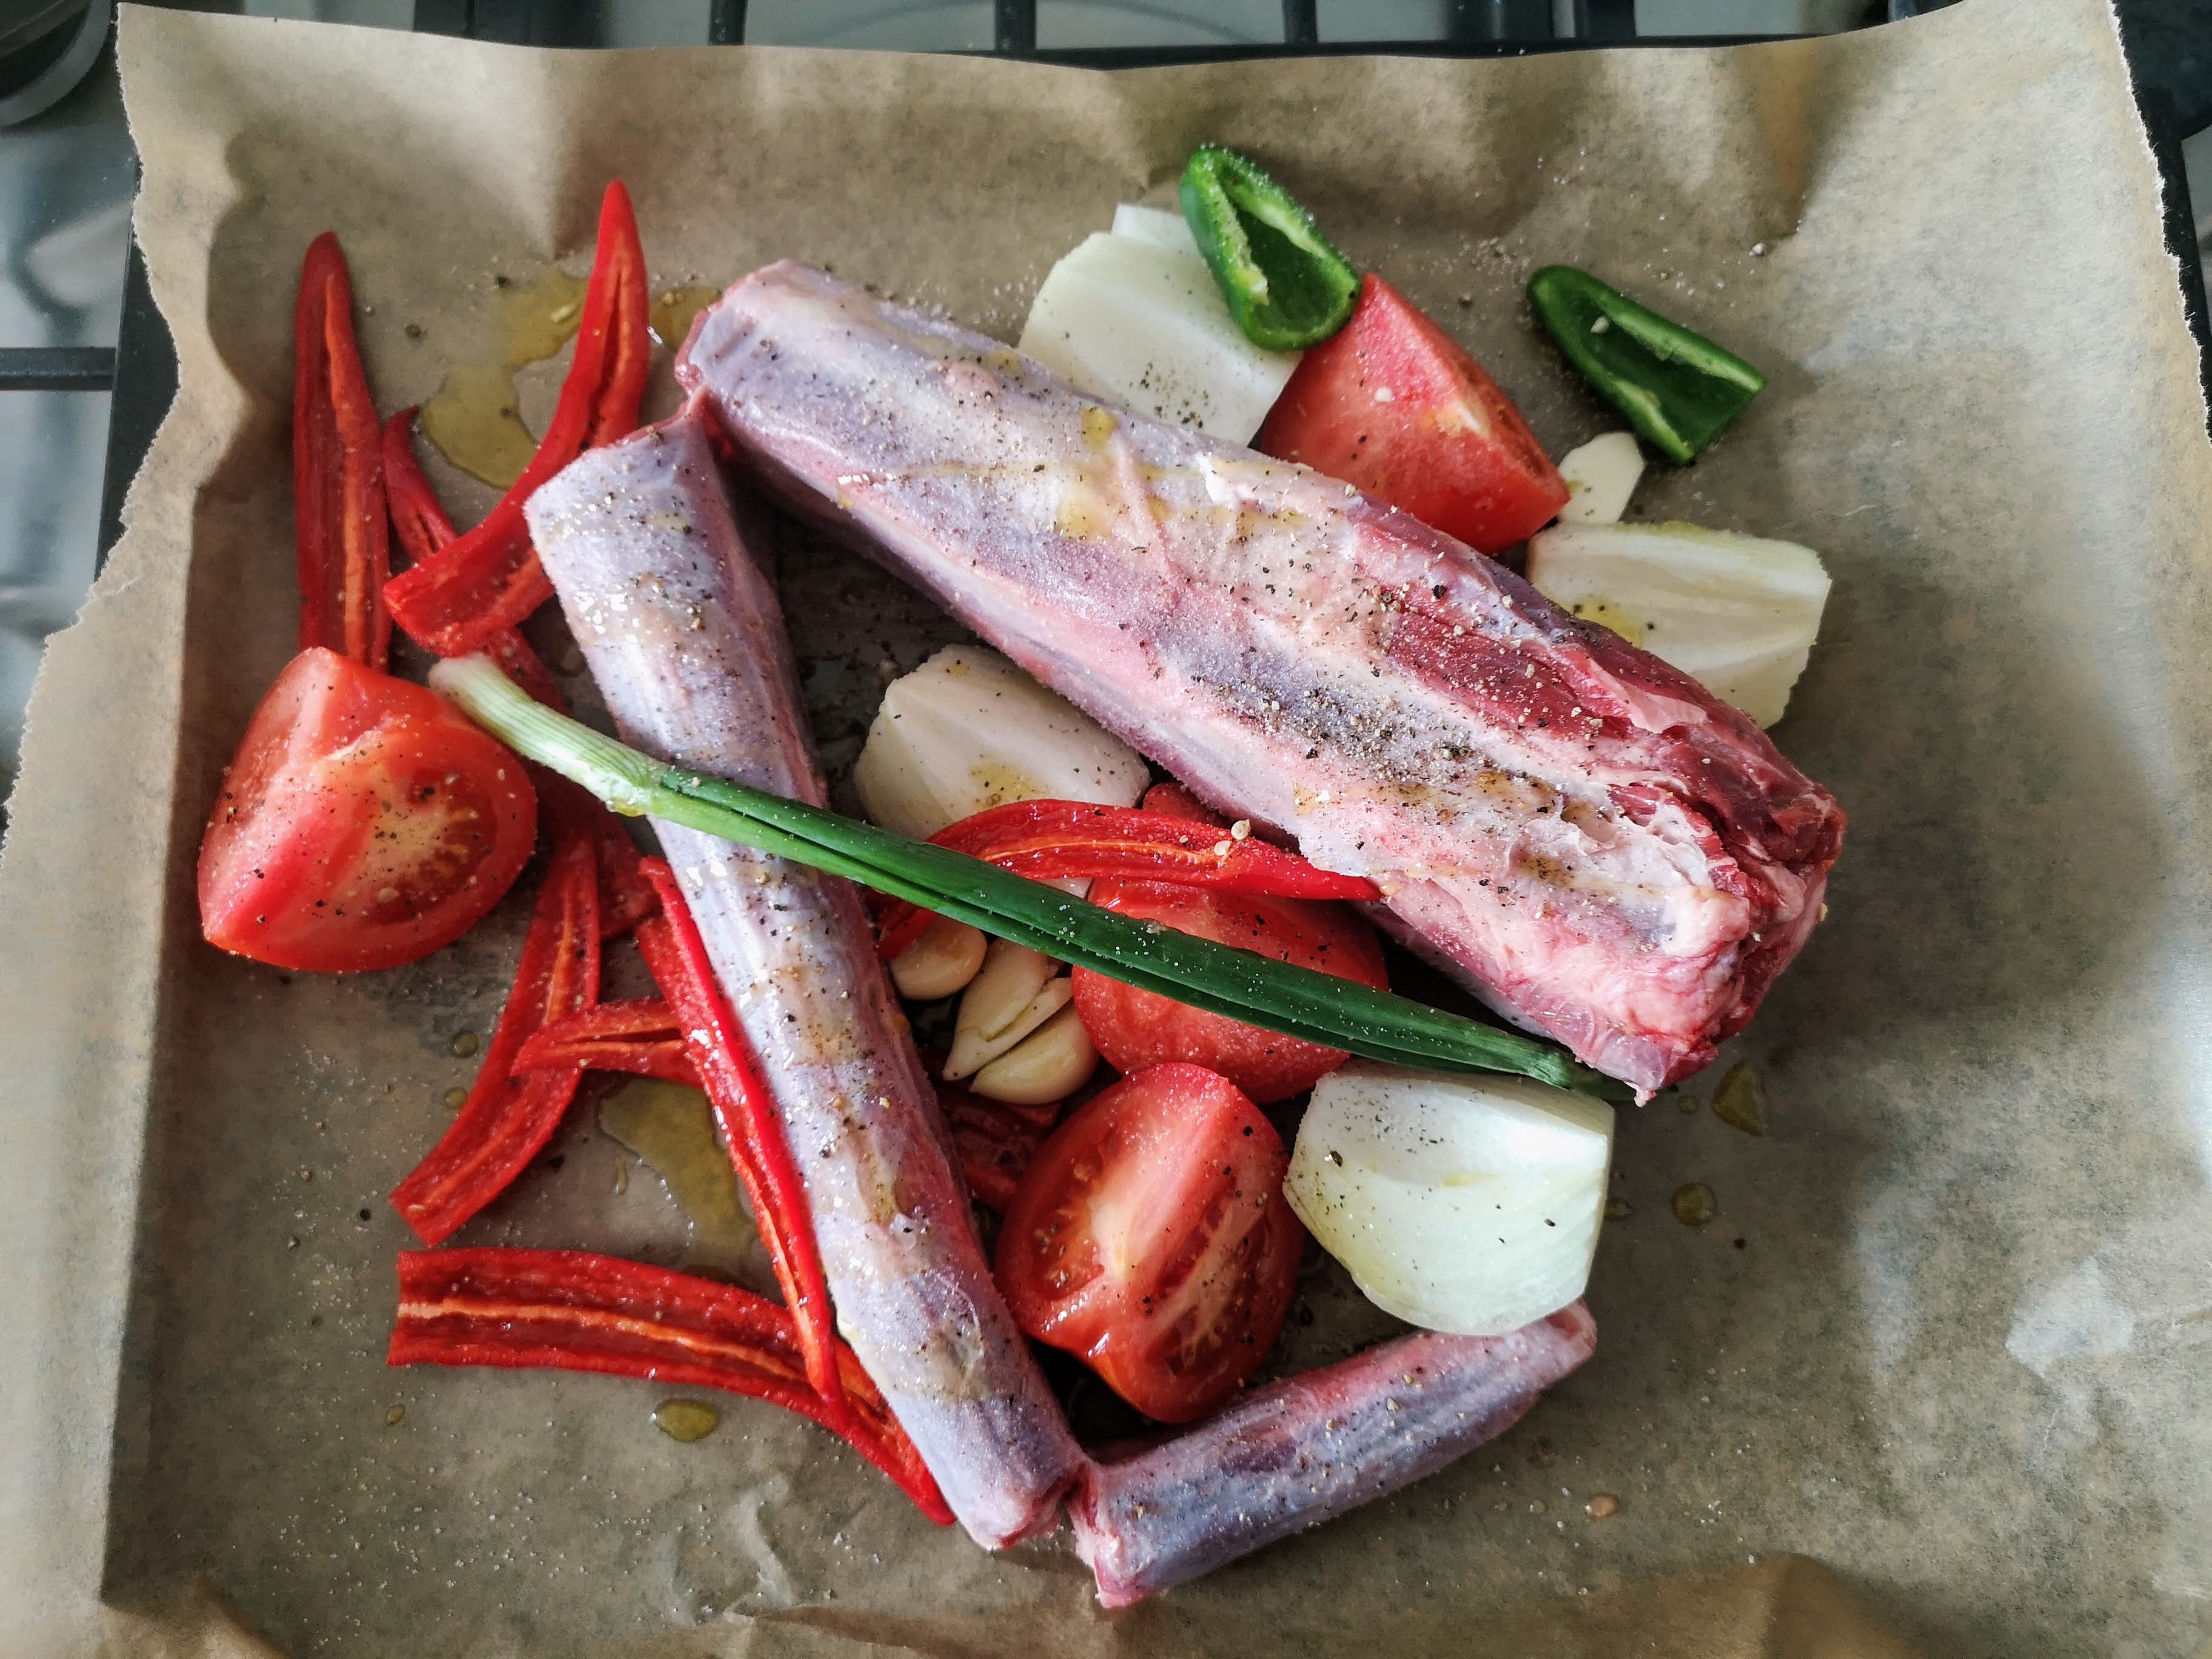
- Preheat the oven to 400f. In the meantime, peel and cut up onion, tomato, and garlic, de-seed chilis, and put it all on a large cookie sheet with baking paper underneath. Add the oxtail and generously salt and pepper everything and add a few dashes of olive oil. Place in the preheated oven for 25 to 30 minutes or until the oxtail has started to brown and the chilis, onion, garlic, and tomato are browned and cooked through. Once finished, lower the oven to 300f.
- In the meantime, trim the fat cap and silver skin from the top side beef cut if needed (you can ask your butcher to do this for you).
- Set the oxtail aside in the braising pan. Add the rest of the cookie sheet ingredients — including the juices and oil — to a food processor or blender — also add in the marjoram and oregano. Pulse until the ingredients turn into a thick paste.
- Heat up 1.5 liters/quarts of beef stock.
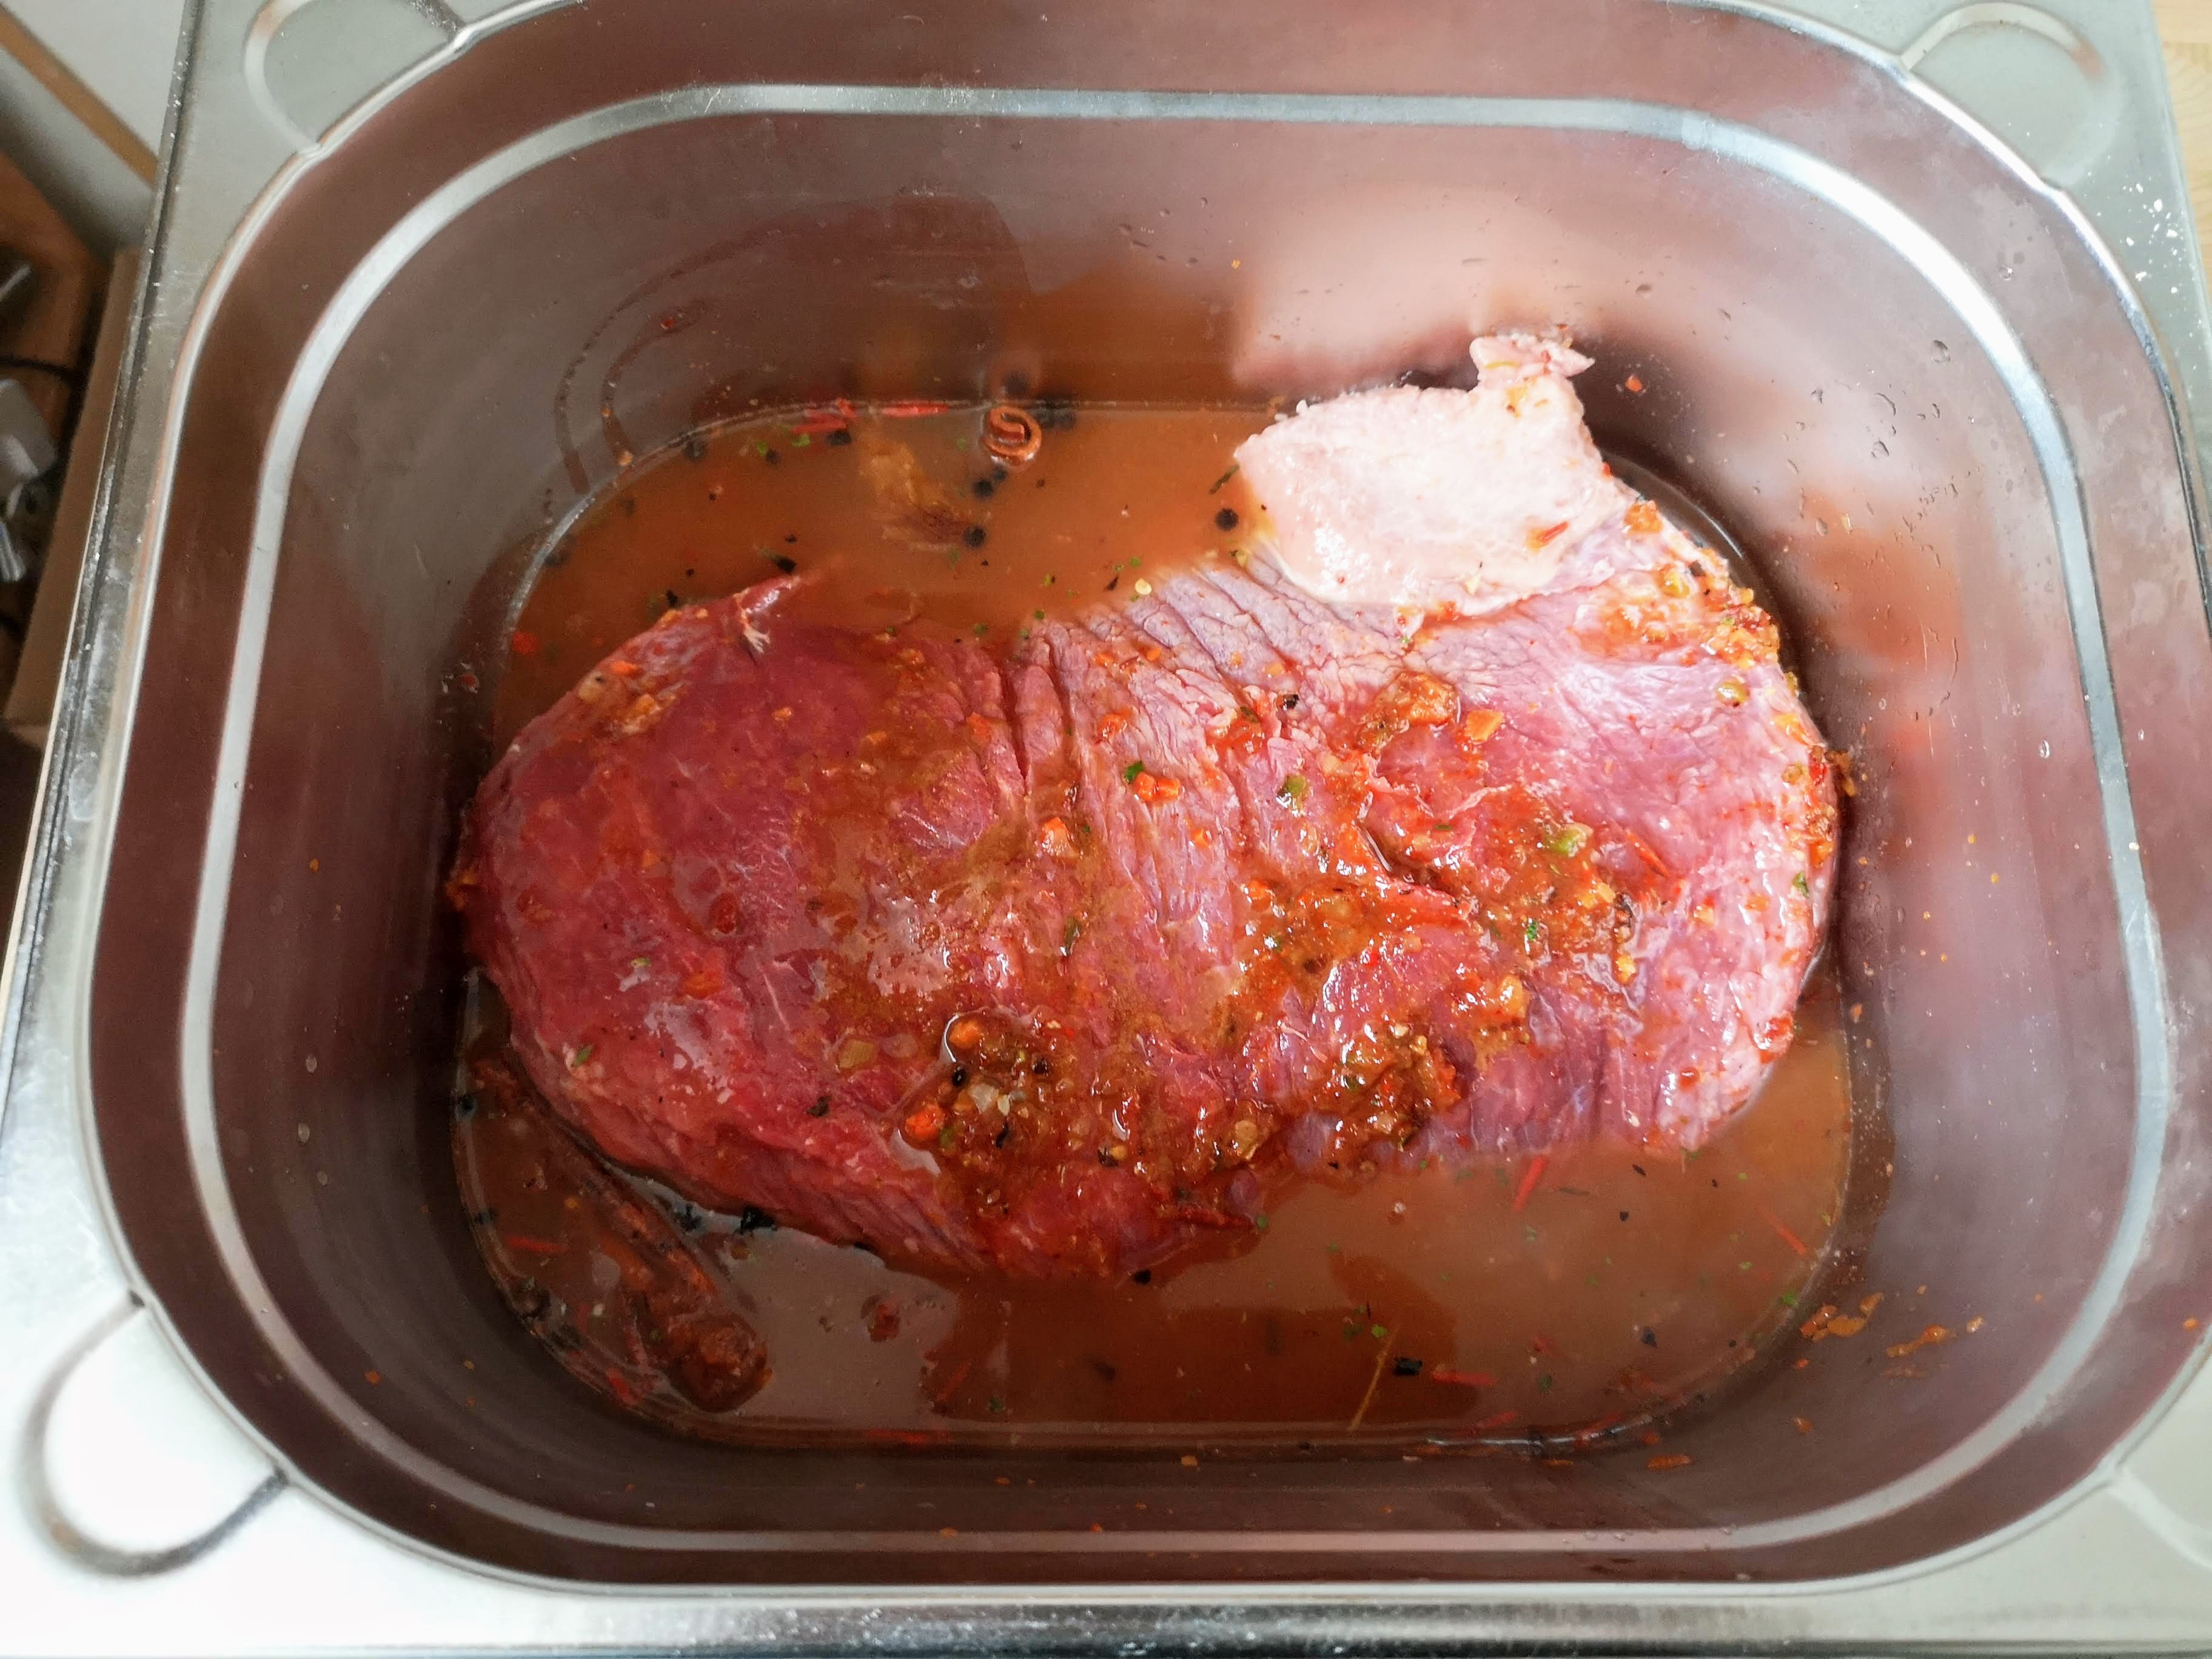
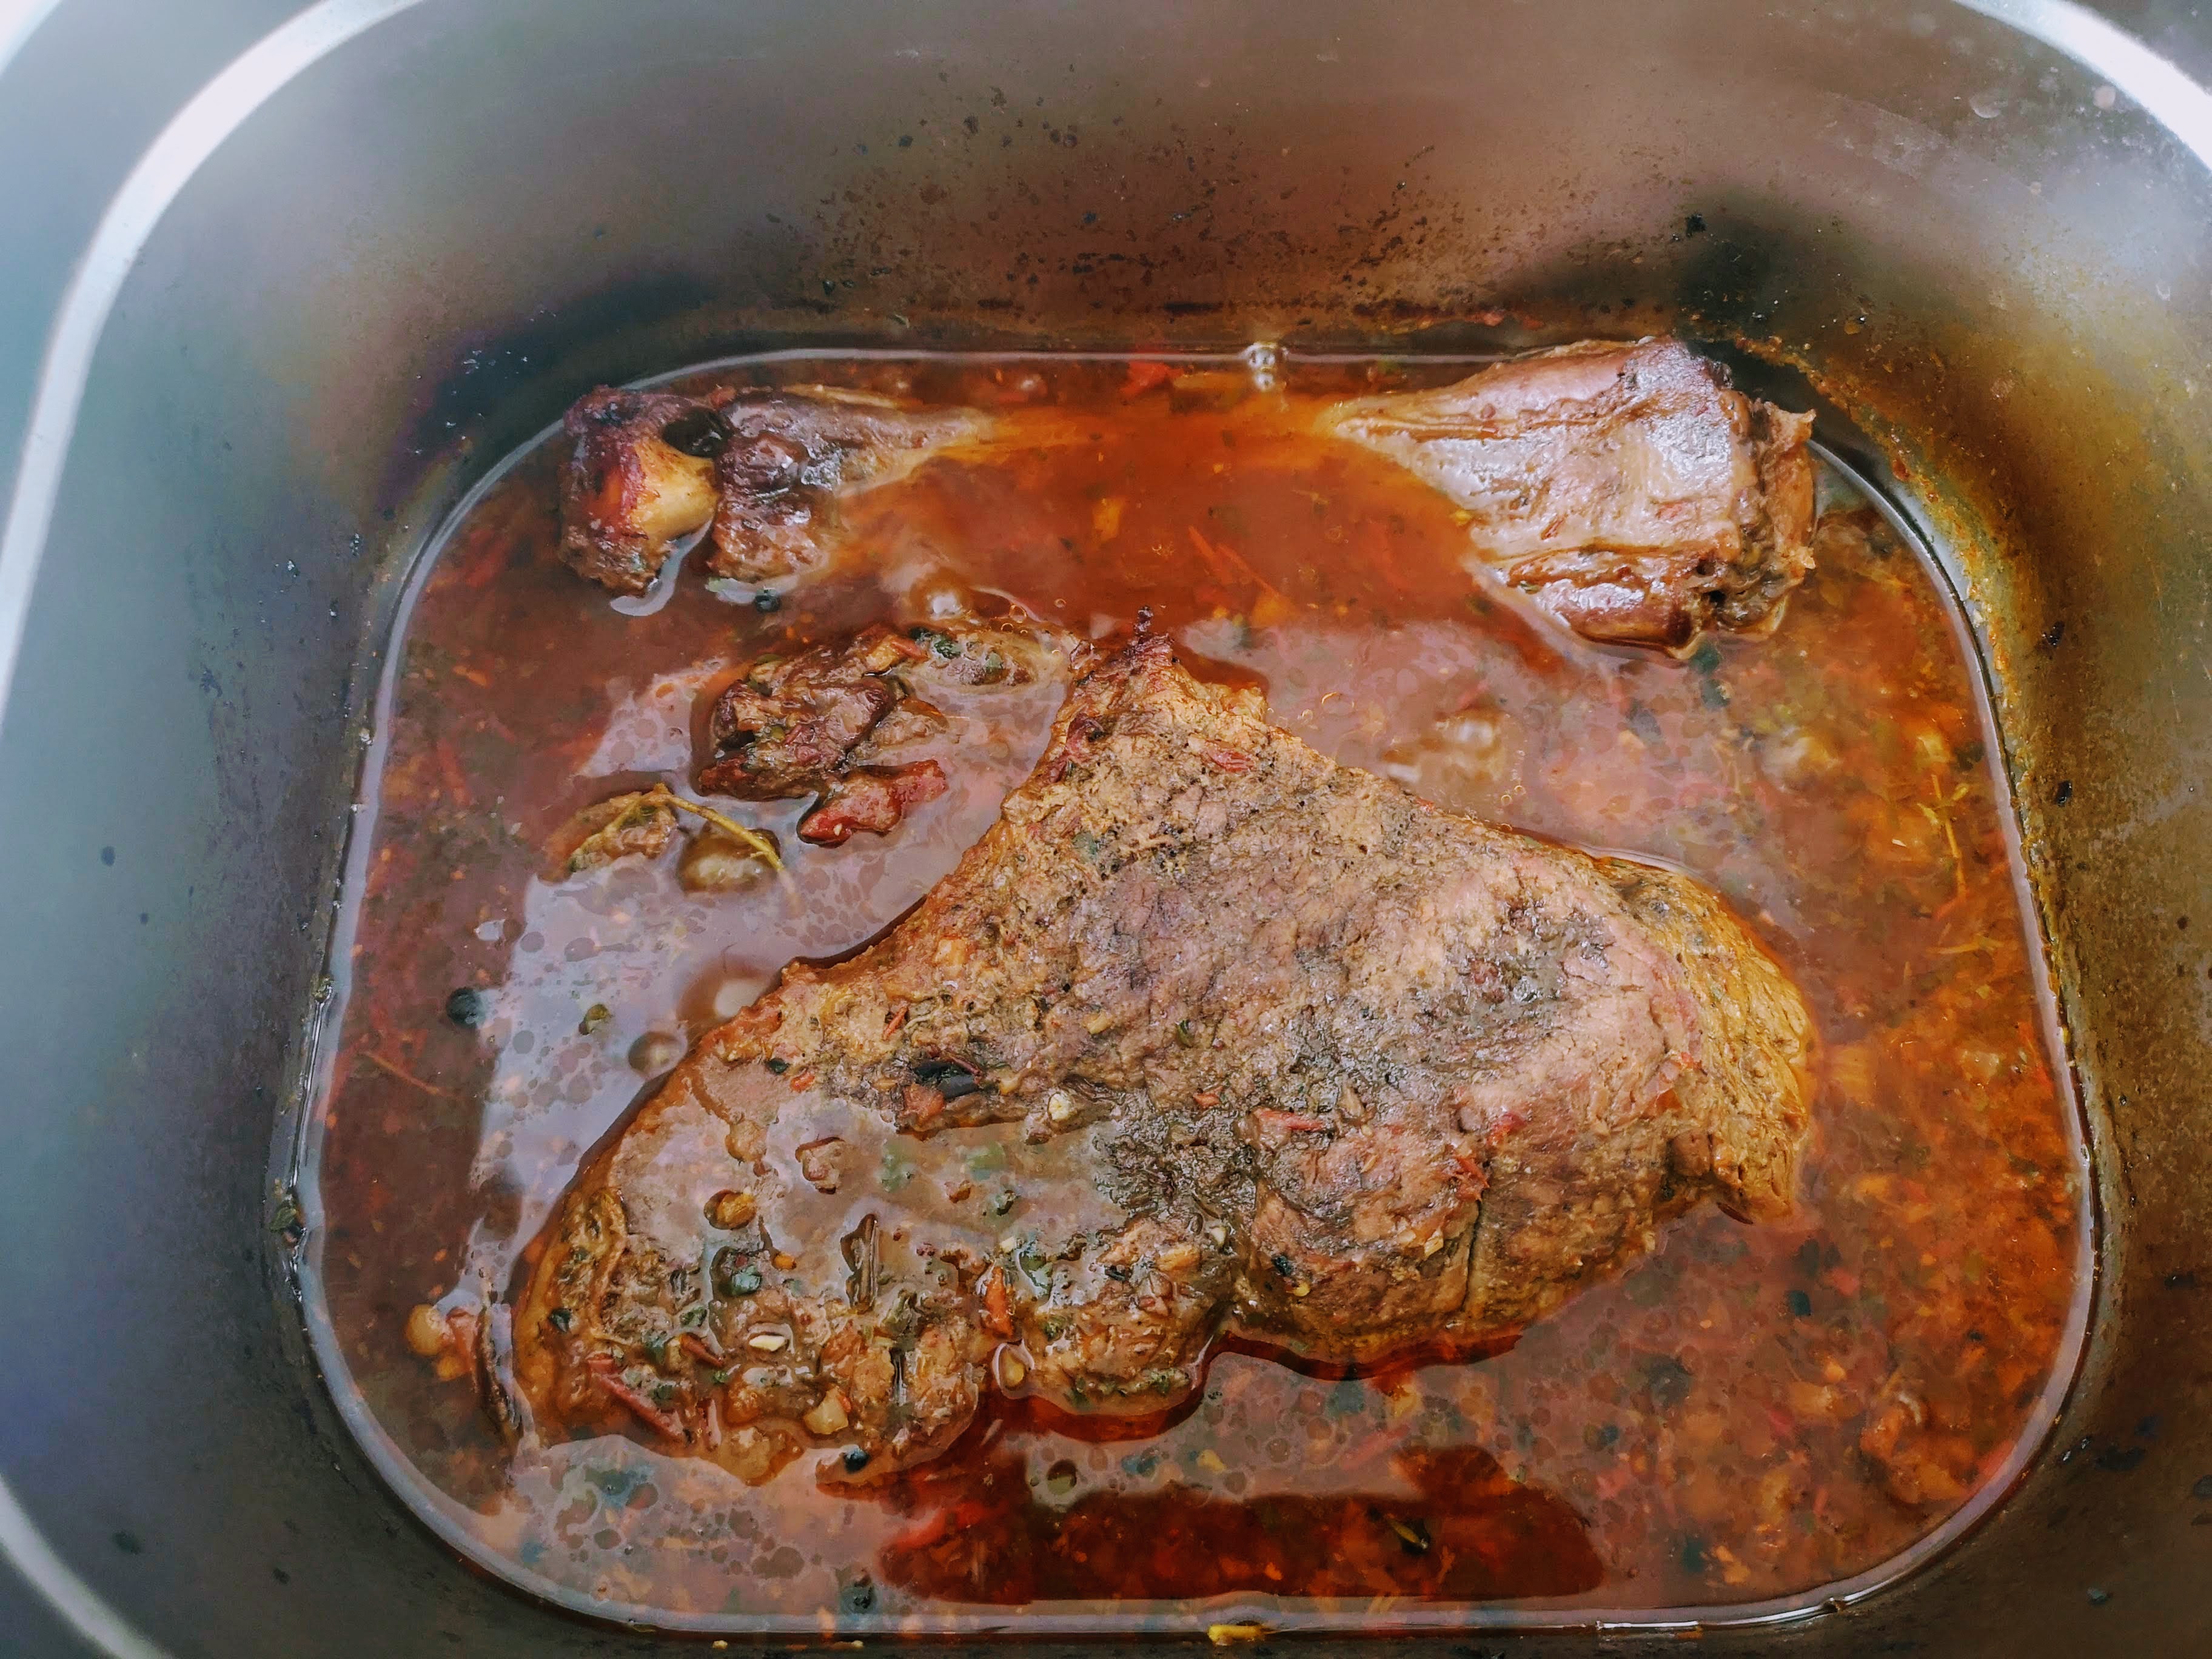
- Place the top side cut on top of the oxtails in the braising pan/pot. Add the chili paste, stock, cinnamon sticks, peppercorns, allspice berries, thyme, bay, and sage. Use the tongs to move the meat around in the braising liquid to help even it out.
- Cover the pan or pot with foil or a lid and place it into the oven.
- Braise for two hours and then flip the meat and braise for another two hours. The meat should fall apart very easily when it’s done.
- Remove the meat from the braising pan. Pull the top round apart with a fork. Pick away the oxtail meat and mix it into fork-pulled-apart top-side beef.
- Strain the braising liquid to get all the small bits out.
- Add two cups of the braising liquid to the beef, cover, and set in the fridge for at least four hours, preferably overnight.
- Place the remaining braising liquid in a Tupperware container with a tight lid. Place in the fridge to cool and let the fat solidify.
- The next day, use a spoon to skim the fat off the cold braising liquid and into a waiting small pot.
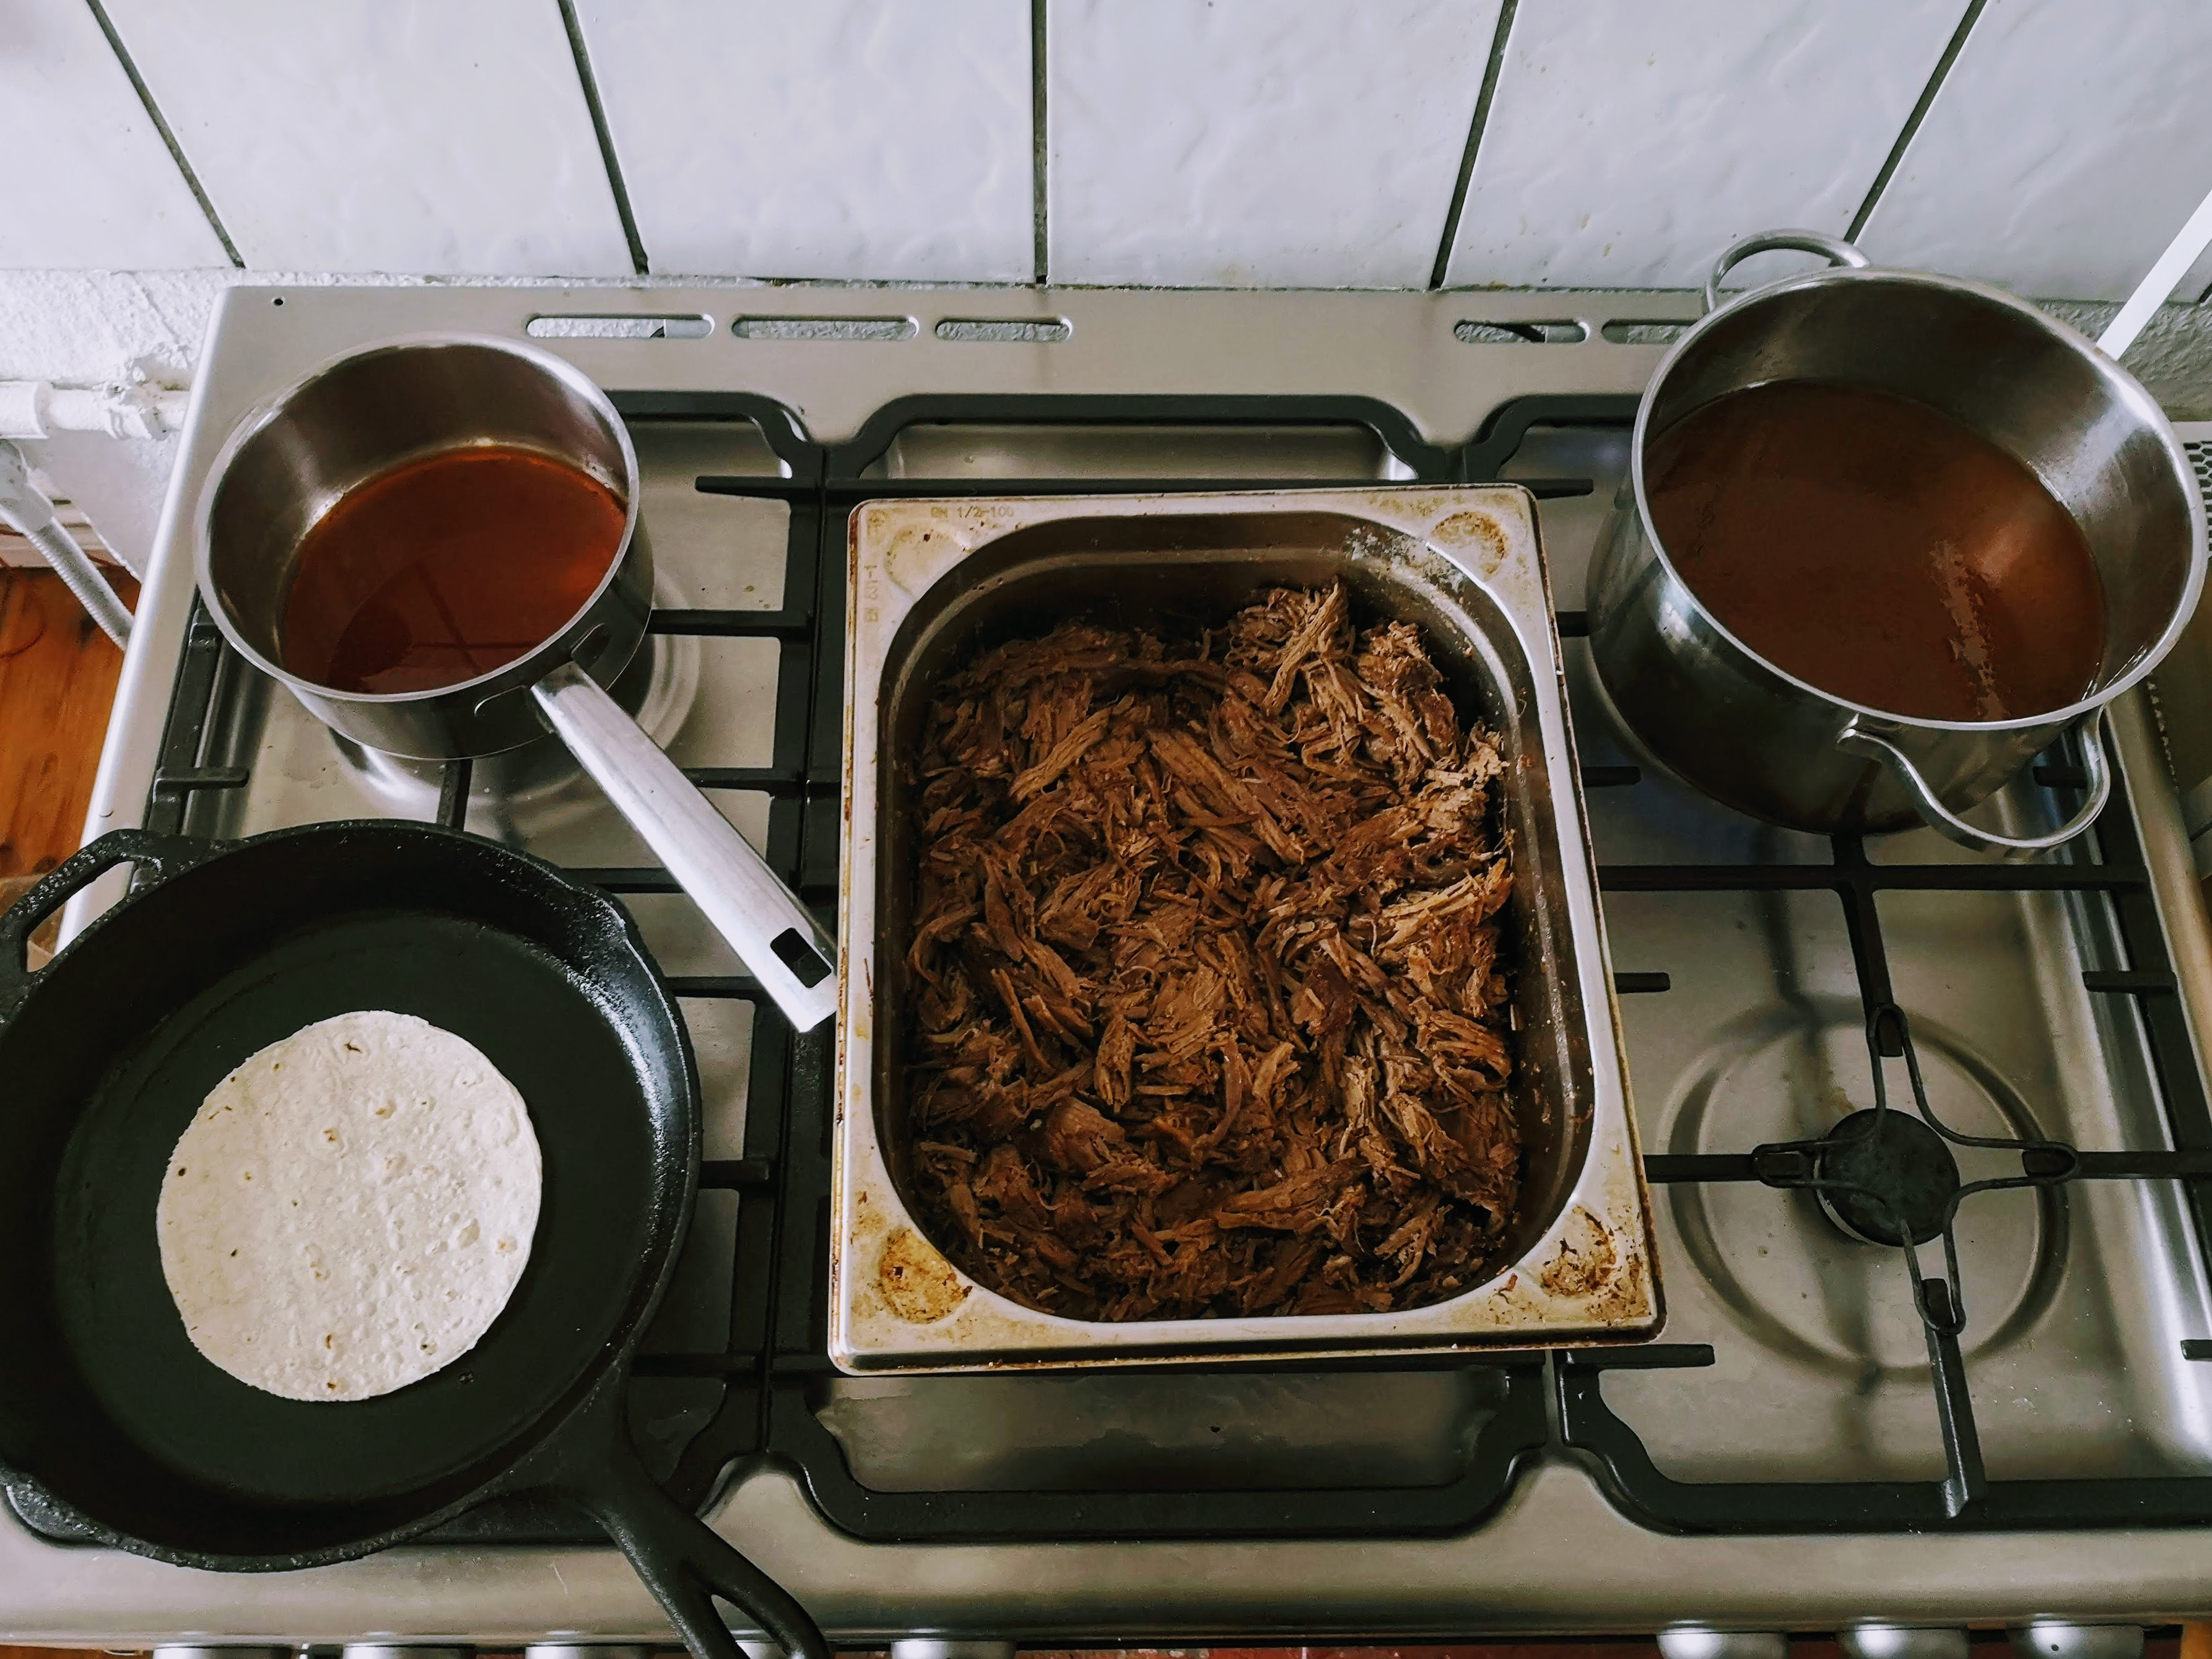
- Reheat the meat in its own braising liquid in a heavy-bottomed pot on the stovetop on medium-low heat (let it slowly come to a simmer).
- Reheat the braising liquid in another pot, again allow it to slowly simmer (this is the dipping consomme).
- Melt/reheat the skimmed fat in yet another small pot that’ll just fit a small corn tortilla.
- Grate some cheese in the meantime, if you’re making quesabirria tacos.
- Lastly, place a cast-iron skillet on medium-high heat. Place a corn tortilla in the pan and warm it up on both sides. Then, using tongs, dip that tortilla into the warm fat and put it back into the skillet. Use the tongs to scoop in the birria meat filling and crumble a few bites of cheese in there (again, if you’re making quesabirria). Fold over and let the tortilla just crisp on the edges on both sides. Repeat for however many tacos you need (you can keep the finished birria tacos in a low-temp oven for 15 mins).
- Serve with a hot bowl the braising liquid/consomme for dipping with a side of diced onion, cilantro, lime wedges, and avocado mash (also for garnish).
Bottom Line:
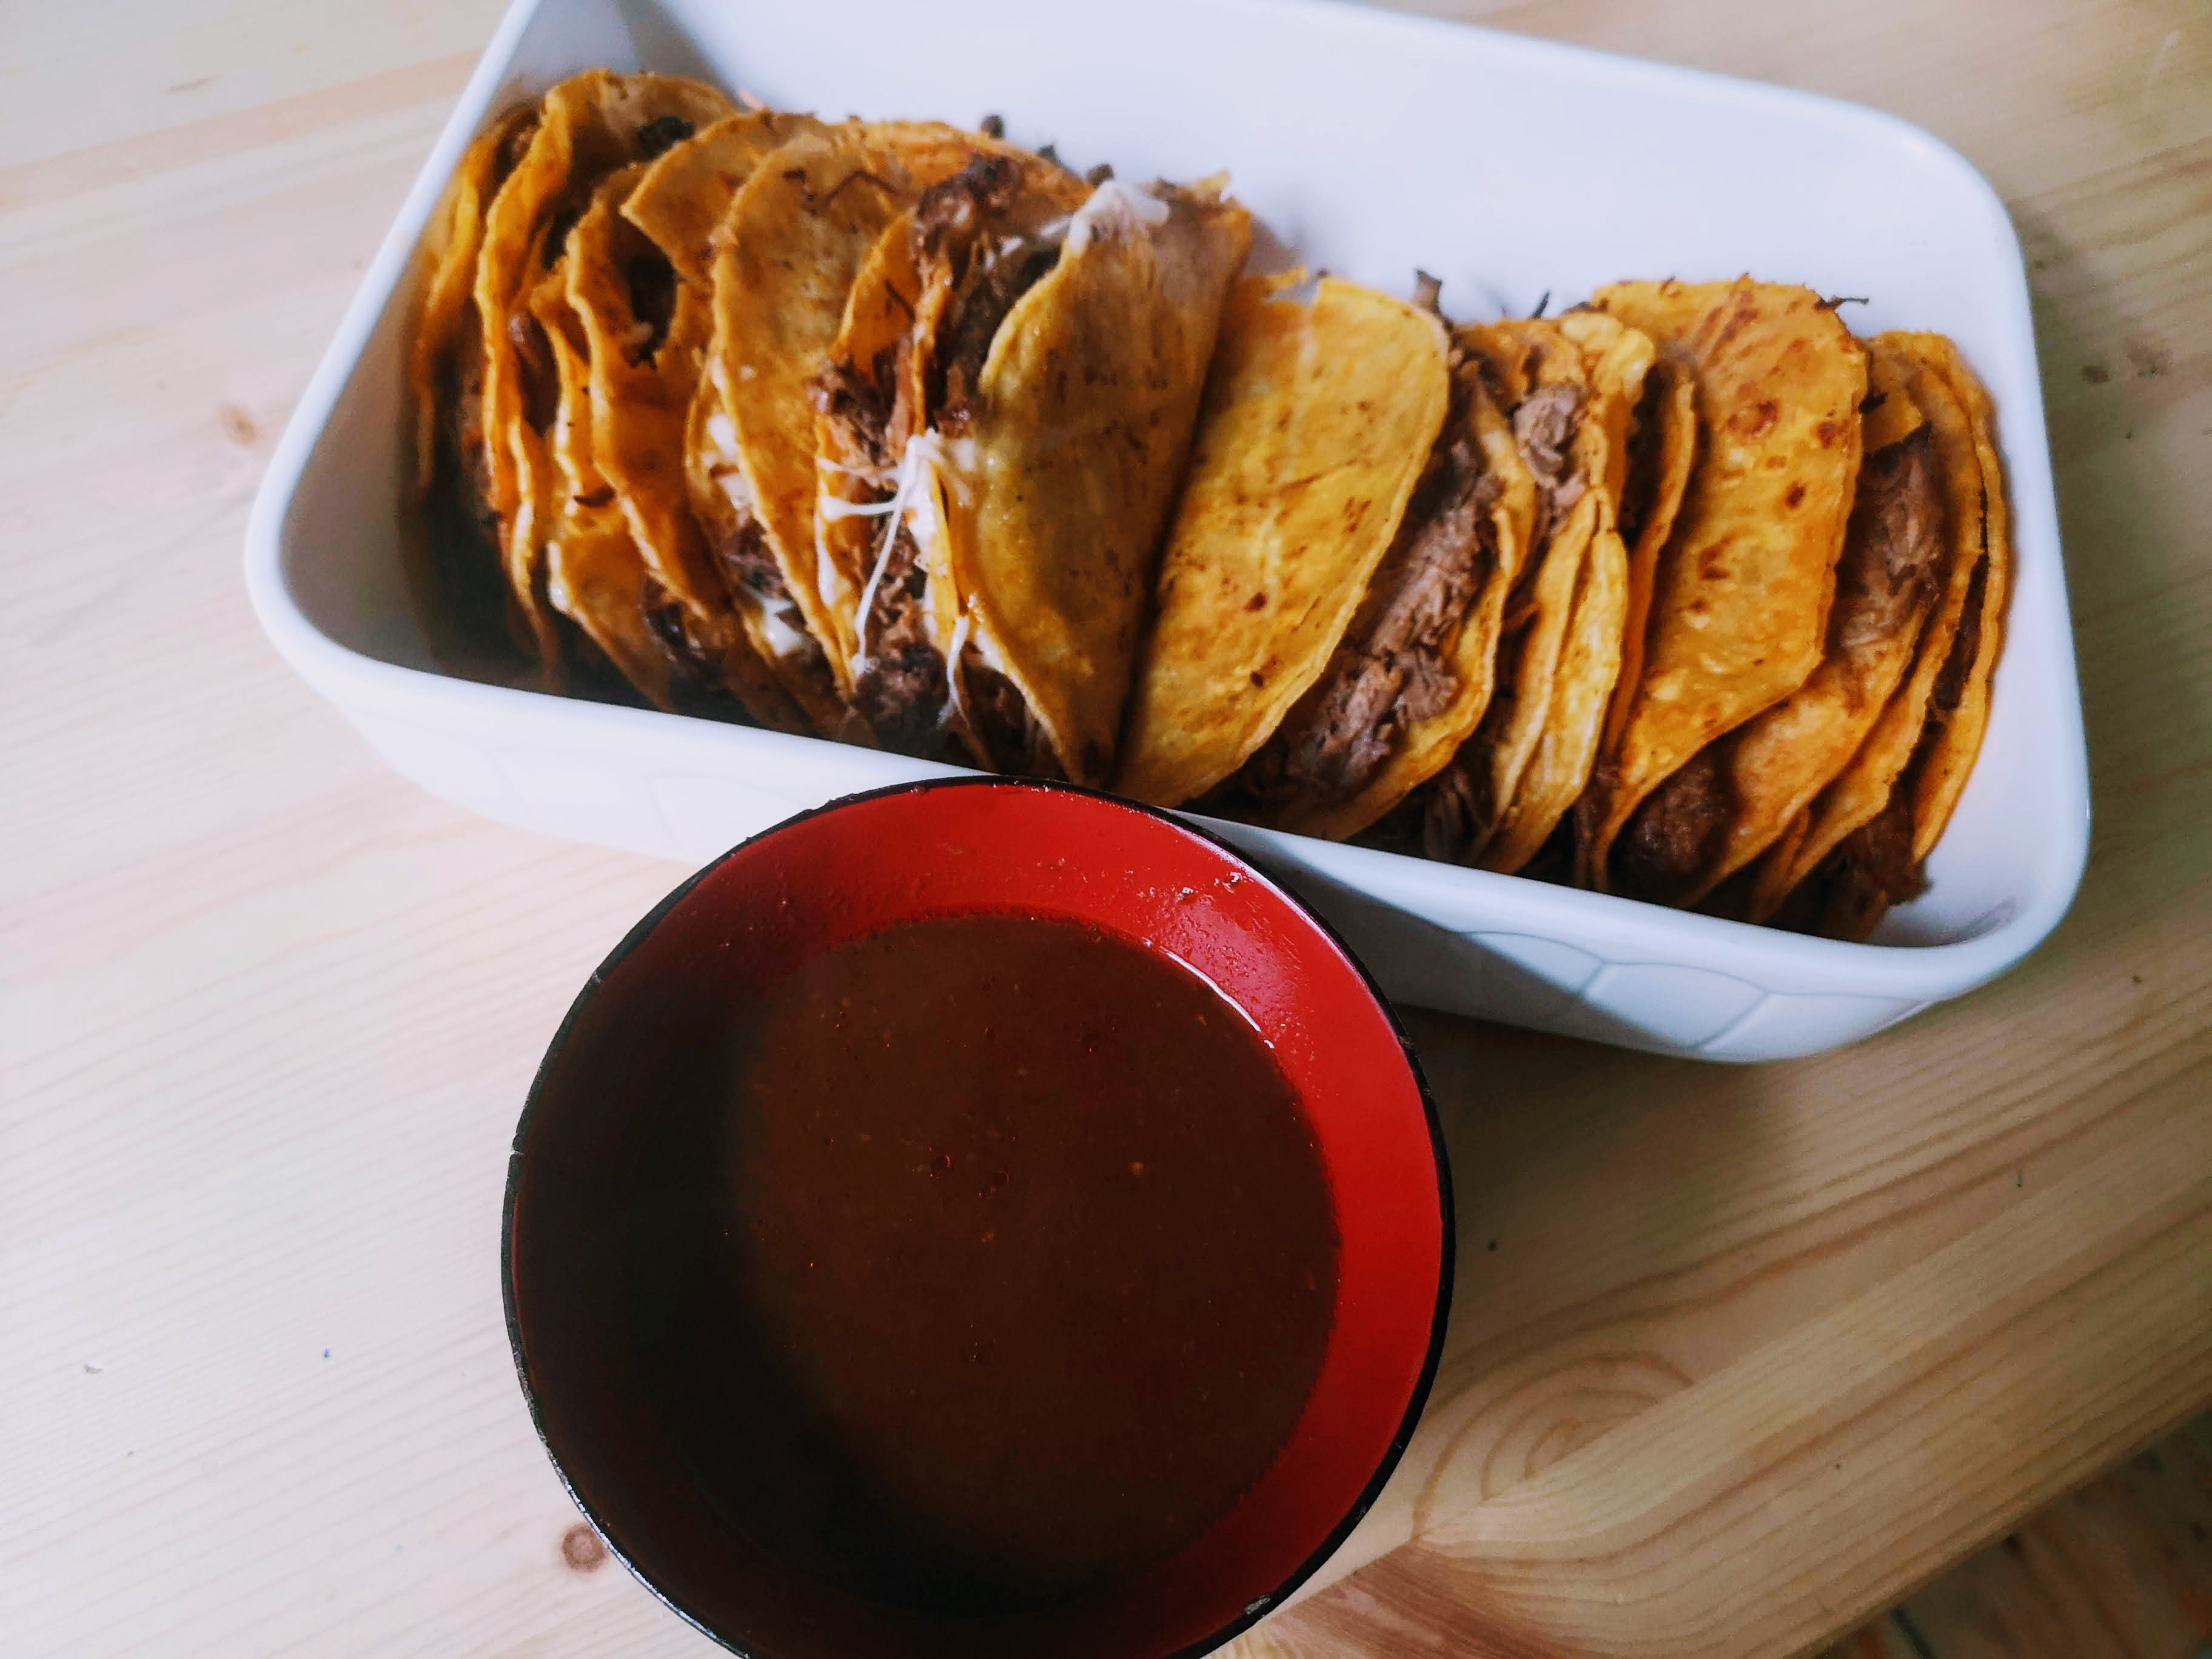
I can’t say for 100 percent that this was worth it. I’d kill a plate of these from a food truck without hesitation. Spending all day making them took a little of the luster away. These were so tasty though. The tortilla was crispy around the edges and soft around the taco filling. The meat is amazingly spiced but not overtly “spicy.”
Then there was the consomme or stew base, and, good lord, was that good. I was drinking it right out of the bowl like beer. Yes, the taco dipped in — French dip style — is great too. But, I might just have a mug of that consomme for lunch tomorrow. At the very least, I’ll warm some up with the beef to have an old-school birria bowl of stew.
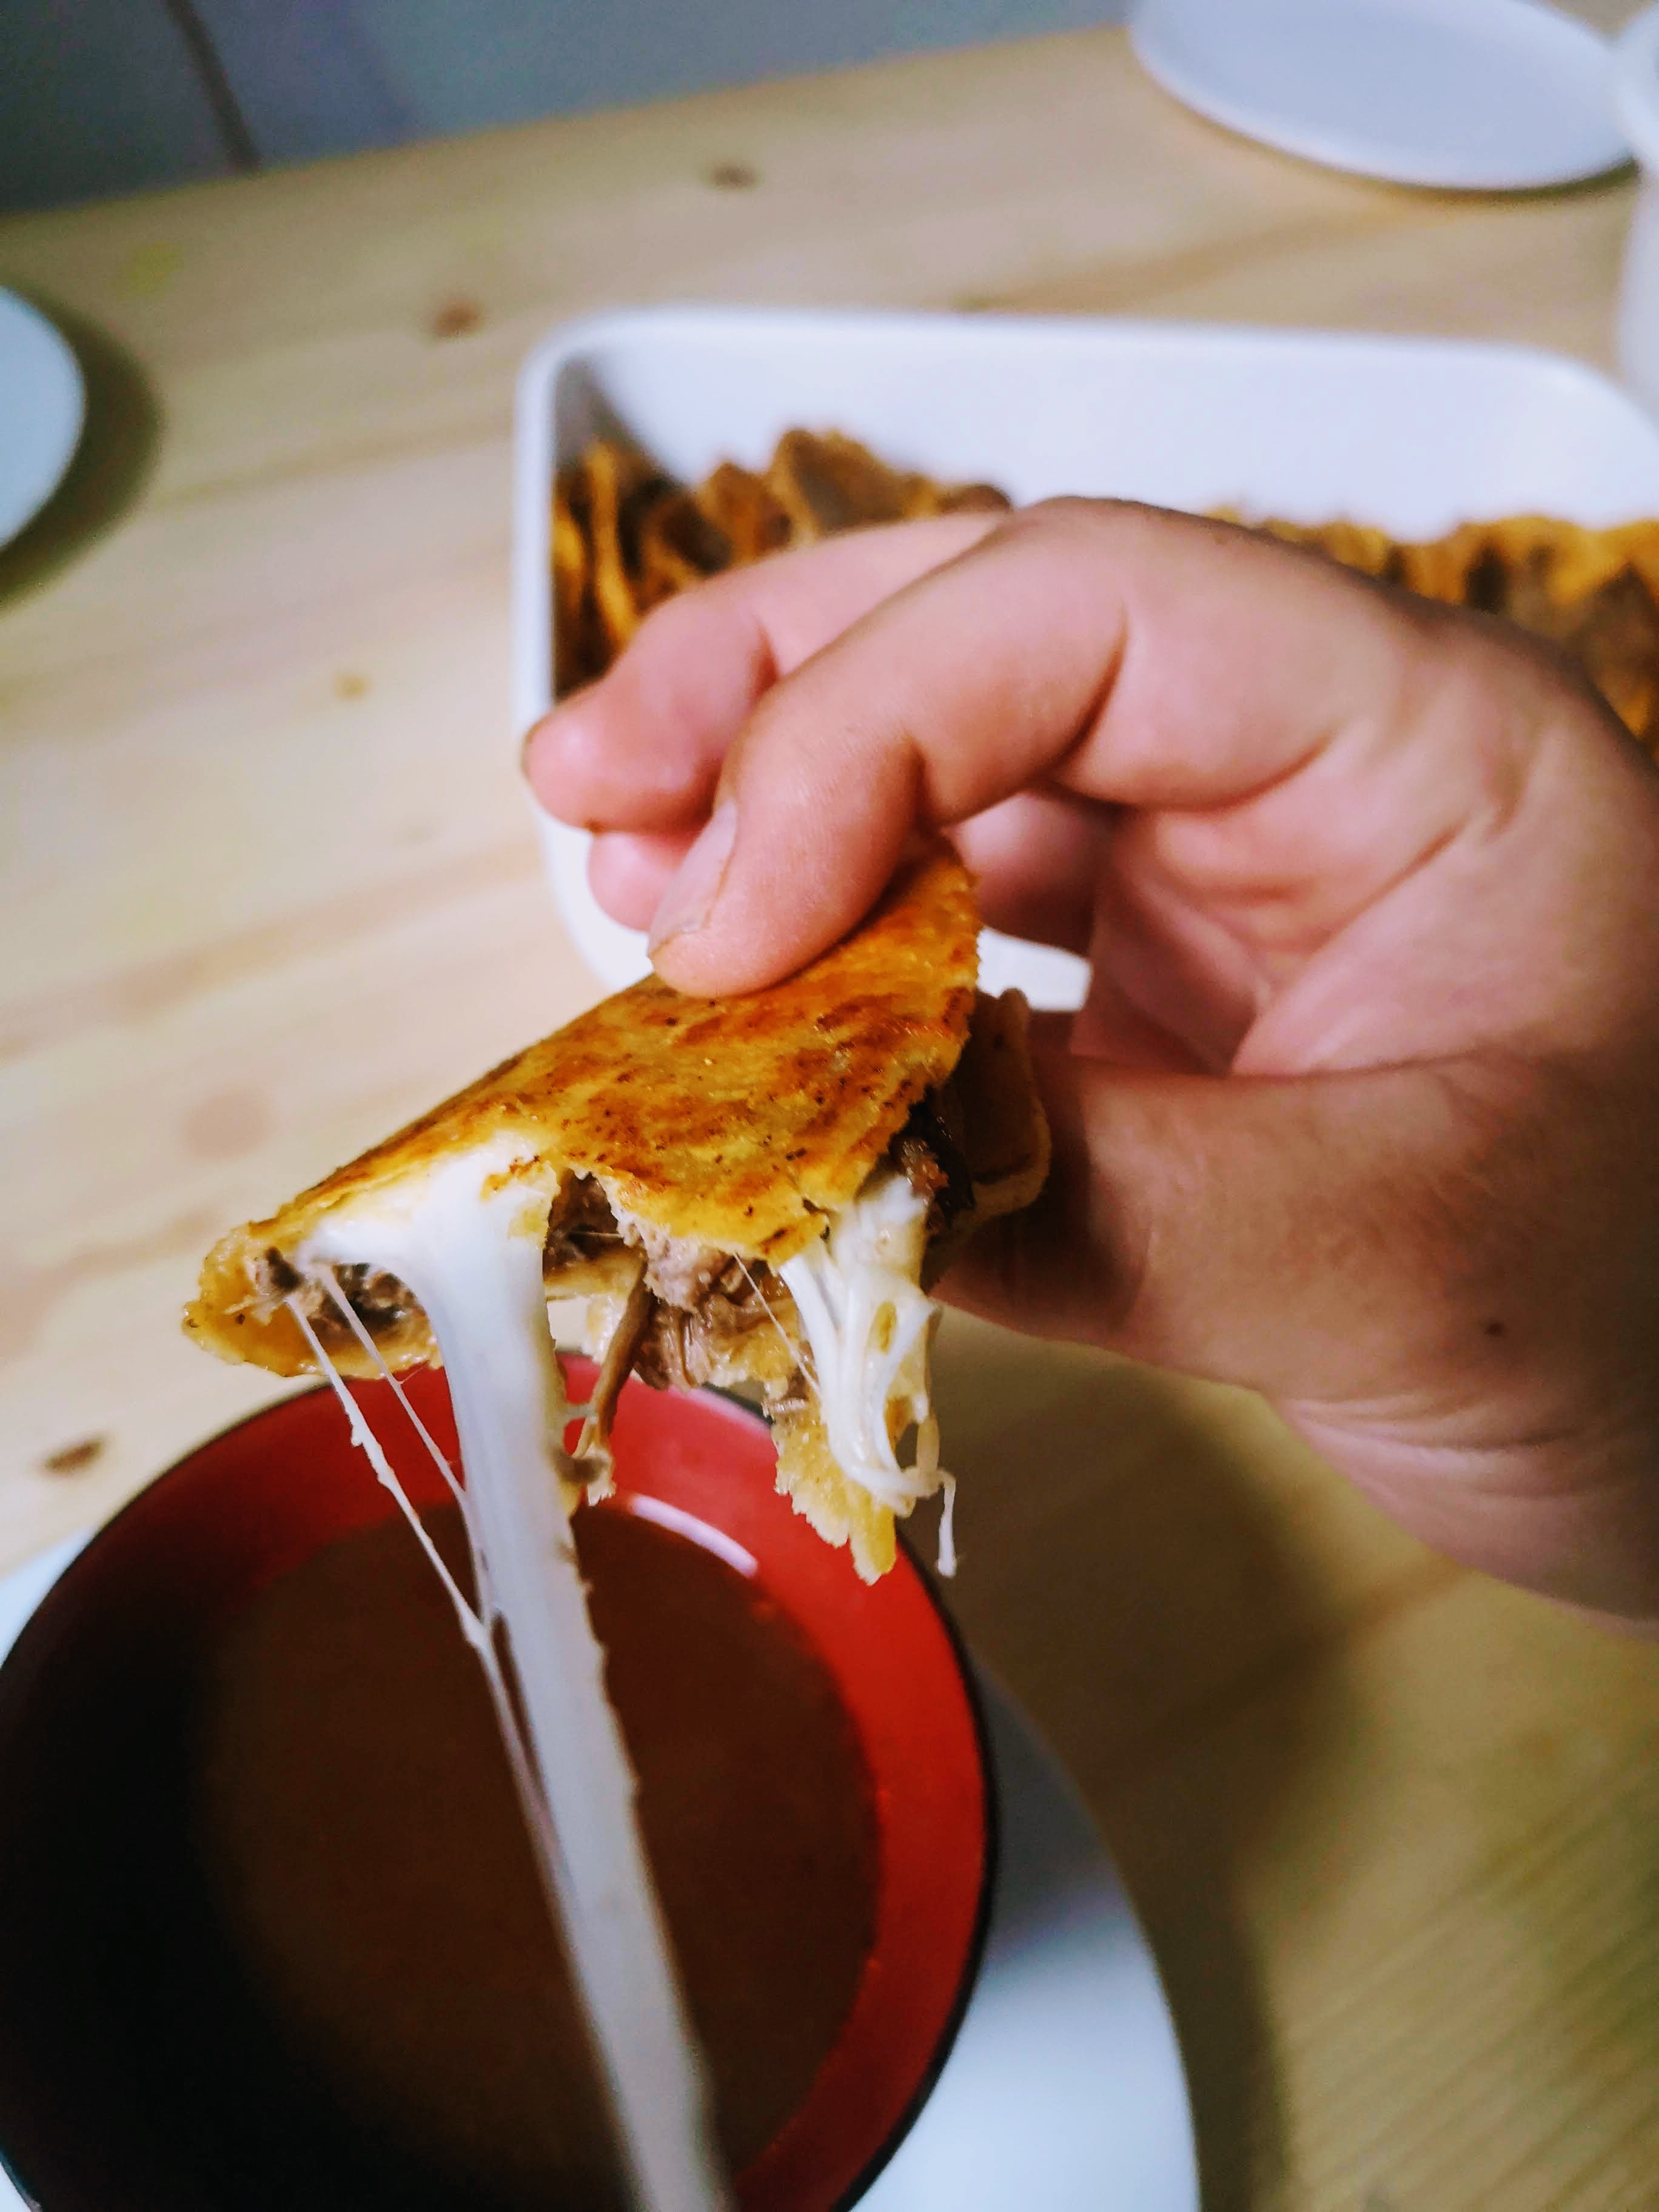
As for the standard birria tacos versus the quesabirria, I have to go with the quesabirria. Look at the cheese pull up there! The cheese did just the right thing to bring the spicy, funky, and unctuous meat and crunchy tortilla together to something bigger, especially when dipped in the consomme.
In the end, this was a delightful recipe and a delicious dish. I’m not 100 percent sure I’ll need to make these again until next year though. That said, I have great burrito filling for like a week now. Maybe I’ll make some birria chimichangas.
