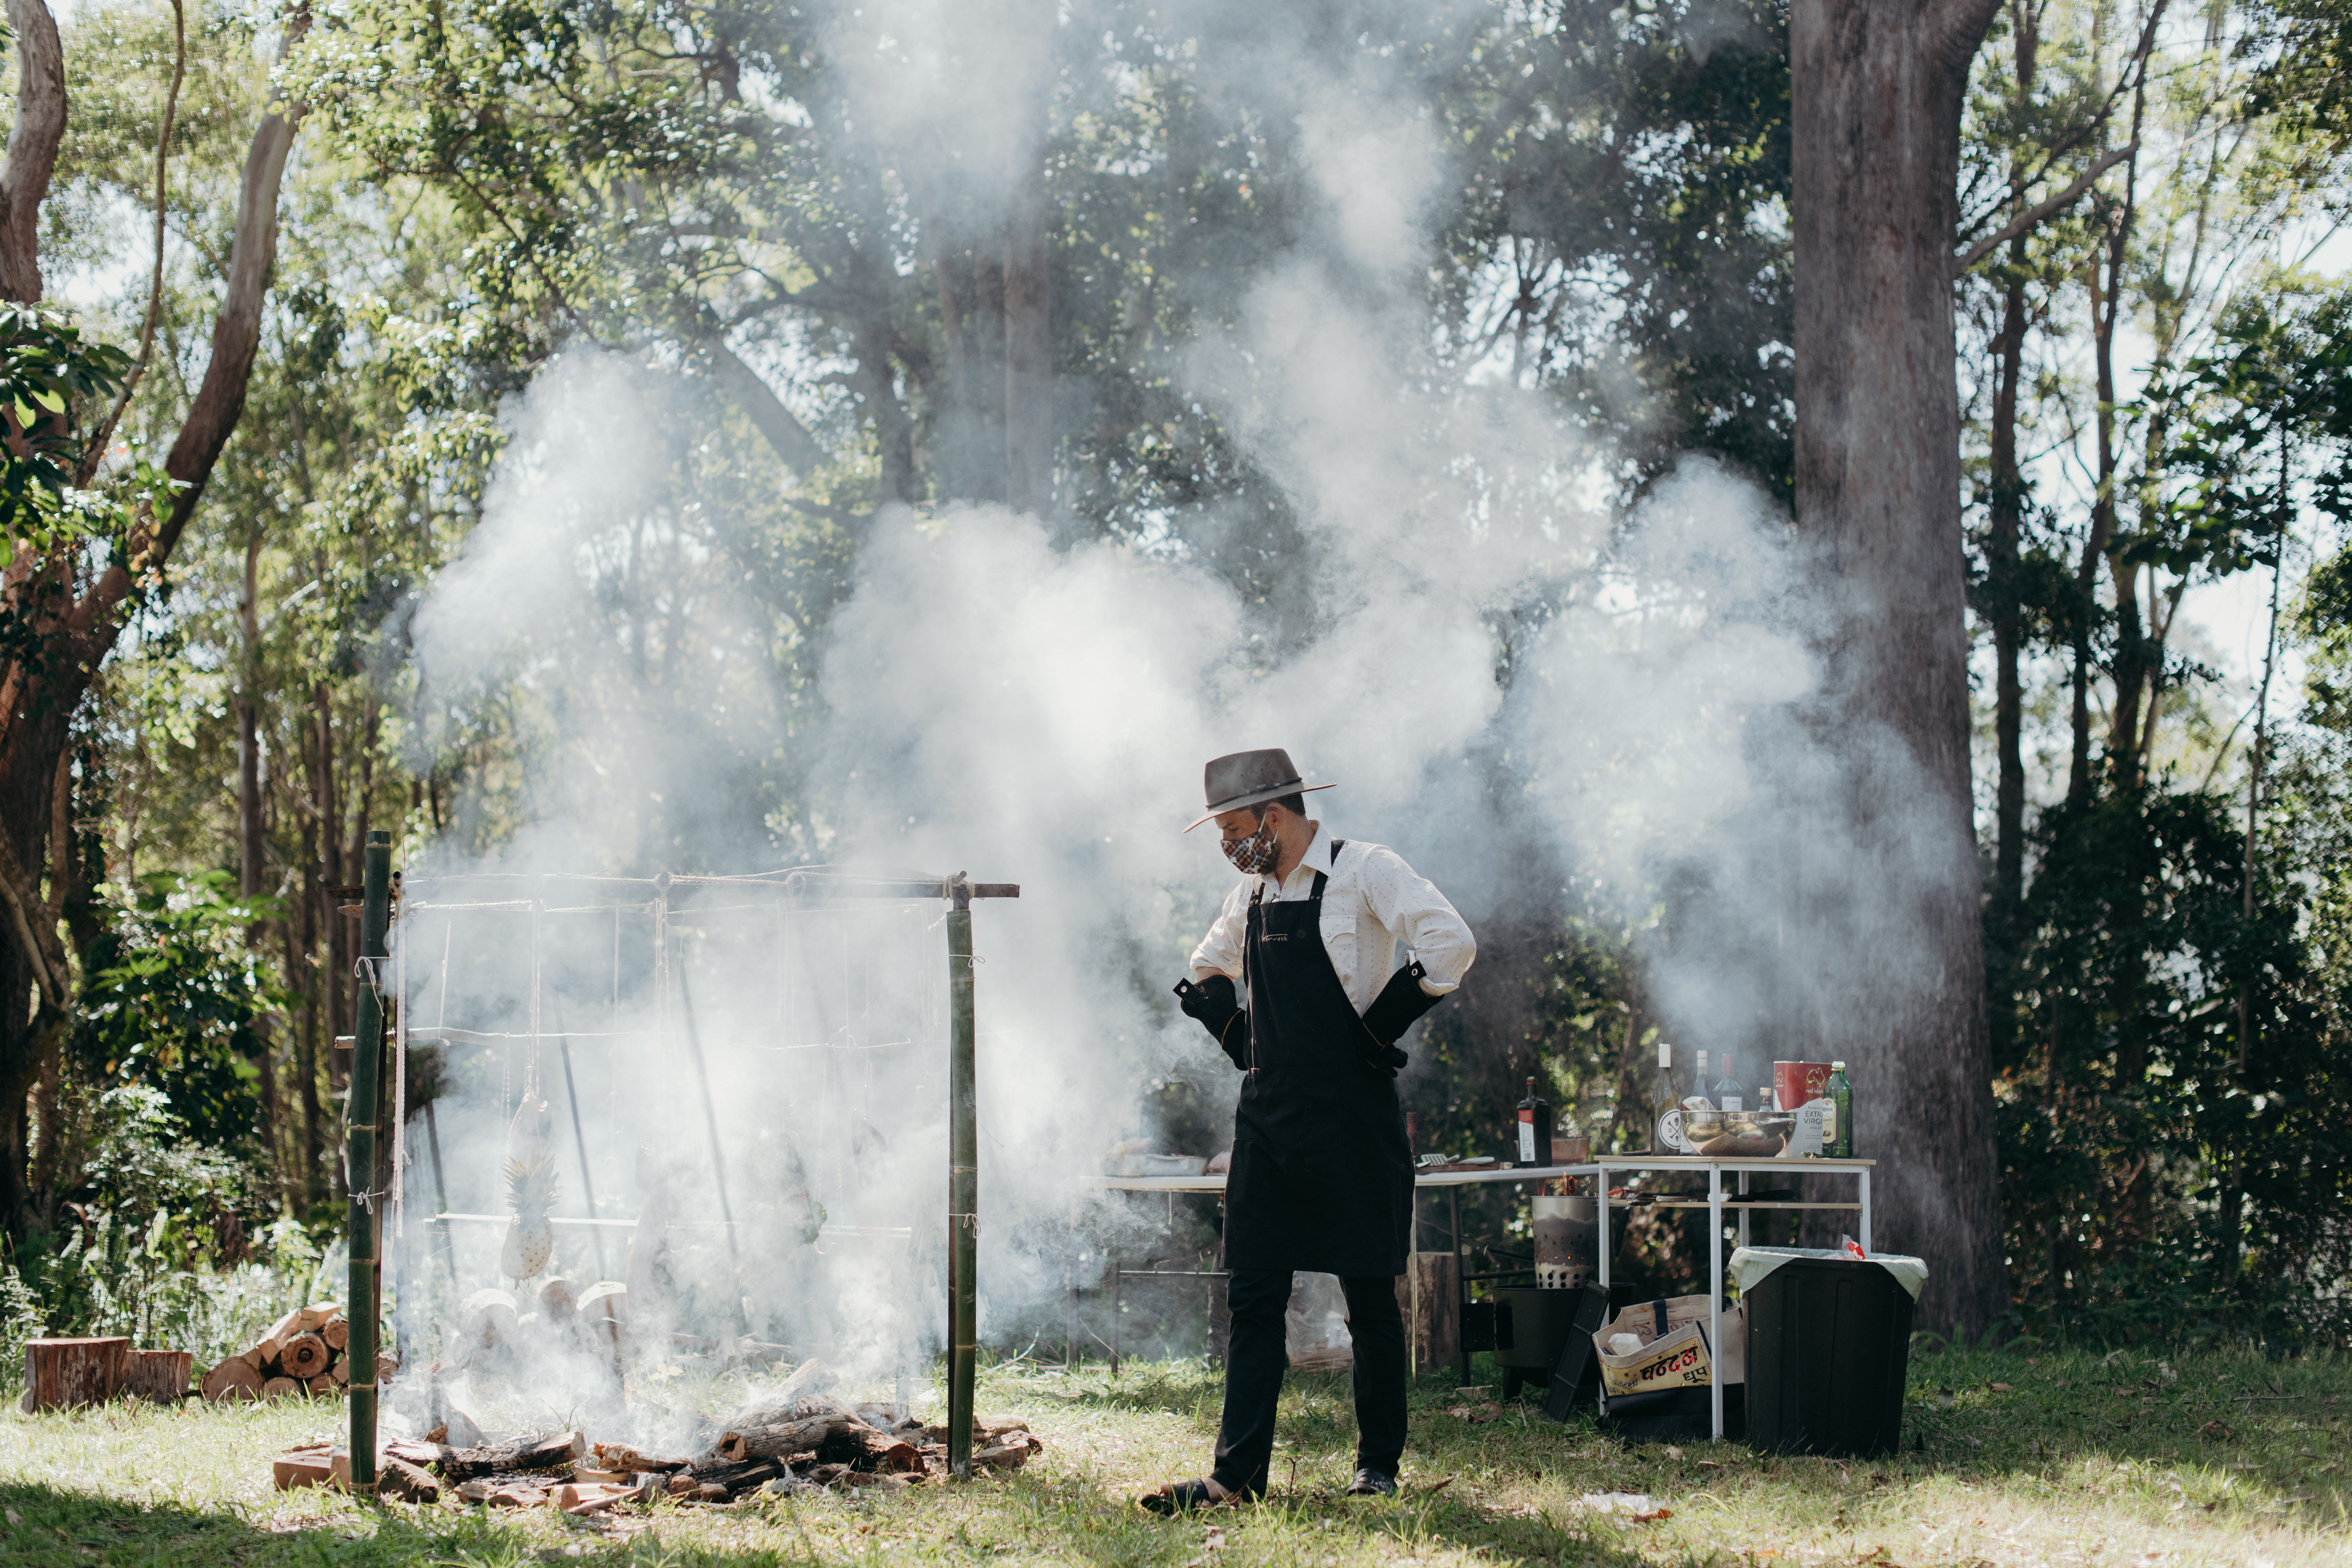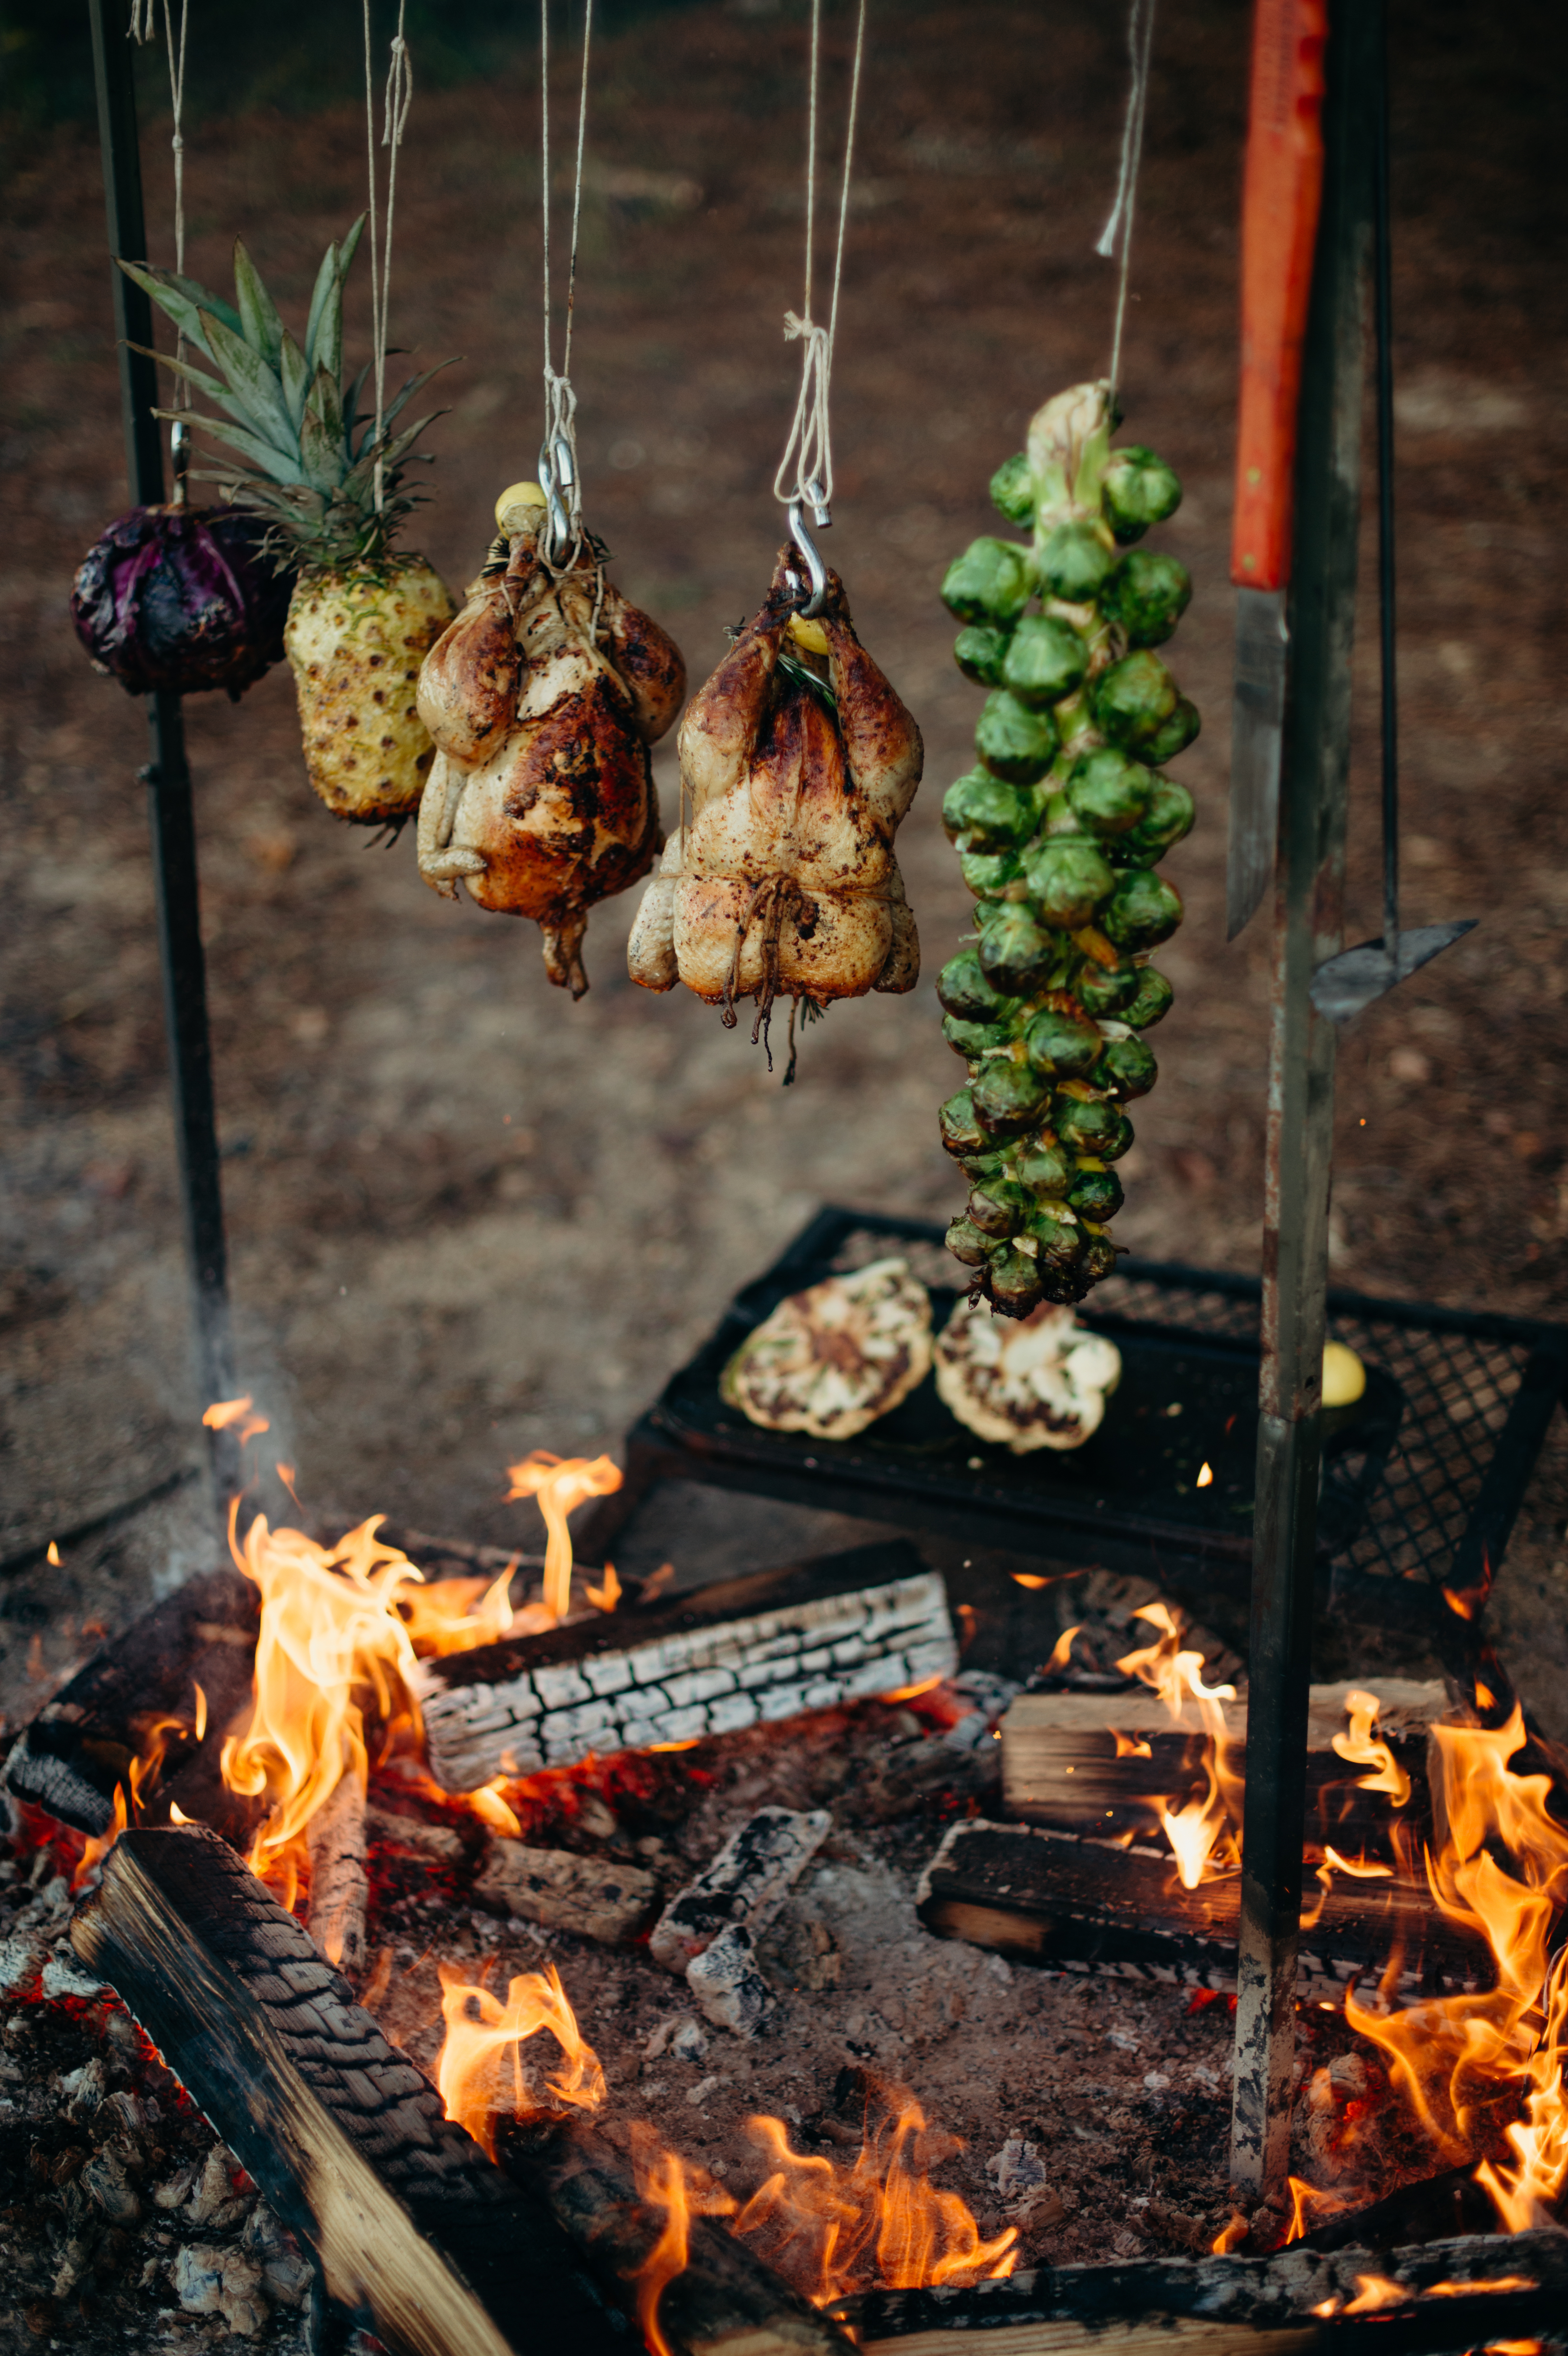
Open fire barbeque is having its moment. Cooking on an open fire – that is, cooking in the open air with wood logs or 100% hardwood charcoal – is the bbq version of circus performers doing the high-wire without a safety net. The line between bliss and complete failure is razor-thin. And for those ready to veer away from those rust-collecting Webers and ubiquitous charcoal briquette grills, this summer is the perfect time to start.
Why the summer of 2022? Because it’s fun to get your hands dirty, obviously. To be more specific, the primitive art of cooking your food without gas or electricity is a ritual that eschews convenience. Turn off the phones, the timers, and the open-to-the-recipe iPad. For BBQ lovers, precise temperatures, expensive cooking equipment, paint-by-number recipes, soulless wood pellets and Bluetooth meat thermometers are often the norm. And sure, they have their place, but open-fire cooking shifts focus away from pre-programmed formulas and encourages innovation and experimentation.
We’ve spent two-plus years indoors. This summer, it’s time to get outside and play with fire this summer!
The Francis Mallmann episode of Chef’s Table on Netflix uniquely captures the spirit of cooking with fire. Check the trailer below for some visual inspiration:
If you’re ready to venture into these rough and tricky waters, I’ve laid out everything you need to get started, below. I began using these methods years ago, well before quarantines and restrictions, and have leaned into them the past several seasons — creating food experiences and long-lunches for my pop-up – Open Fire Co – in both Australia and New Orleans.
PART I — FIRE
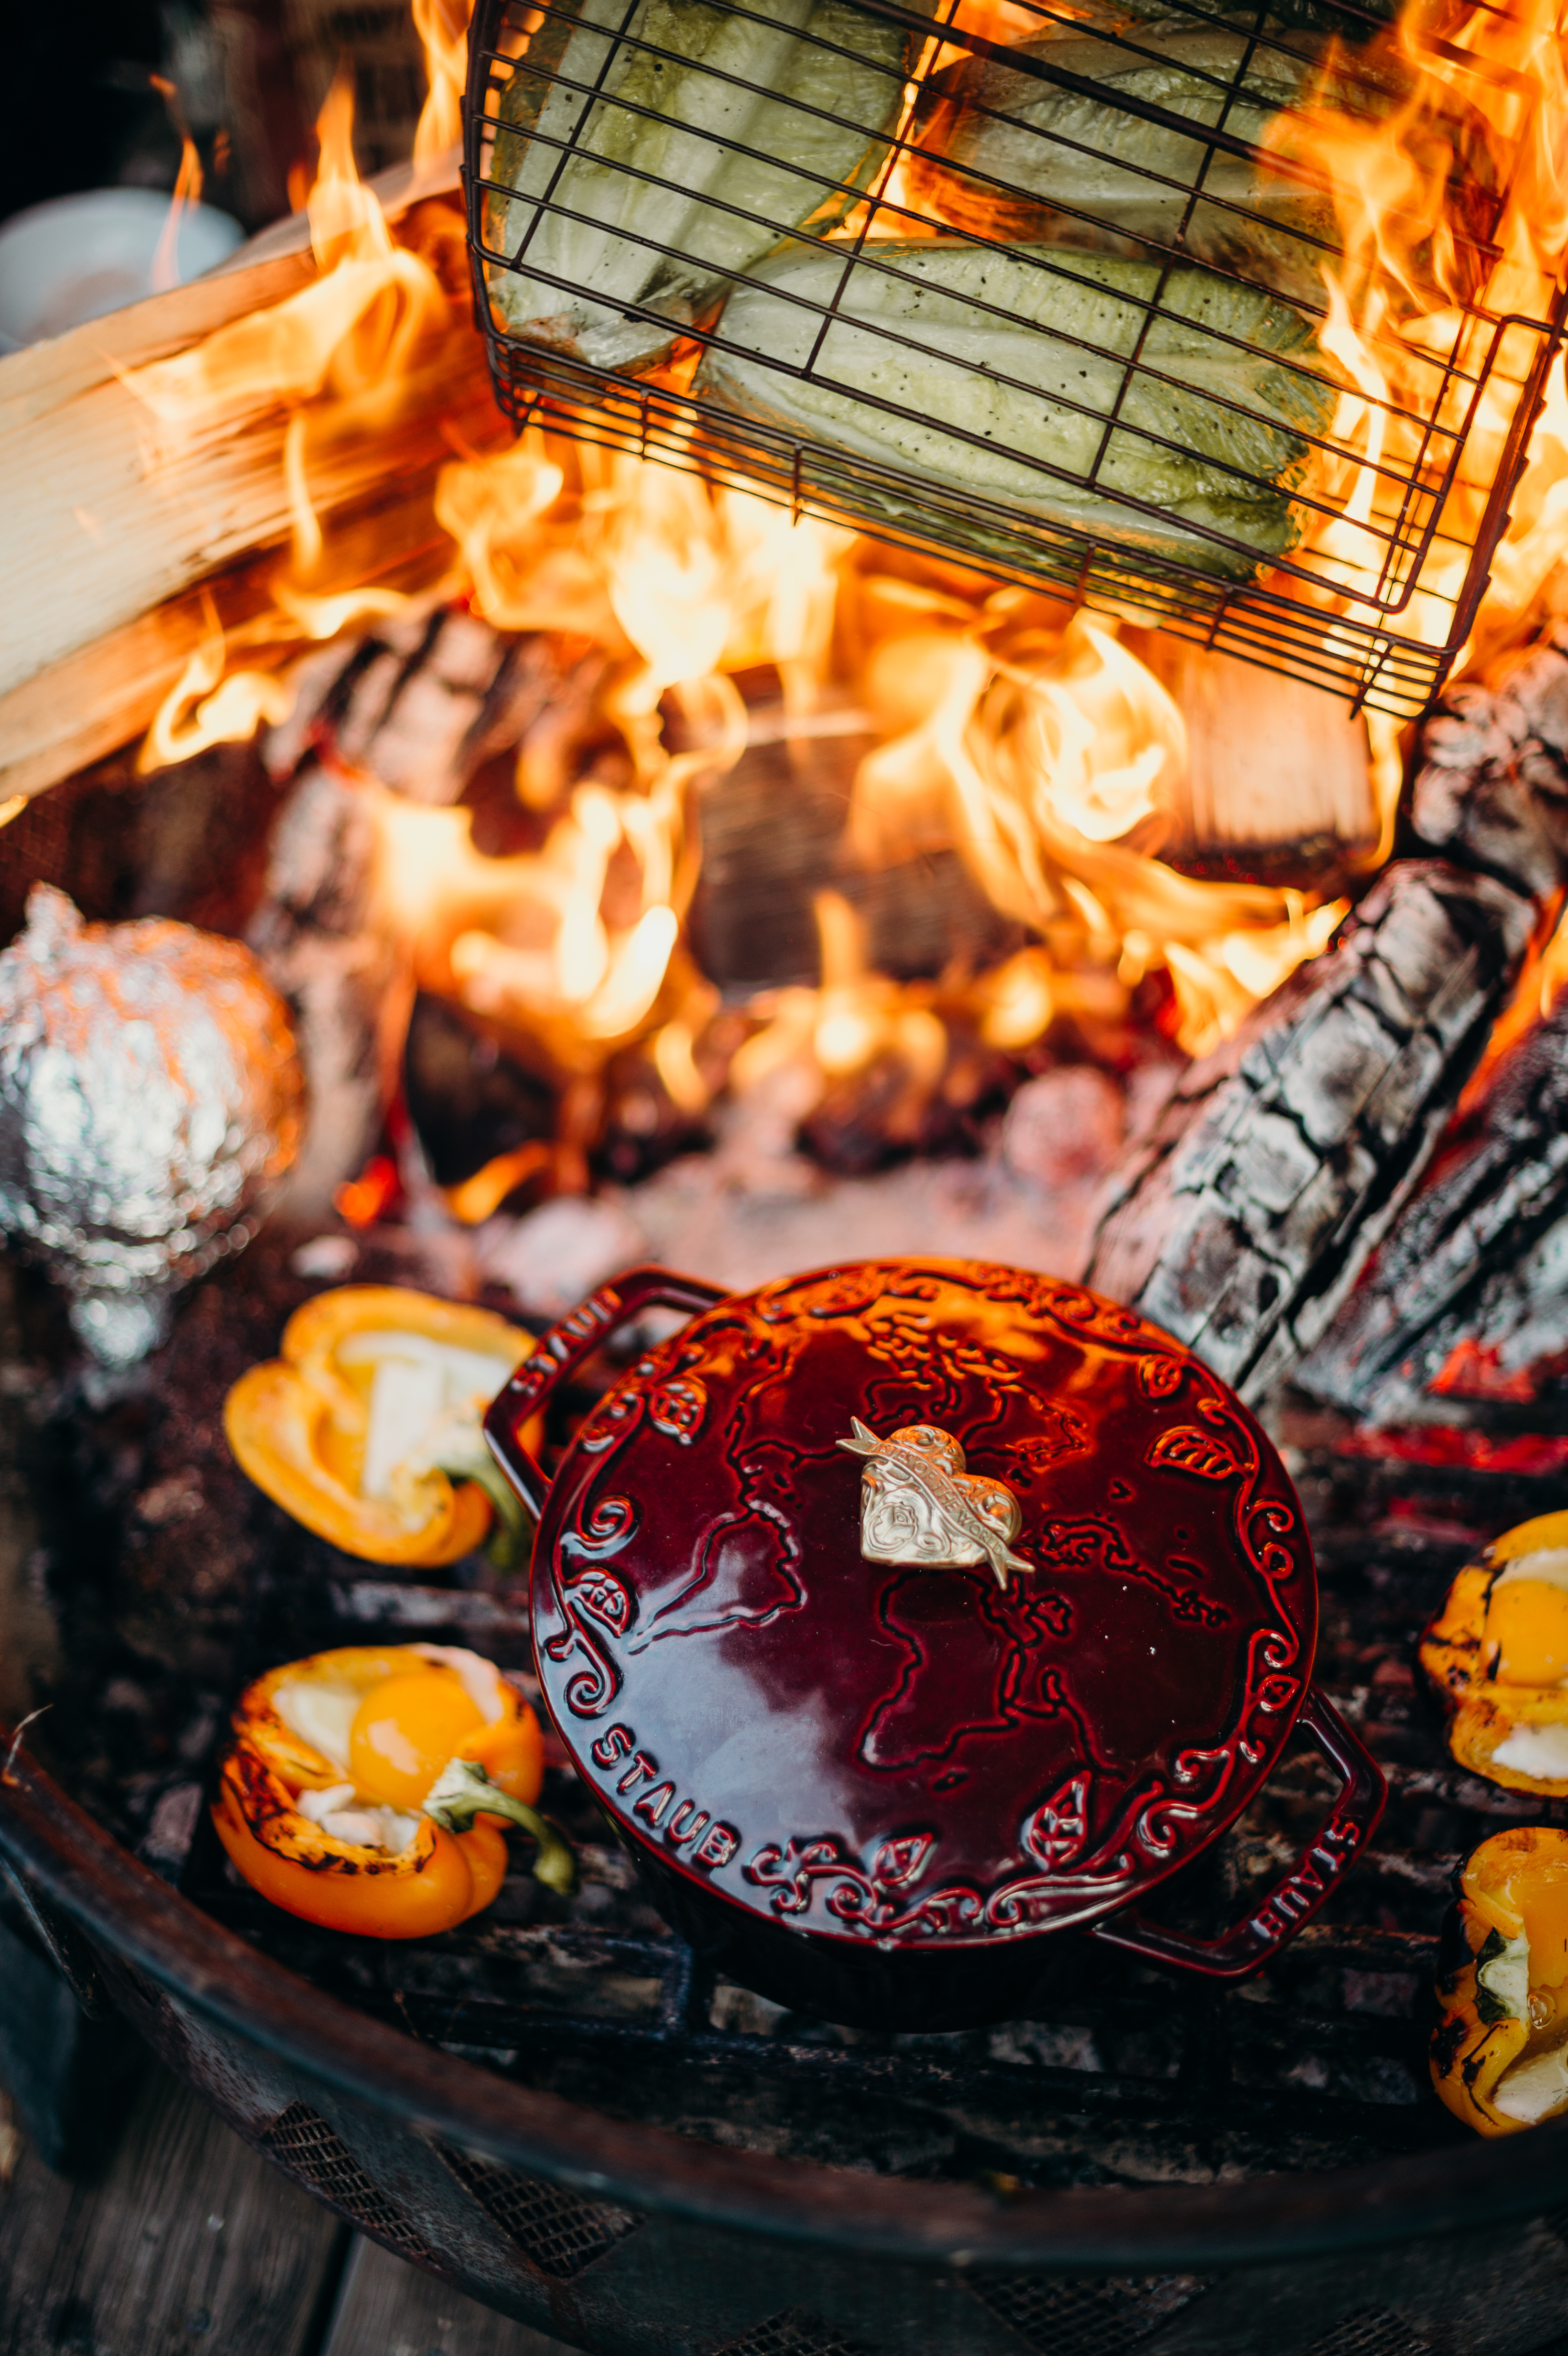
The boss is the fire. After years of cooking over an open flame, I’ve come to understand it is the fire that decides when food is finished, when it needs a little longer, and when it desires a blood sacrifice. In traditional BBQ in the US, the person looking after the fire is a position low on the ladder of the staff. “Pit B*tch” is the colloquial term often associated with it. On my crew, the fire manager is the most experienced of us in curating the balance between heat, flame, smoke, and source. This individual is communicating all day with the fire. Since there is no backup plan, the fire must be tended to with diligence and respect. For getting started, you likely won’t be doing big open-air fires. The best way to start is either with a small campfire or a charcoal grill (parrilla) that can contain your coals.
I like to use dried hardwood more than lump hardwood charcoal, just as personal preference. The best practice for wood logs is to build a separate “mother” fire. This is a campfire that will burn down the logs until they are hot enough for you to use them to cook. When they’re black and roughly 50%+ red with coal and ash you transfer them into your cooking fire. Conversely, if a log in your cooking fire is in danger of going out, returning it to the mother fire for several minutes can reignite it.
The goal of your cooking fire – whether on the ground, on an iron plate or in a parrilla – is to have fairly even, long-lasting heat. If it’s consistent throughout, you can move your food closer or further away depending on how long you need to cook it without hyper-focusing on the exact temperature. The weather can vary significantly from one day to the next, so I try not to over-analyze it. If you’re cooking in the summer in Louisiana, as I sometimes do, the 100+ heat will help you cook the food. In the winter, the cold air will fight you.
The general rule is if you can hold your hand over the flame for 5 seconds, that’s medium heat.
PART II — WOOD
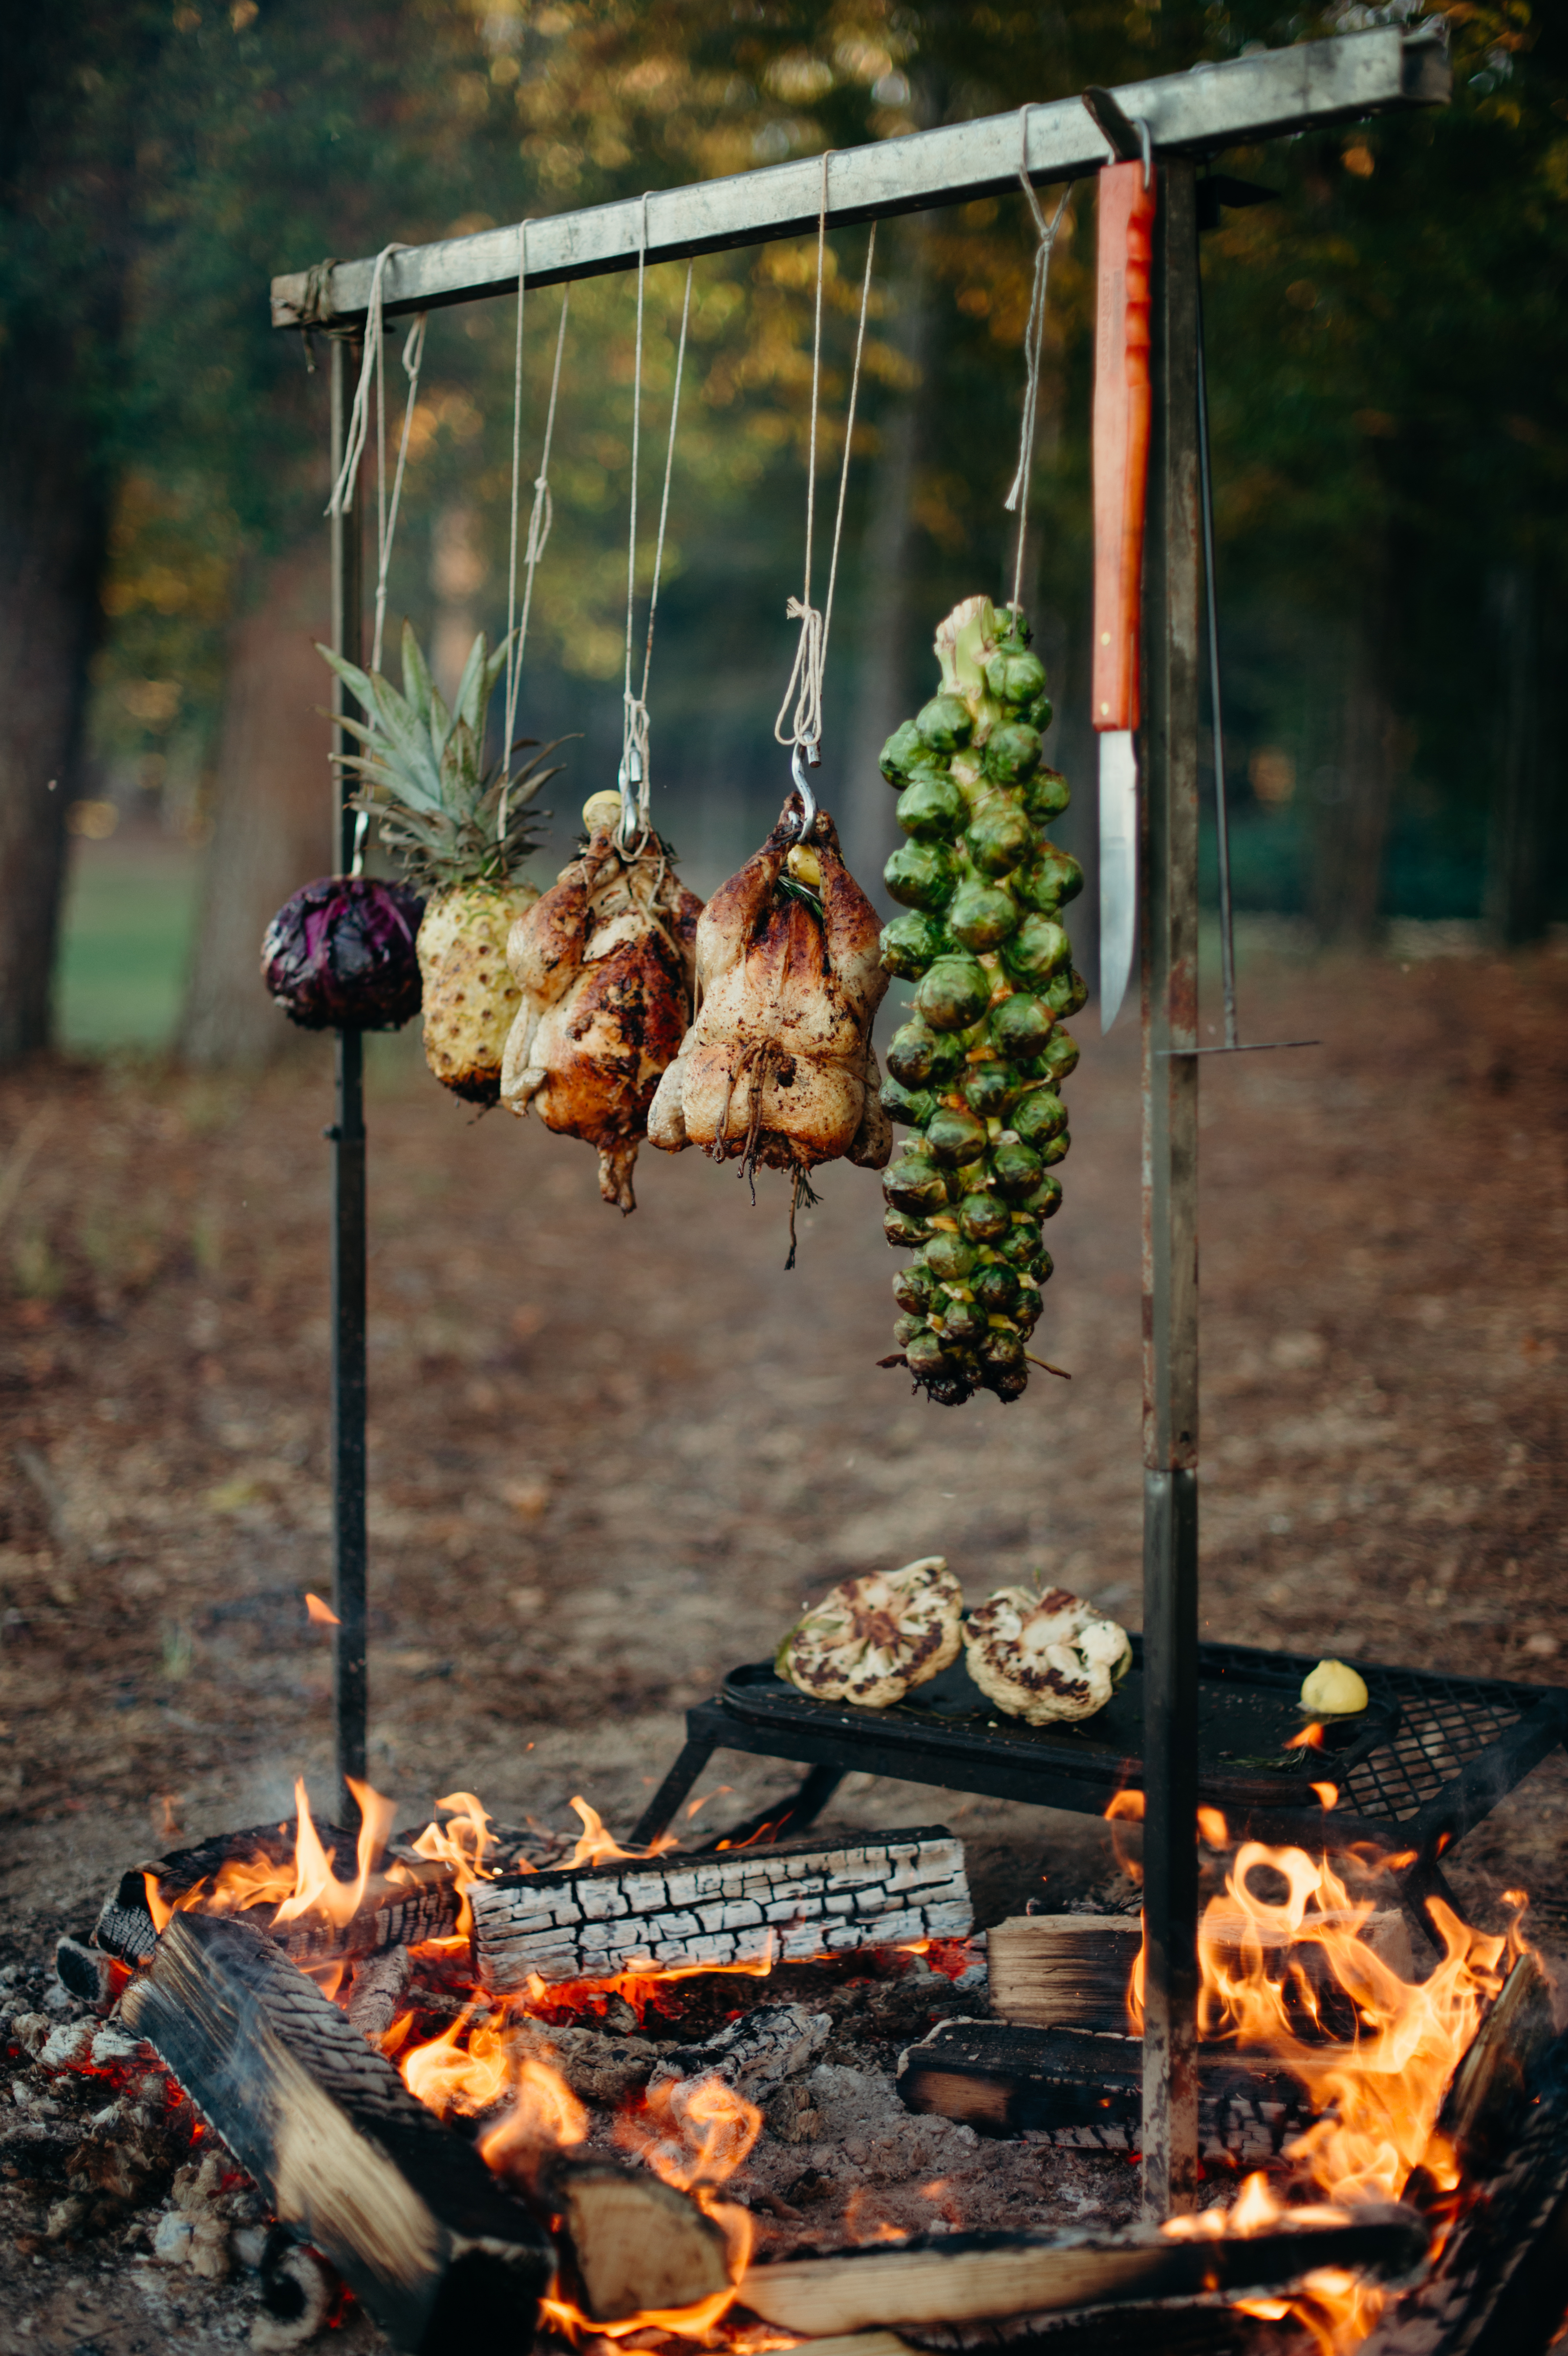
Folks often ask what is my preferred wood. After all, in closed chambered barbeque, the wood imparts considerable flavor to the end product. I usually go with pecan, living in the South. In open-air cooking, my answer is a bit different. I’m after the driest, reasonably dense wood I can get. It could be hickory, oak, or pecan. In Australia, I used red gum, ironbark, or even dry stringybark on occasion. I just want it dry enough that it can stay smoky for hours on end. This is because the flavor I’m after is the campfire-like smoke itself, not the wood. There’s nothing worse than having even slightly wet wood go out time after time when it gets spread out.
All to say, there is no need to break the bank when you’re just getting started. The kiln-dried wood at your hardware store should suffice as you get your bearings. On a big hanging BBQ event day, I use 160 kilos but you can use as little as 2-3kg if just cooking a couple of steaks for the family.
PART III — EQUIPMENT
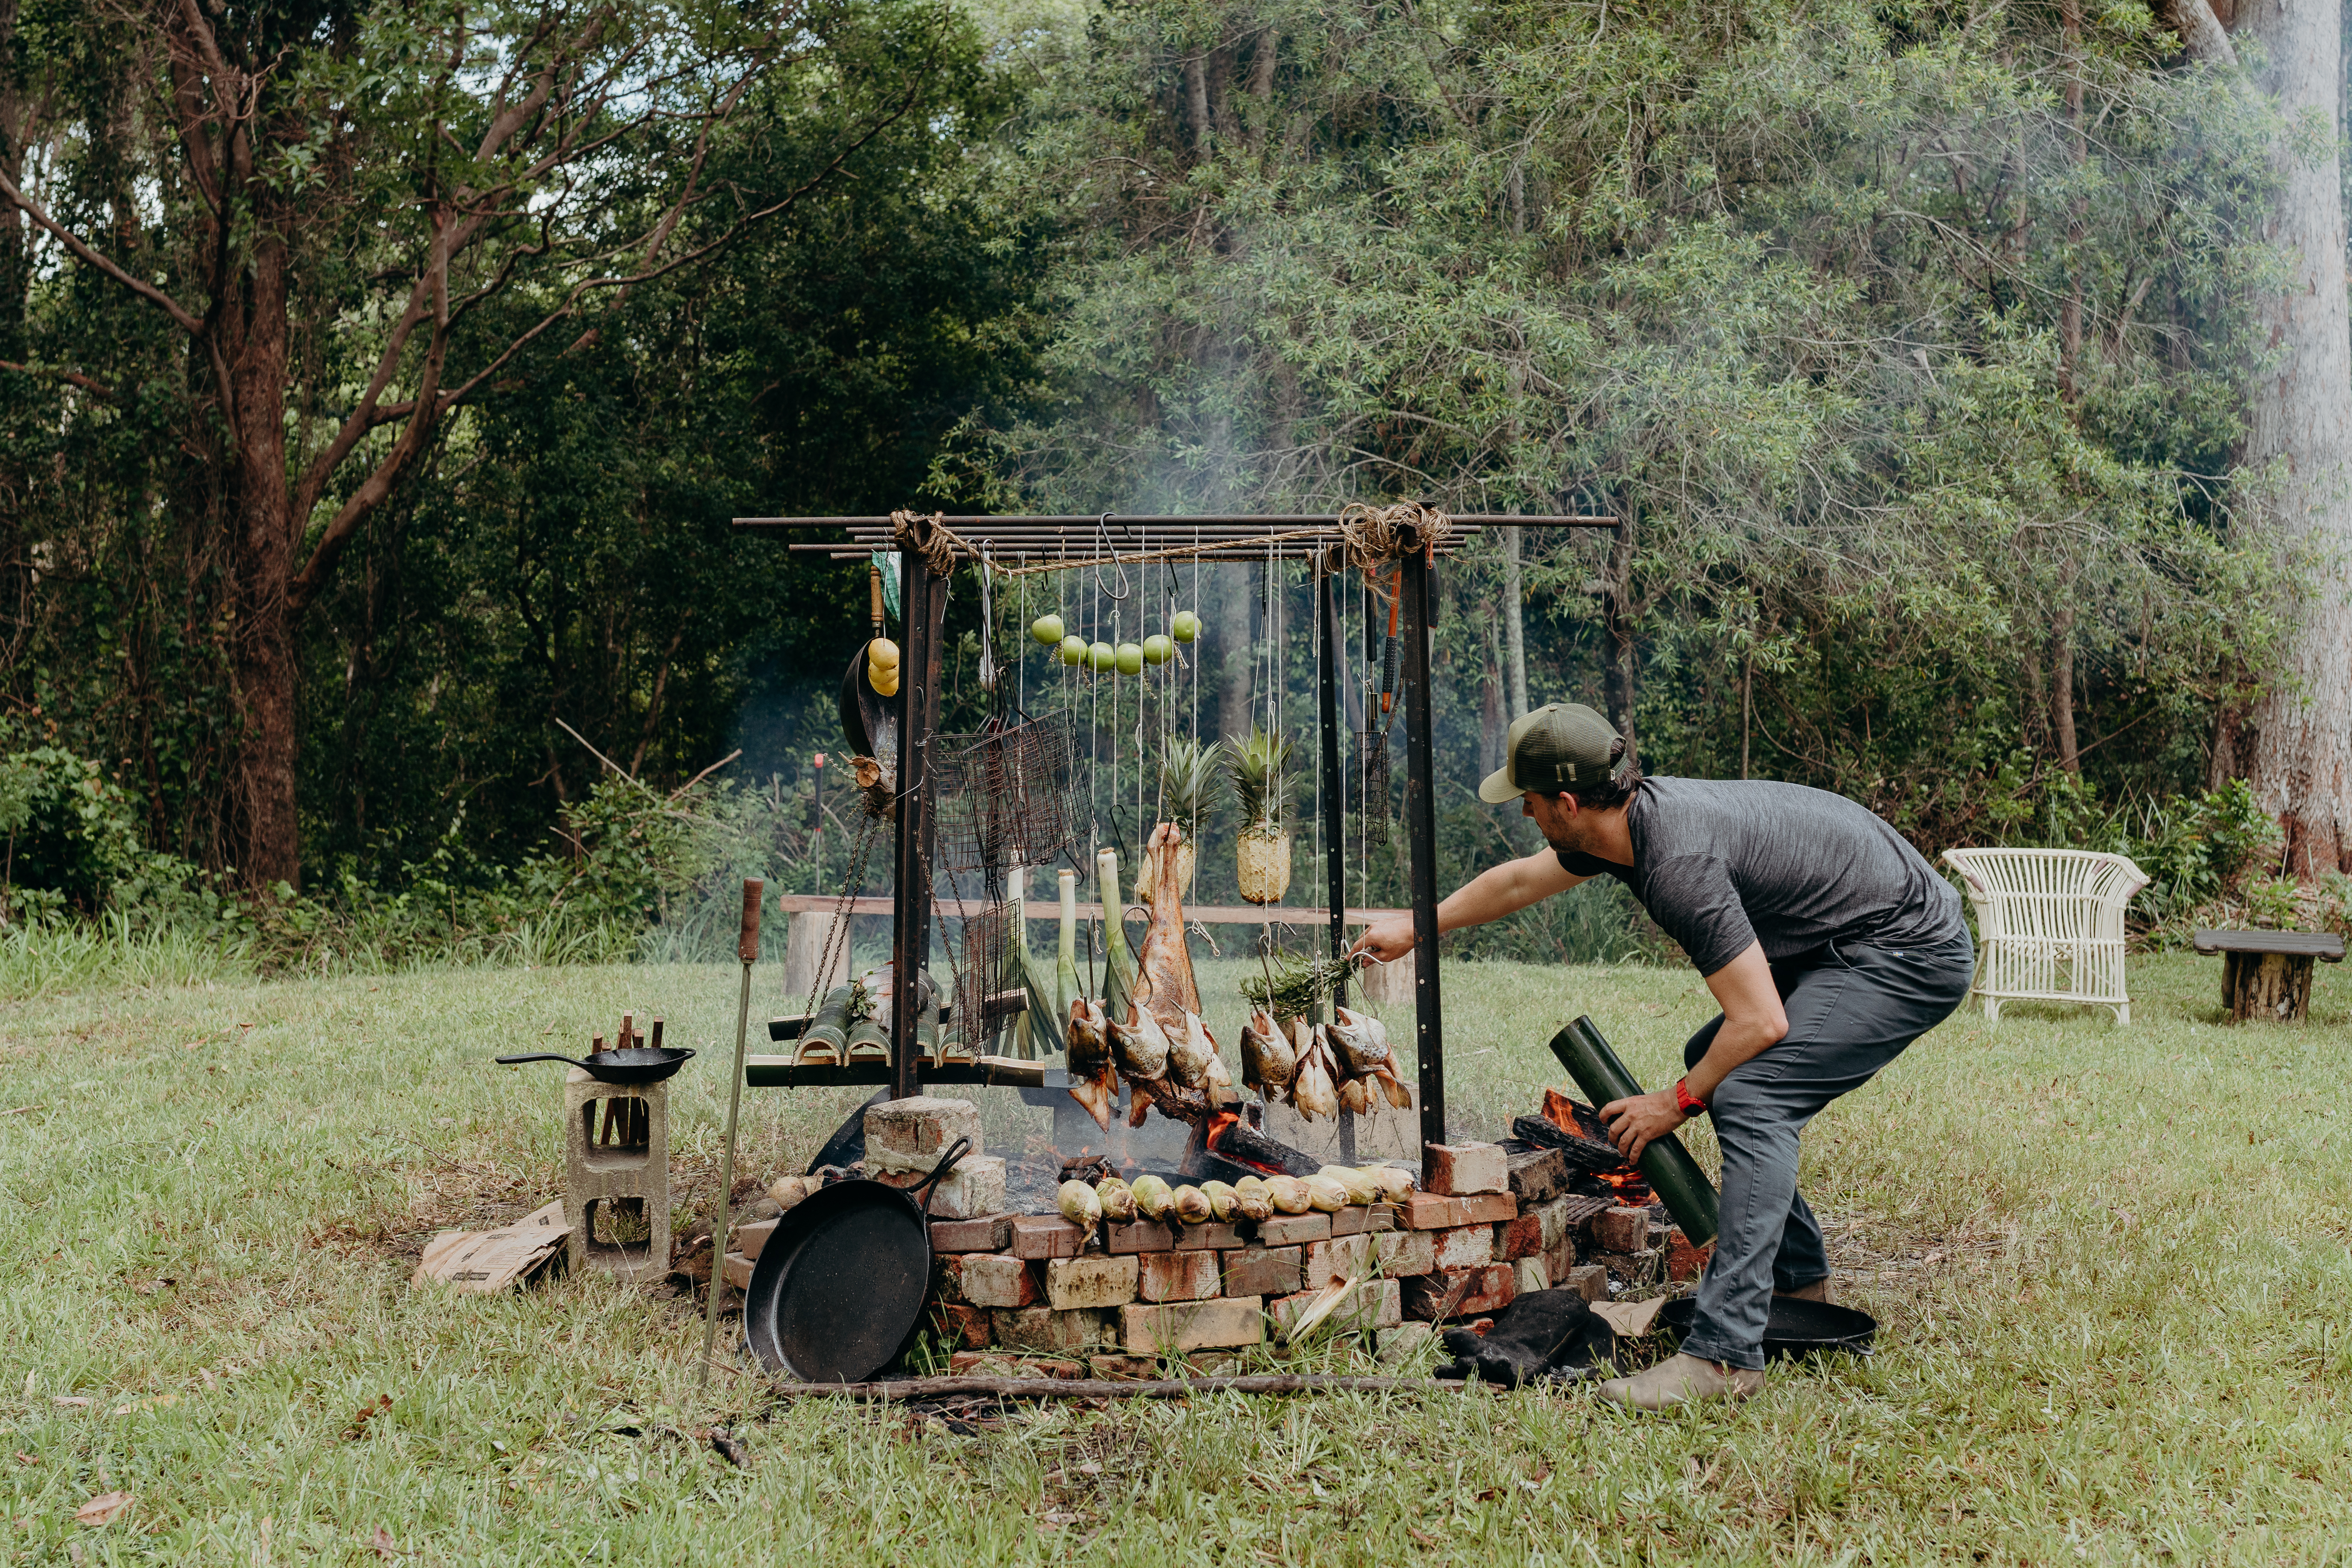
I started out with one of those suburban backyard firepits that you see at Lowe’s and a couple of replacement Weber cast iron grill racks that I set up on bricks (although they have sleeker ones now). This, combined with your regular arsenal of grill gear (tongs, fire gloves, etc) is more than enough to get you started. There are options to go fancier (like a half oil drum). If you want to campfire cook and hang food above the fire, get star pickets from the hardware store and some garden hooks to build a trapeze above your campfire. Here are some other unexpected things I’ve found useful.
- A large cast-iron pan and/or camp stove are indispensable. I love Staub cast iron because they have stackable pots and the ridges on the underside of the lids helps keep moisture in. Though I’m a sucker for enameled cast iron, getting matte black is probably best for direct fire.
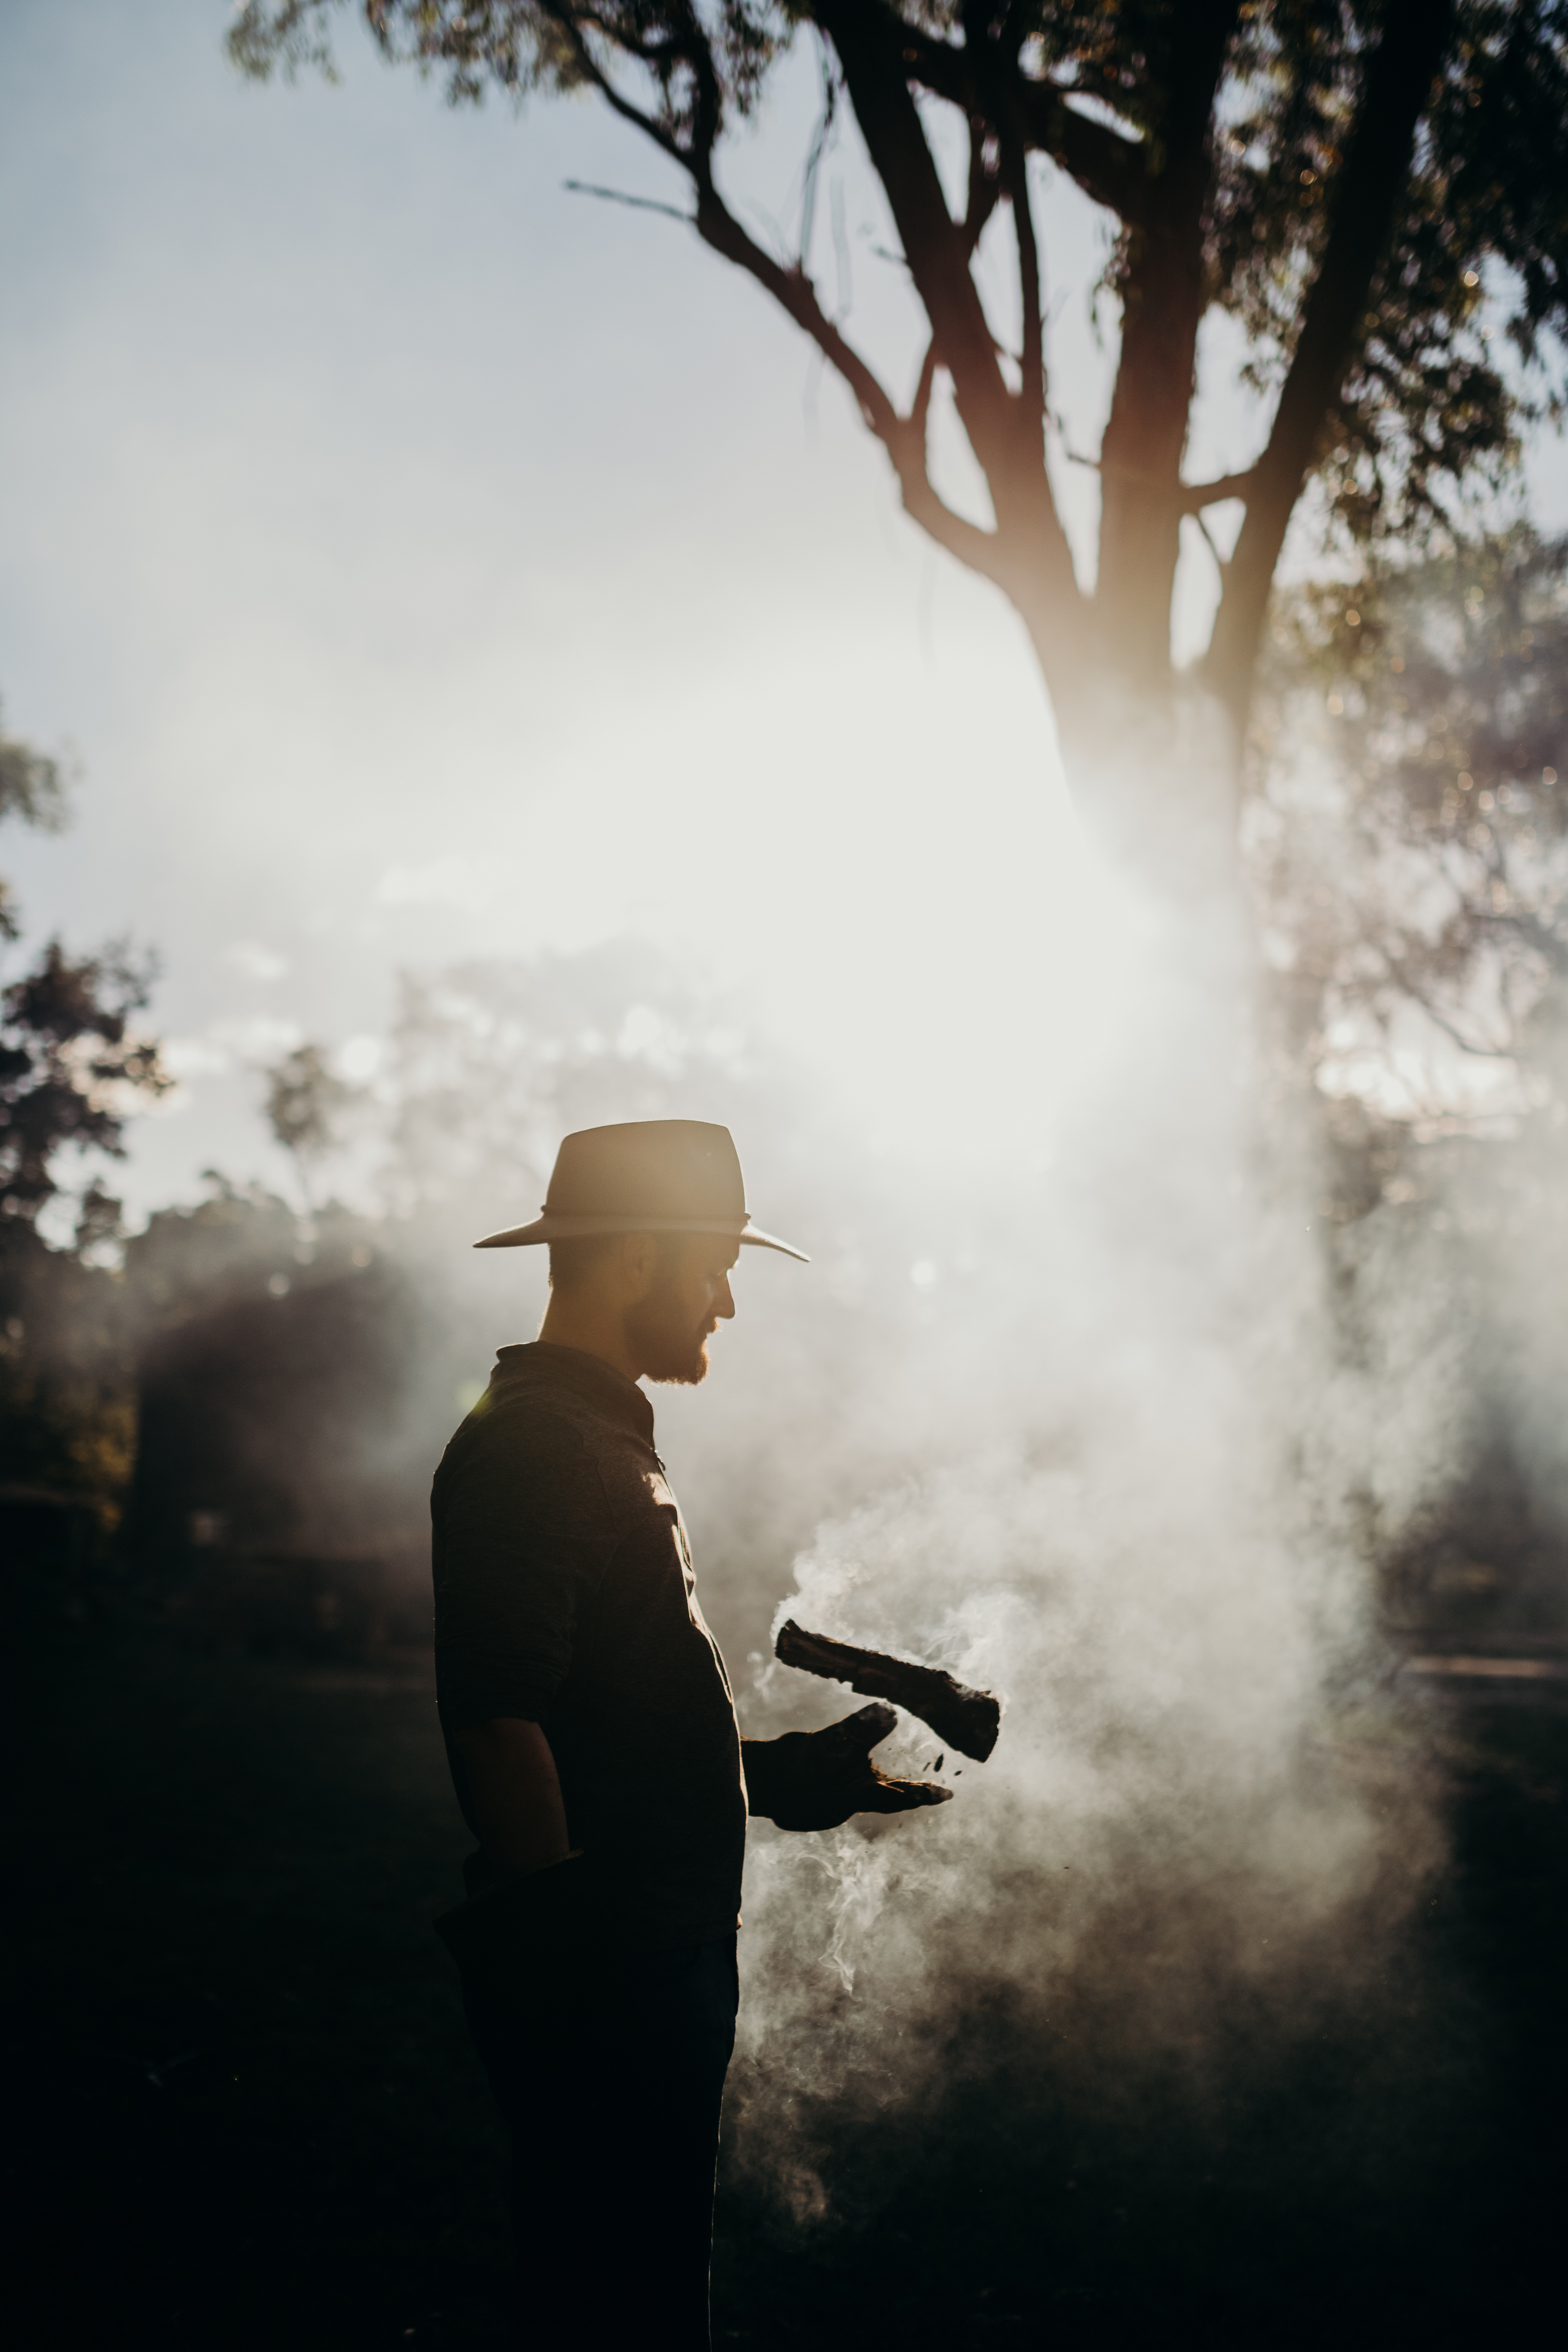
- Welding gloves. Sometimes you have to pick up a flaming hot log and put it in just the right place. Baking gloves will not do. Insulated, leather gloves are the only way.
- Metal shovel. For moving around ash, coals, logs, and burning things.
- A massive cutting board. If you cook a lamb leg, you want all the space you can get.
- Stainless steel wire, wire cutters, pliers, stainless garden hooks, stainless screw loops, hammer, twine, and general tools for manipulating racks, grills, food suspension, etc.
- Extra replacement grills and grill brushes.
- Old newspapers, tumbleweeds, and kindling for fire lighting.
PART IV — RECIPES
The best part of fire cooking is experimentation, so I’m not going to overload you but there are a couple of classics to get you started.
4-Hour Chicken:
Chicken over the fire is a treasure and perhaps one the items that’s as good the next day as it is day of. All that smoky goodness just shines.
- Brine your chicken for at least 6 hours completely submerged in brine (3:1 at least water to salt ratio, mustard seeds, black pepper, bay leaf).
- On the day you’re serving it, rinse and dry chicken, stick half a lemon in the cavity, and then truss it using directions from my guy AZ.
- Next, cover it in olive oil and your choice of spice blend.
- When your fire is hot enough that you can hold your hand over it for 10-15 seconds or less, place your chicken hang above it using your star picket trapeze, twine, and a garden hook.
- Start with the chicken breast side to the fire for 1 hour, then flip it to the back for another hour and each side for 1 hour each.
- After four hours with consistent heat, check internal temperature with meat thermometer (or, if you feel confident, rip off a leg). If you need some extra time you can hang it from the top or bottom to give it some more eat.
Morrón con Huevo:
These bell pepper egg “boats” are a common sight at Argentine parrilladas. My BBQ partner Santi is from Mercedes, Argentina and takes special care to select four bulb capsicums so they lay evenly when cut in half.
- Halve each bell pepper lengthwise, through the stem. Carefully remove the seeds and ribs without piercing the flesh.
- Cook the pepper face down (so the boat is upside down) on your grill until the bell is warm and the rim starts to blacken.
- Flip the pepper and crack one egg into each, yolk remaining intact. Cook them until the egg whites are cooked through, roughly 15 to minutes.
- Top each with a piece of goat cheese, hot sauce or chimichurri and serve.
*this recipe appears in one of my cookbooks: the World Sauces Cookbooks, as does a recipe for chimichurri.
Lamb Leg:
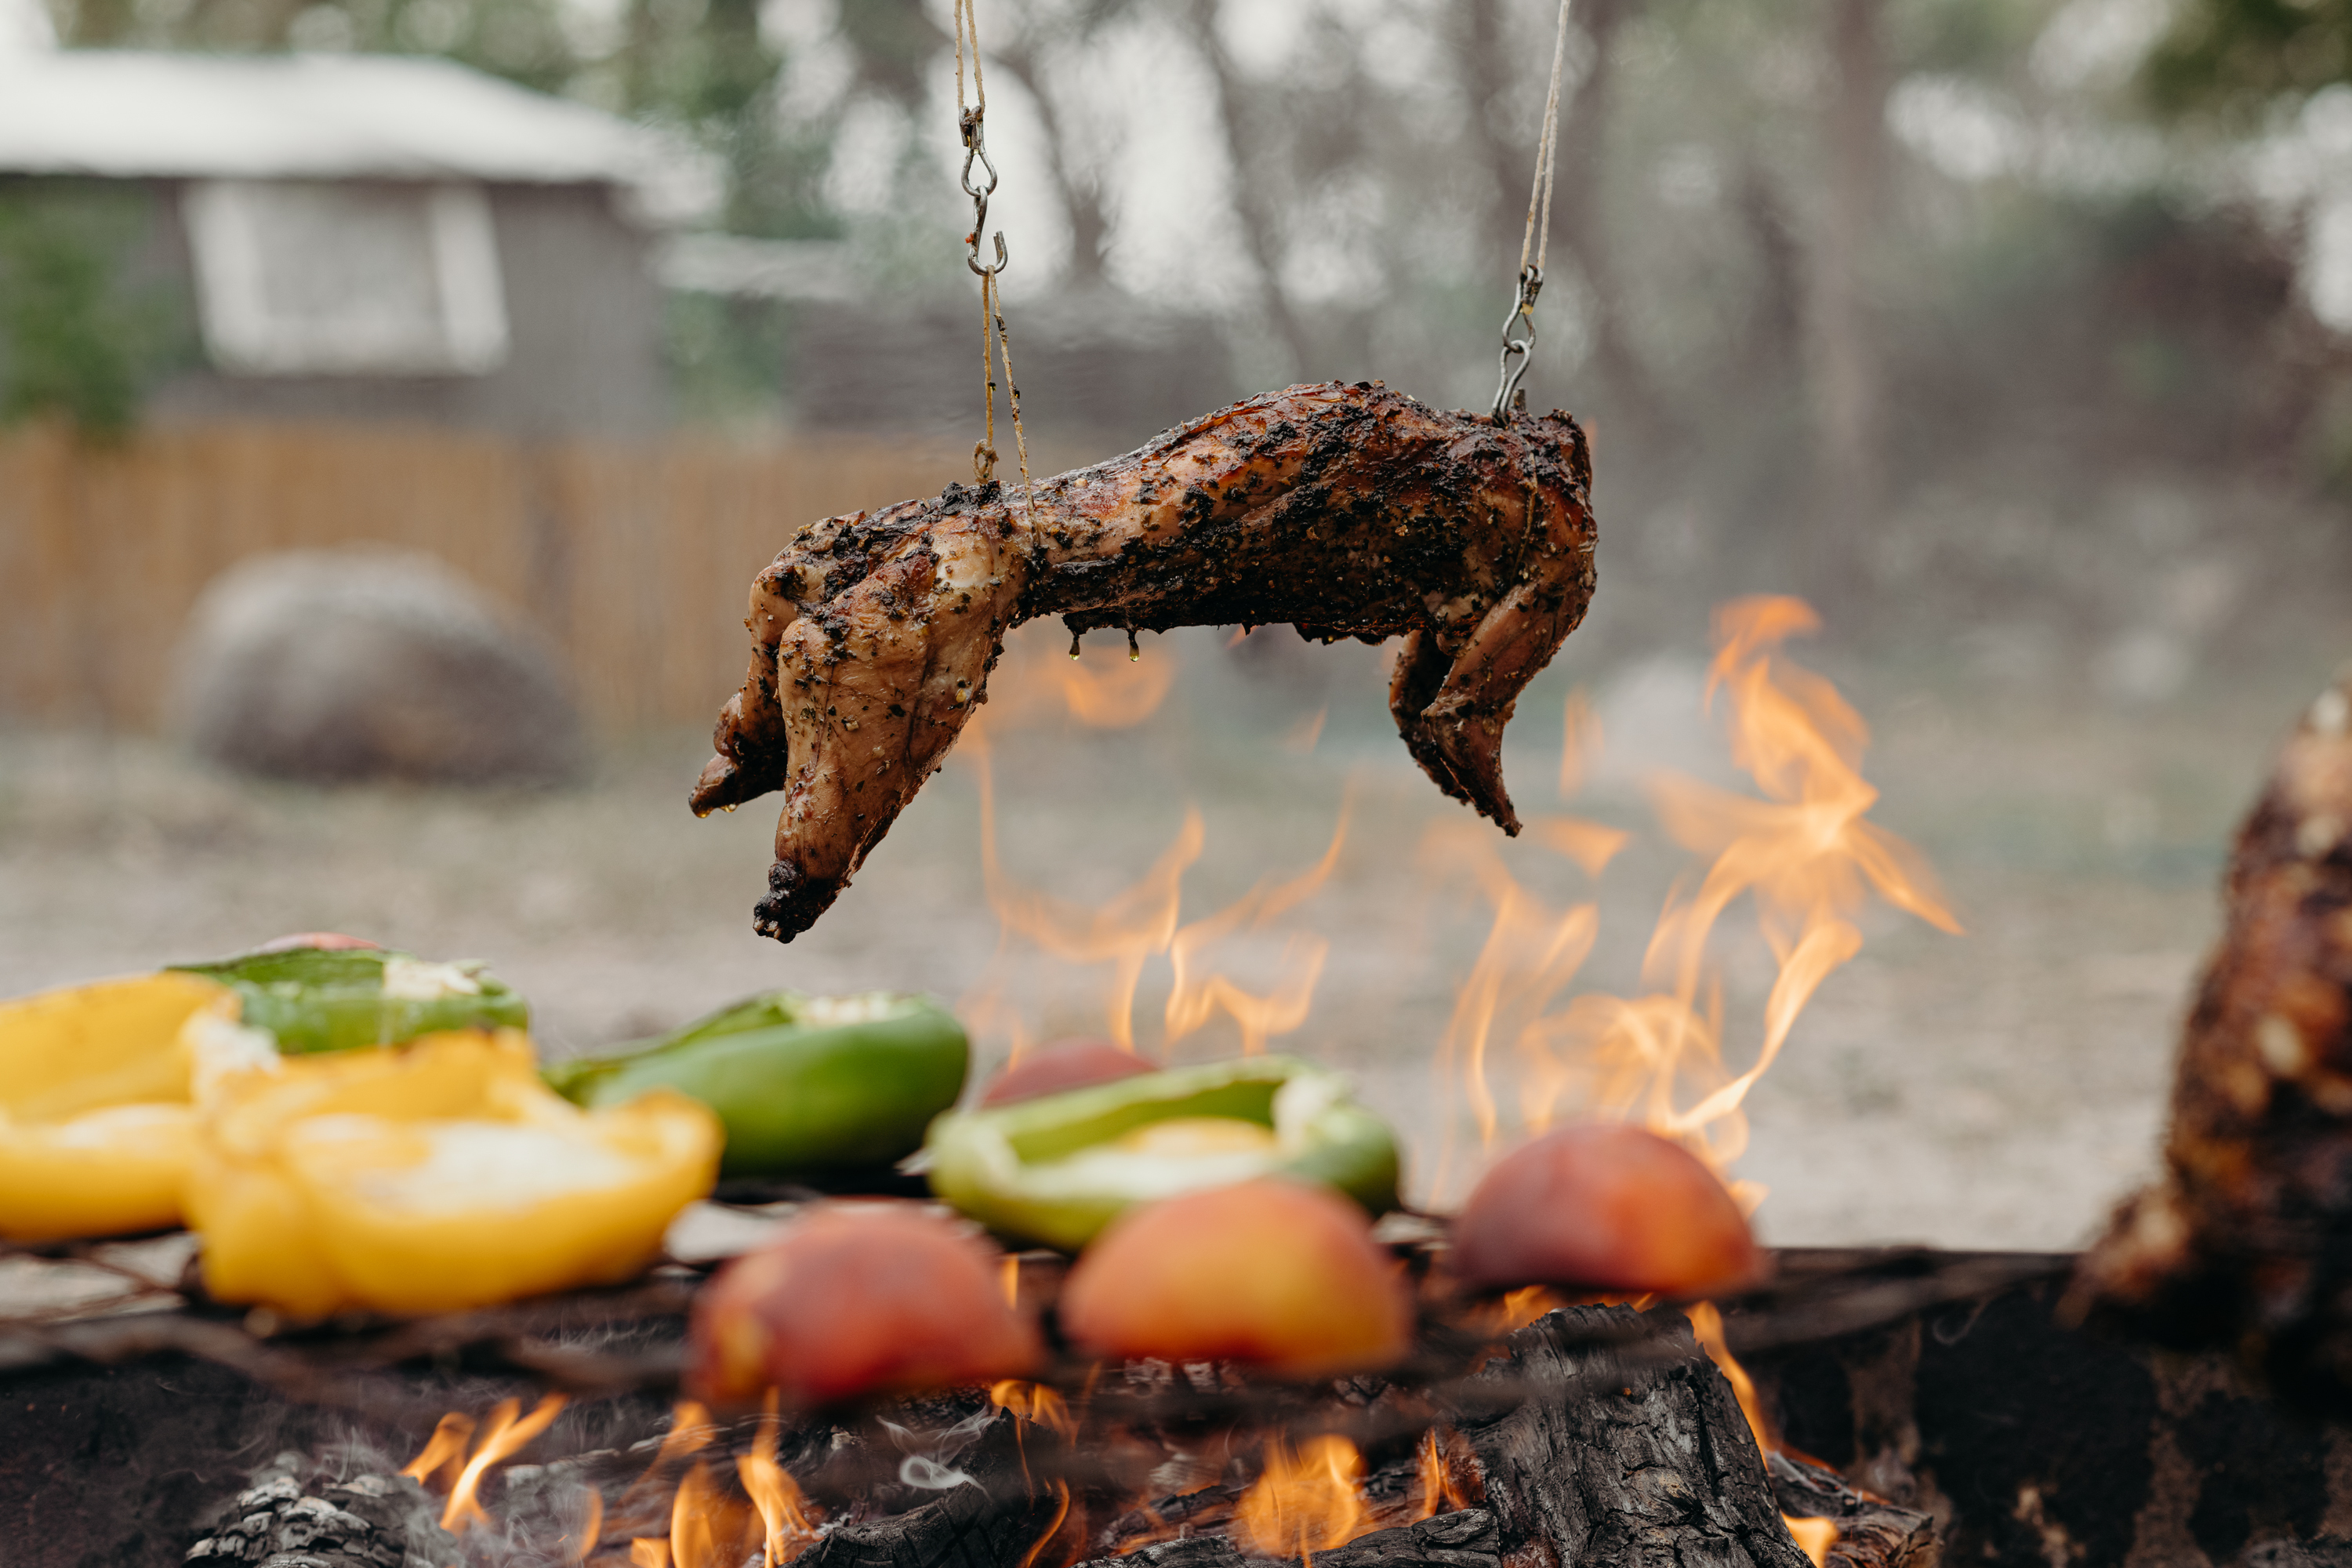
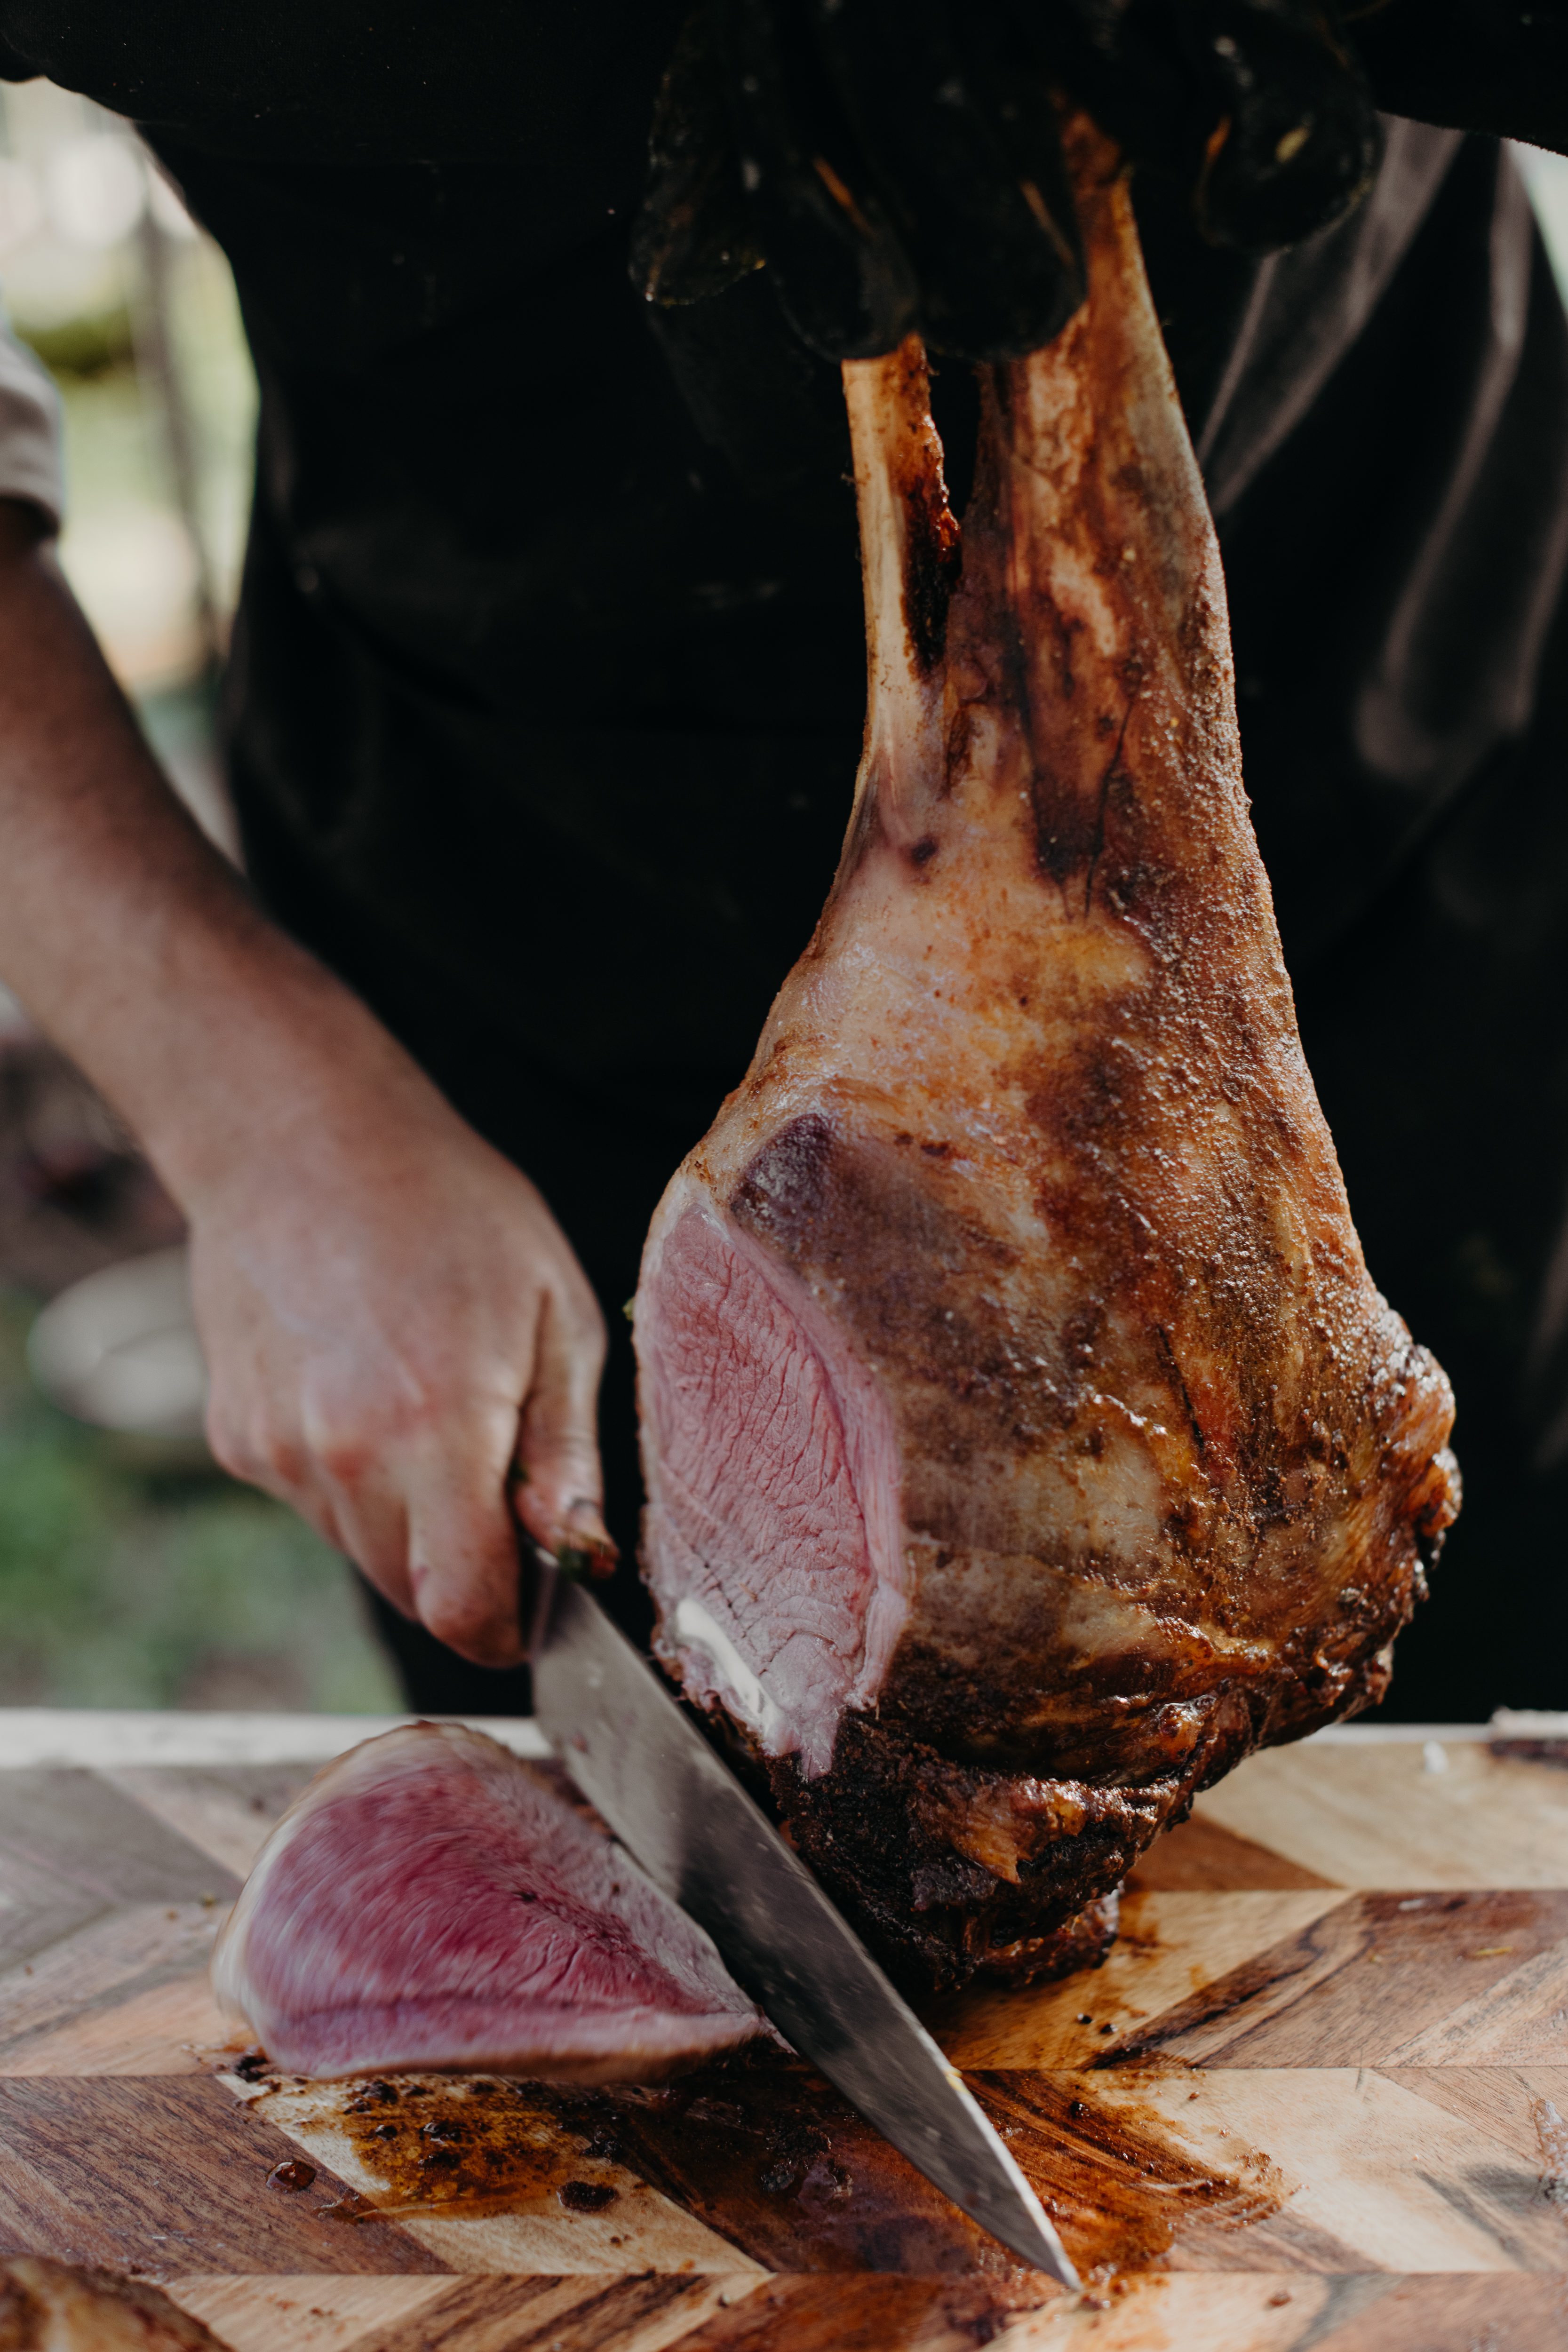
Out of all of the variety of foods that one can smoke above a fire, nothing takes the smoke quite like lamb. This is one of the stalwarts of my fire-based cuisine. The most important part is ordering meat. A good butcher makes all the difference in sourcing and quality, which is essential for something as delicate as fire cooking.
In New Orleans, my butcher is Piece of Meat. I usually ask for a whole leg – meaning the chump (rump) and shank on. I also request for them to not touch the shank or knuckle (including the tendon) so there’s a natural loop from where to hang a S-hook. As well, I make sure they leave ALL the fat on, this is important as many butchers in the US will trim the fat (I sometimes get a chuckle from Leigh Ann at PoM because it means she doesn’t have to do much).
NOTE: what you’re looking for is #4800 on this chart.
One reason this is a great recipe to begin learning is the rump, fat and bone will protect the rest of the leg from burning. So even if you char or overcook it, the rest of the leg will still be perfect. And you’ll find some folks love that crispy burned part (or use it to make a banging stock). When the leg is finished you’ll have a range from cooked to rare, something smoky for everyone.
- Cover your 3-4kg leg lightly with olive oil as a binder and salt, pepper and any of your favorite spice rubs.
- Prepare a salmuera of water, salt (1:1), pepper, olive oil, crushed garlic, lemon, and herbs. Use a rosemary bundle to dip into the salmuera and brush on the lamb as it cooks (every hour or so).
- When your coals are hot and even, using an S-hook hang your leg from the knuckle a couple feet over the fire.
- Monitor the leg throughout, placing your hand on the side of the shank to make sure its getting heat.
- Allow the lamb leg to hang for at least four hours, up to six. The longer it stays the more smoke it will absorb so feel free to move it up and down depending on conditions eg heat, wind.
- When the internal temperature of the leg about mid-way up is 130-degrees it will be medium-rare. Note: NOT the bottom as that will not be a good indicator of the whole leg.
- Take the leg off the hang and grill each side on a grate or on the coals themselves for several minutes each side.*
- Let the leg rest 10 minutes, carve and serve.
*Another method is to truss the leg and hang it for a while knuckle down. It’s not my preference but can have the advantage of a more even cook.
PART V — SAFETY
When cooking with open flames, you don’t have the guardrails often associated or assumed with barbeque. Your normal store-bought charcoal briquettes are chemically pressed to be uniform. Wood or lump hardwood charcoal is not uniform. Split wood especially can spark and send burning pieces into the surrounding area with even a small gust of wind. One should always take – at a minimum – the safety protocols associated with an open campfire. In the days leading up to an event for Open Fire Co, we always check the weather conditions.
Here are some other tips to keep you and your environment safe.
- Check local fire management services websites to see if they’ve issued any fire warnings.
- If planning a ground fire, call the local fire department to check on the regulations in your community.
- If you can, build fire near water: streams, rivers, lakes, or even the ocean.
- Have fire suppression methods at the ready: decently pressurized garden hose, buckets of sand, water bins.
- On the day, clear the ground of bramble, twigs, dry grass, tinder, and anything that could spark.
- Fill a large bin with water (also helps with periodically washing equipment). Be careful of wind strength and direction, particularly around forests. Having bags of sand on hand helps with containment.
- Have a fire extinguisher present and on hand (small versions can be bought at many hardware stores).
- Once you are done for the day, completely put out the coals with the hose.
- As always, leave places better than you found them.
Remember, there is no food worth cooking in dangerous conditions. If you are not completely comfortable with suppressing your fire, you should wait or work with someone who is.
PART VI — WHO TO FOLLOW TO LEARN MORE
Up until now, many who are keen on open-fire cooking most certainly can trace their interest back to that Francis Mallmann episode of Chef’s Table. He is the North Star of Argentine-style open-fire cooking. His new book is veggie and vegan-focused and offers some great insight. Here are some more folks to keep an eye on:
- Lennox Hastie wrote perhaps the most comprehensive book on the technical aspects of fire cooking (including at what heats different woods burn). His restaurant Firedoor in Sydney doesn’t use electricity to cook.
- Bente Grysbaek is a Danish fire cook living in Australia whose Instagram is filled with creative and wilderness-inspired setups. She’s the head chef at Pope Joan in Melbourne.
- Kaelah James is a wild food cook from New Zealand and her Instagram page Kaelah’s Wild Kai Kitchen is absolutely wild and fun.
- Steven Rinella of Meat Eater is a master of campfire cooking game meats and fish. Additionally, his book The Meateater has butchering tips and recipes.
- Jaret Foster and Mona Johnson of Tournant PDX are a great follow for elevated and cinematic fire events in the Pacific Northwest.
- Derek Wolf’s Instagram and blog Over the Fire Cooking has daily recipes and tons of fire cooking ideas, especially using a variety of equipment.
- Pip Sumbak of Pip’s Plate is an Australian fire cook who is a master of barrel cooking and who uses Pacific Rim flavors and recipes.
- I’m Mark C Stevens, my pop-up is Open Fire Co based in New Orleans and Byron Bay, Australia. My books (on spices and sauces, respectively) are found here.
PART VII — MORE PHOTOS
